Tag Archives: recipe

Pizza Camp

Sharing life, love and lunch.

I love Pizza – Who Doesn’t!
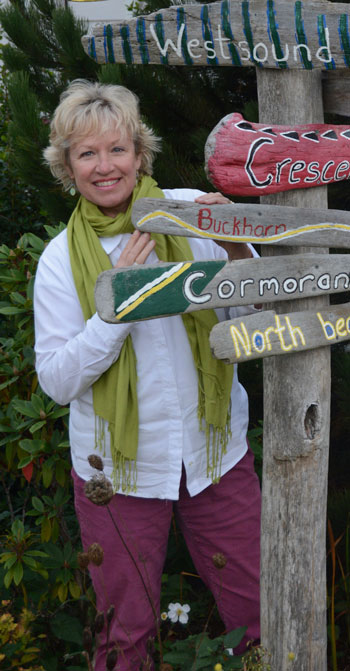
By Teri Williams


Ok, so I don’t need to eat more carbs, and yes we have Hogstone Pizza in town. So why, you ask, do I crave to create the best ever pizza??? Last time I was in Darville’s Bookstore I found a book about pizza titled Pizza Camp by Joe Beddin. I love to read cookbooks, especially when they have humorous commentary and throw in common sense. After reading Joe’s recipe and constitution on how and what to use to make the best-ever pie I started planning and dreaming. So let the fun begin!

I have never had any luck with yeast. So the fact that Joe’s recipe for the dough does not include warm water and is put in the fridge for 24 hours gave me even more skepticism. However, I jumped in and made the first steps towards my crusty cheesy tomato dreams. Joe’s policy for making dough: “Turn your phone off and don’t speak, this is a time to listen, for new ideas, it’s not busy, be present. Making dough should be calming, meditative and a great time to think of new ideas about pizza and life.” I spent the time to enjoy the moment and think about what my garden would provide as toppings.

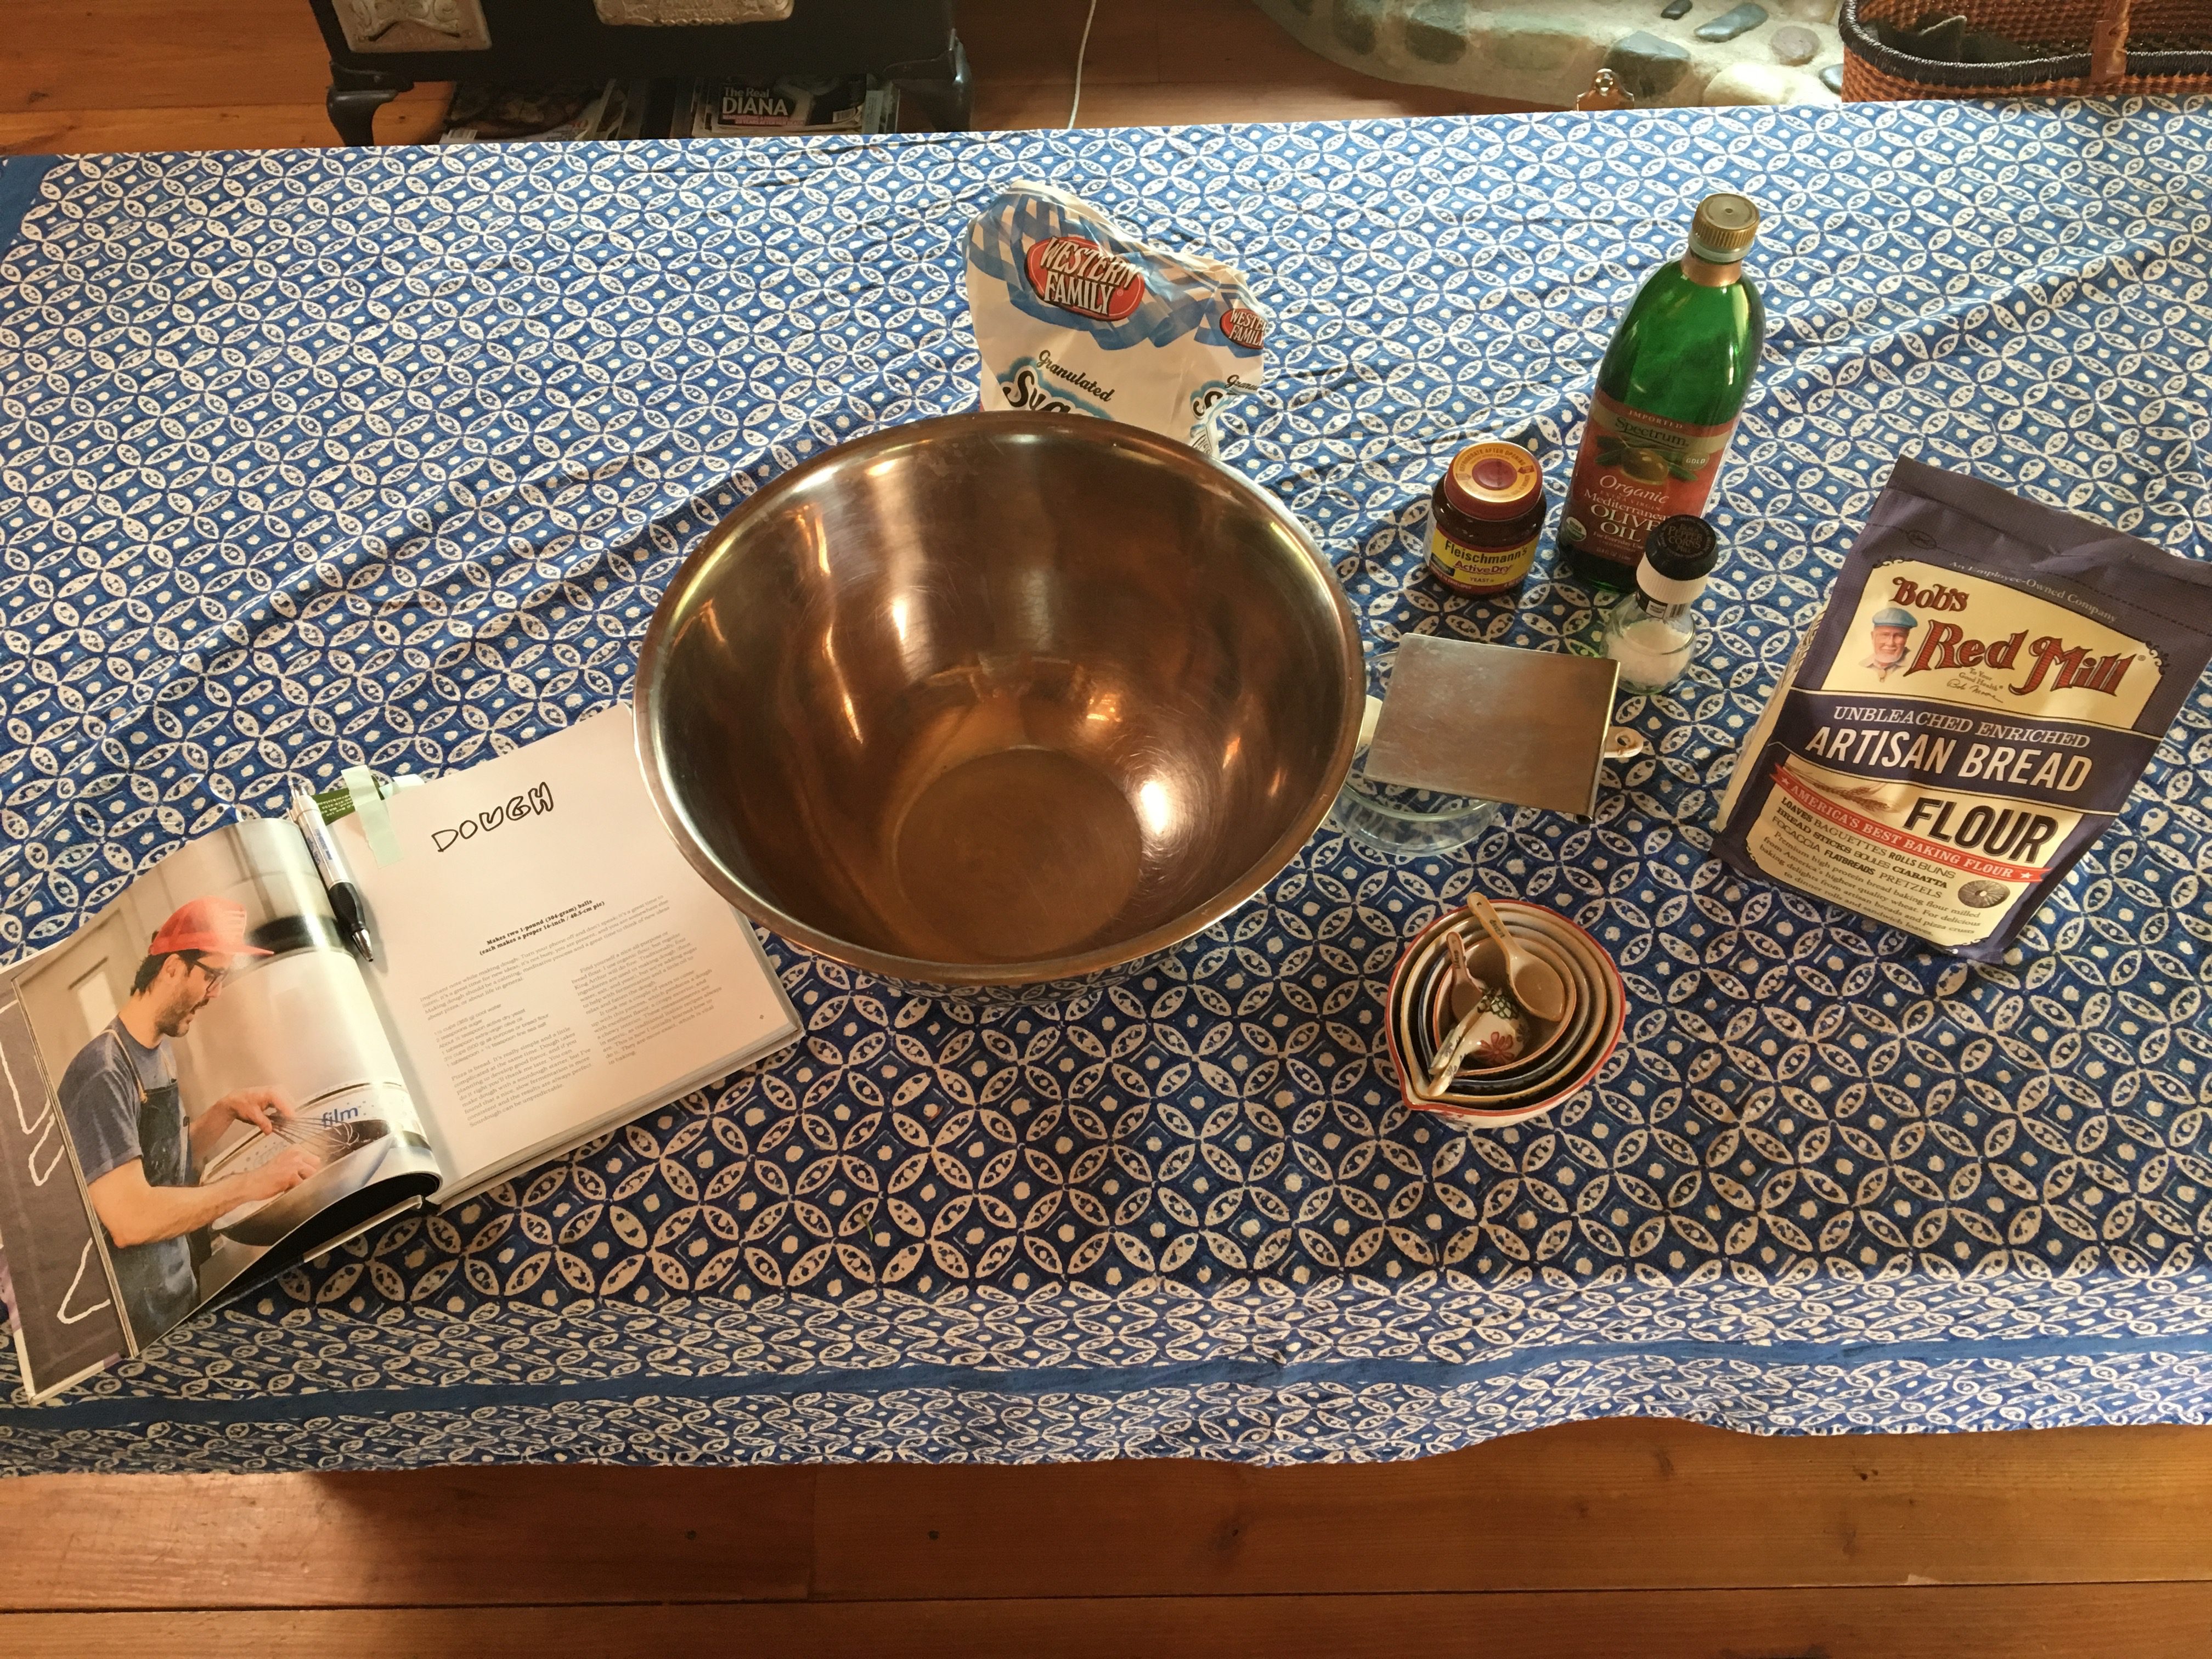
Book in hand, tools in place. This is the beginning, bring on the yeast.

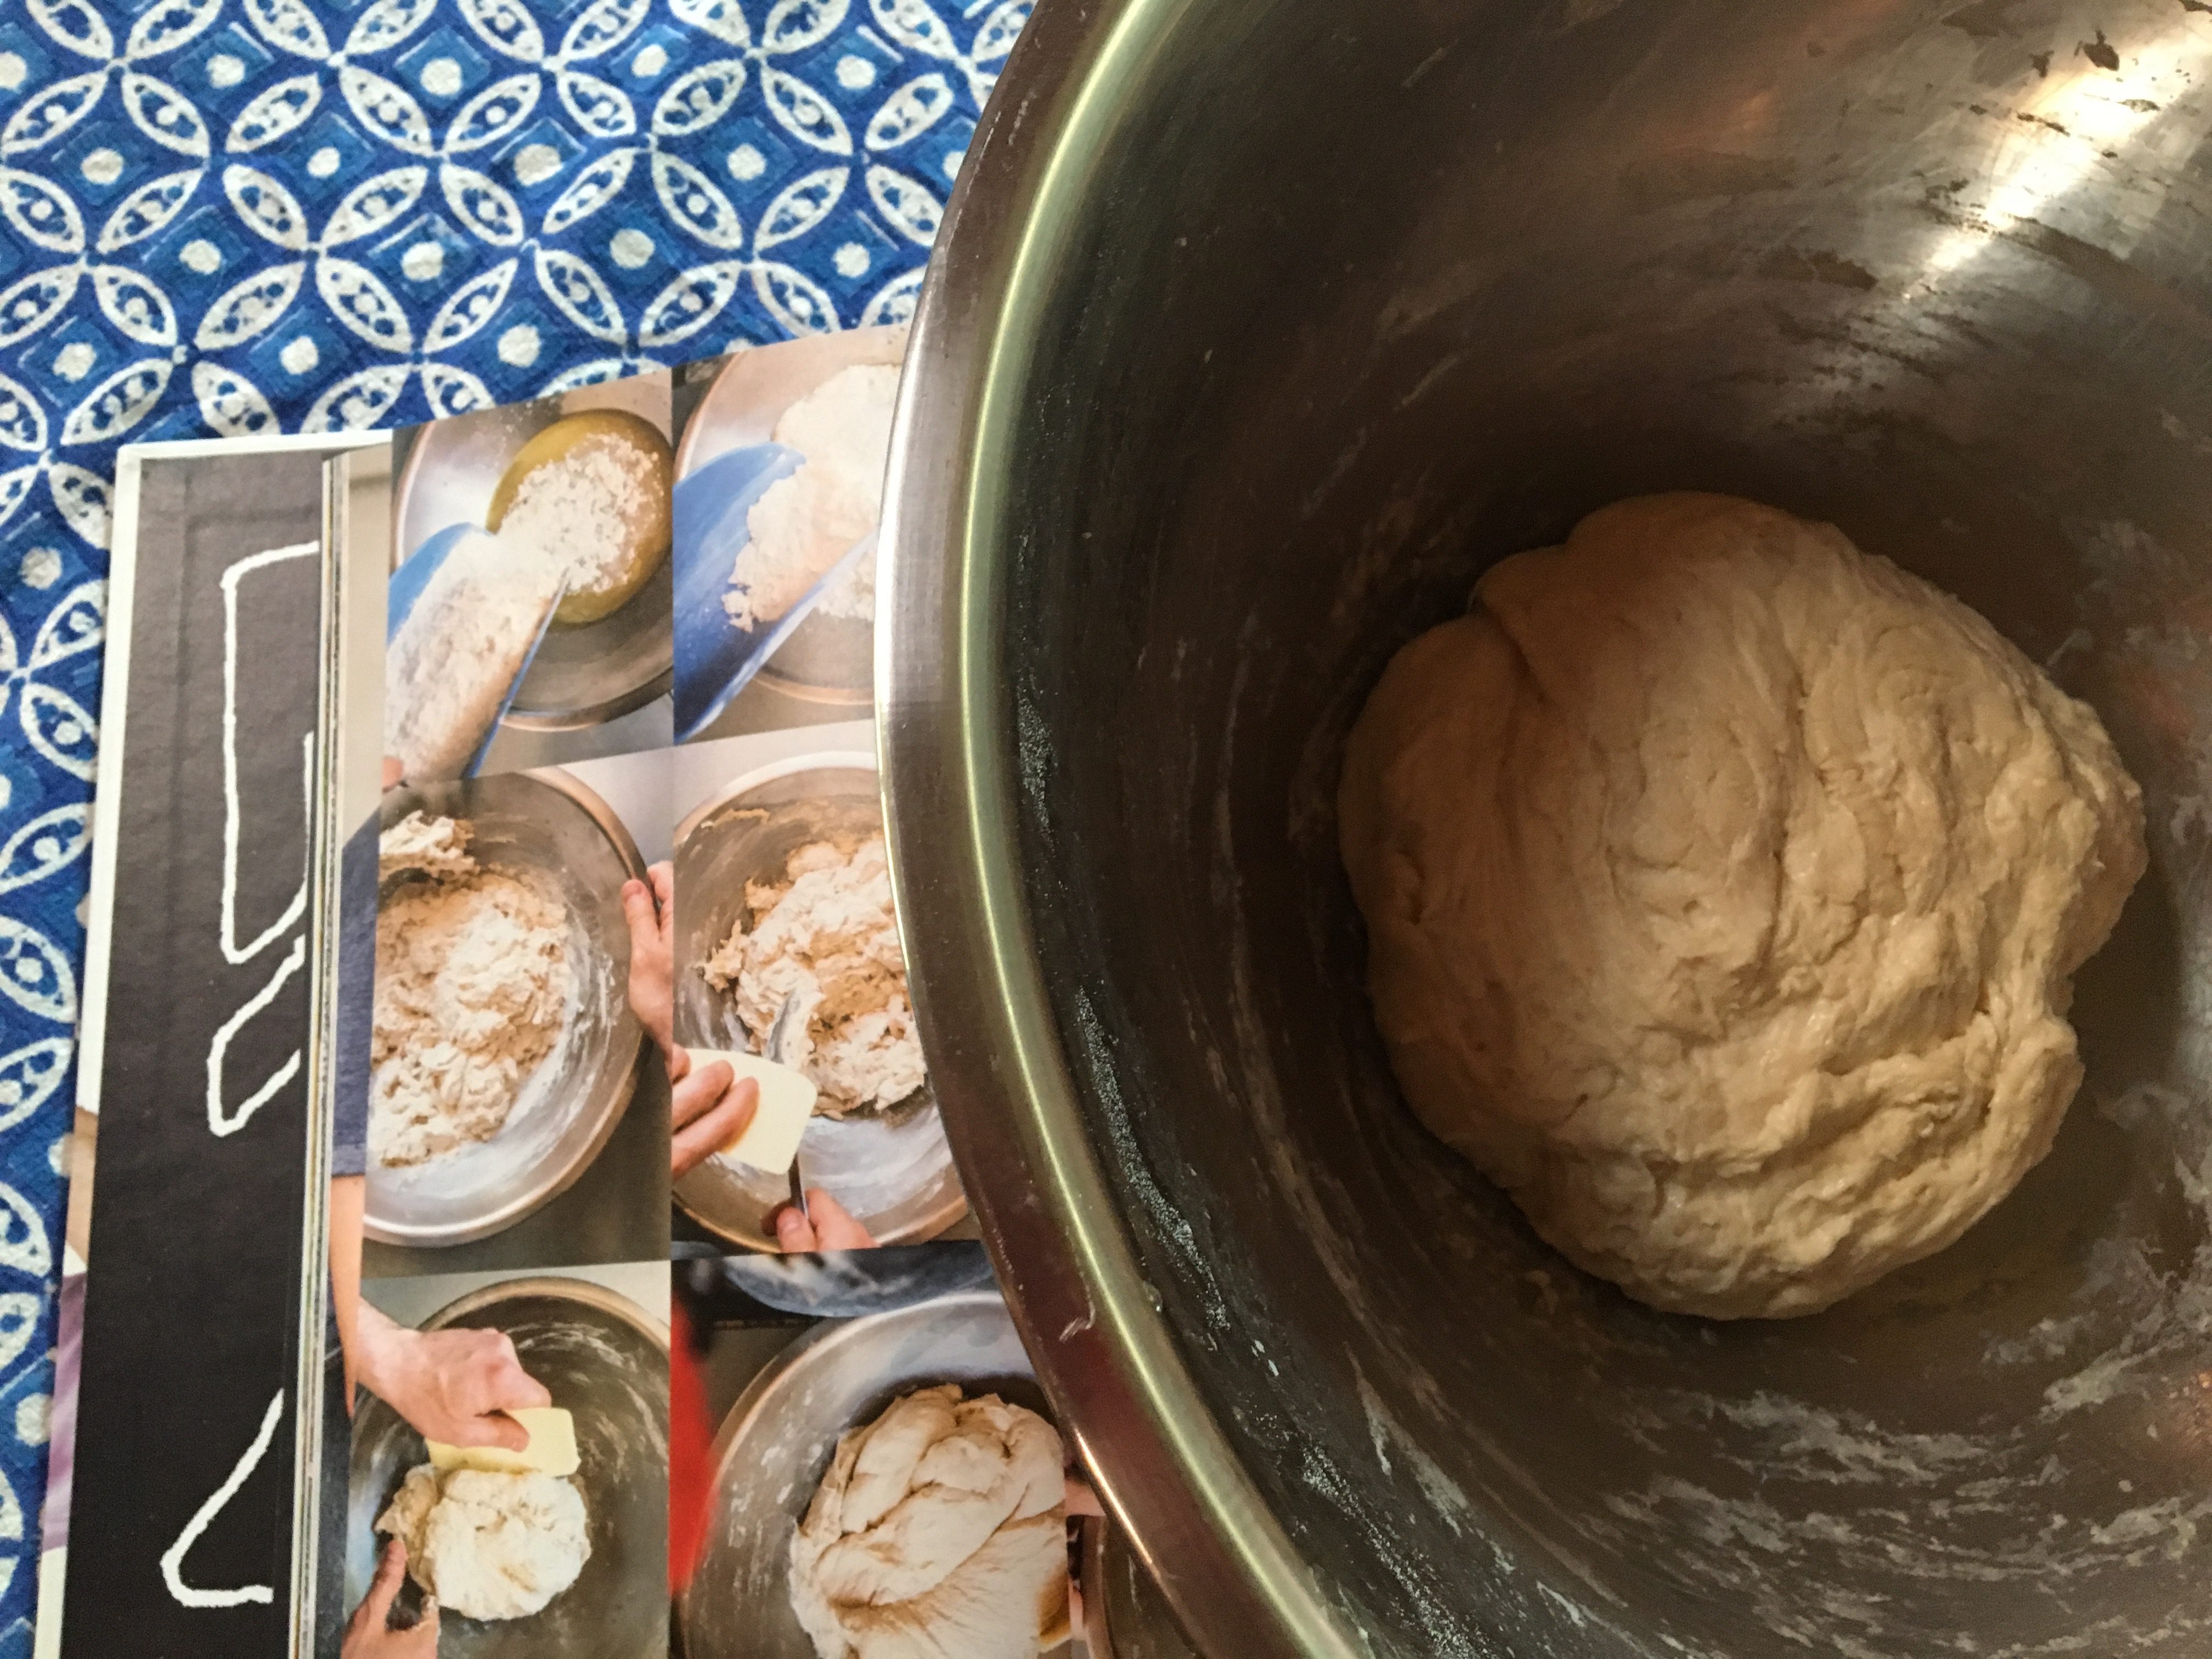
Love it when your work looks like it does in the book!

After the dough was in a ball and had to rest for 30 minutes, I wandered through my garden and gave thanks for being here now on Orcas Island. Second round of kneading left the yeasty ball in the fridge for 24 hours. Until tomorrow …

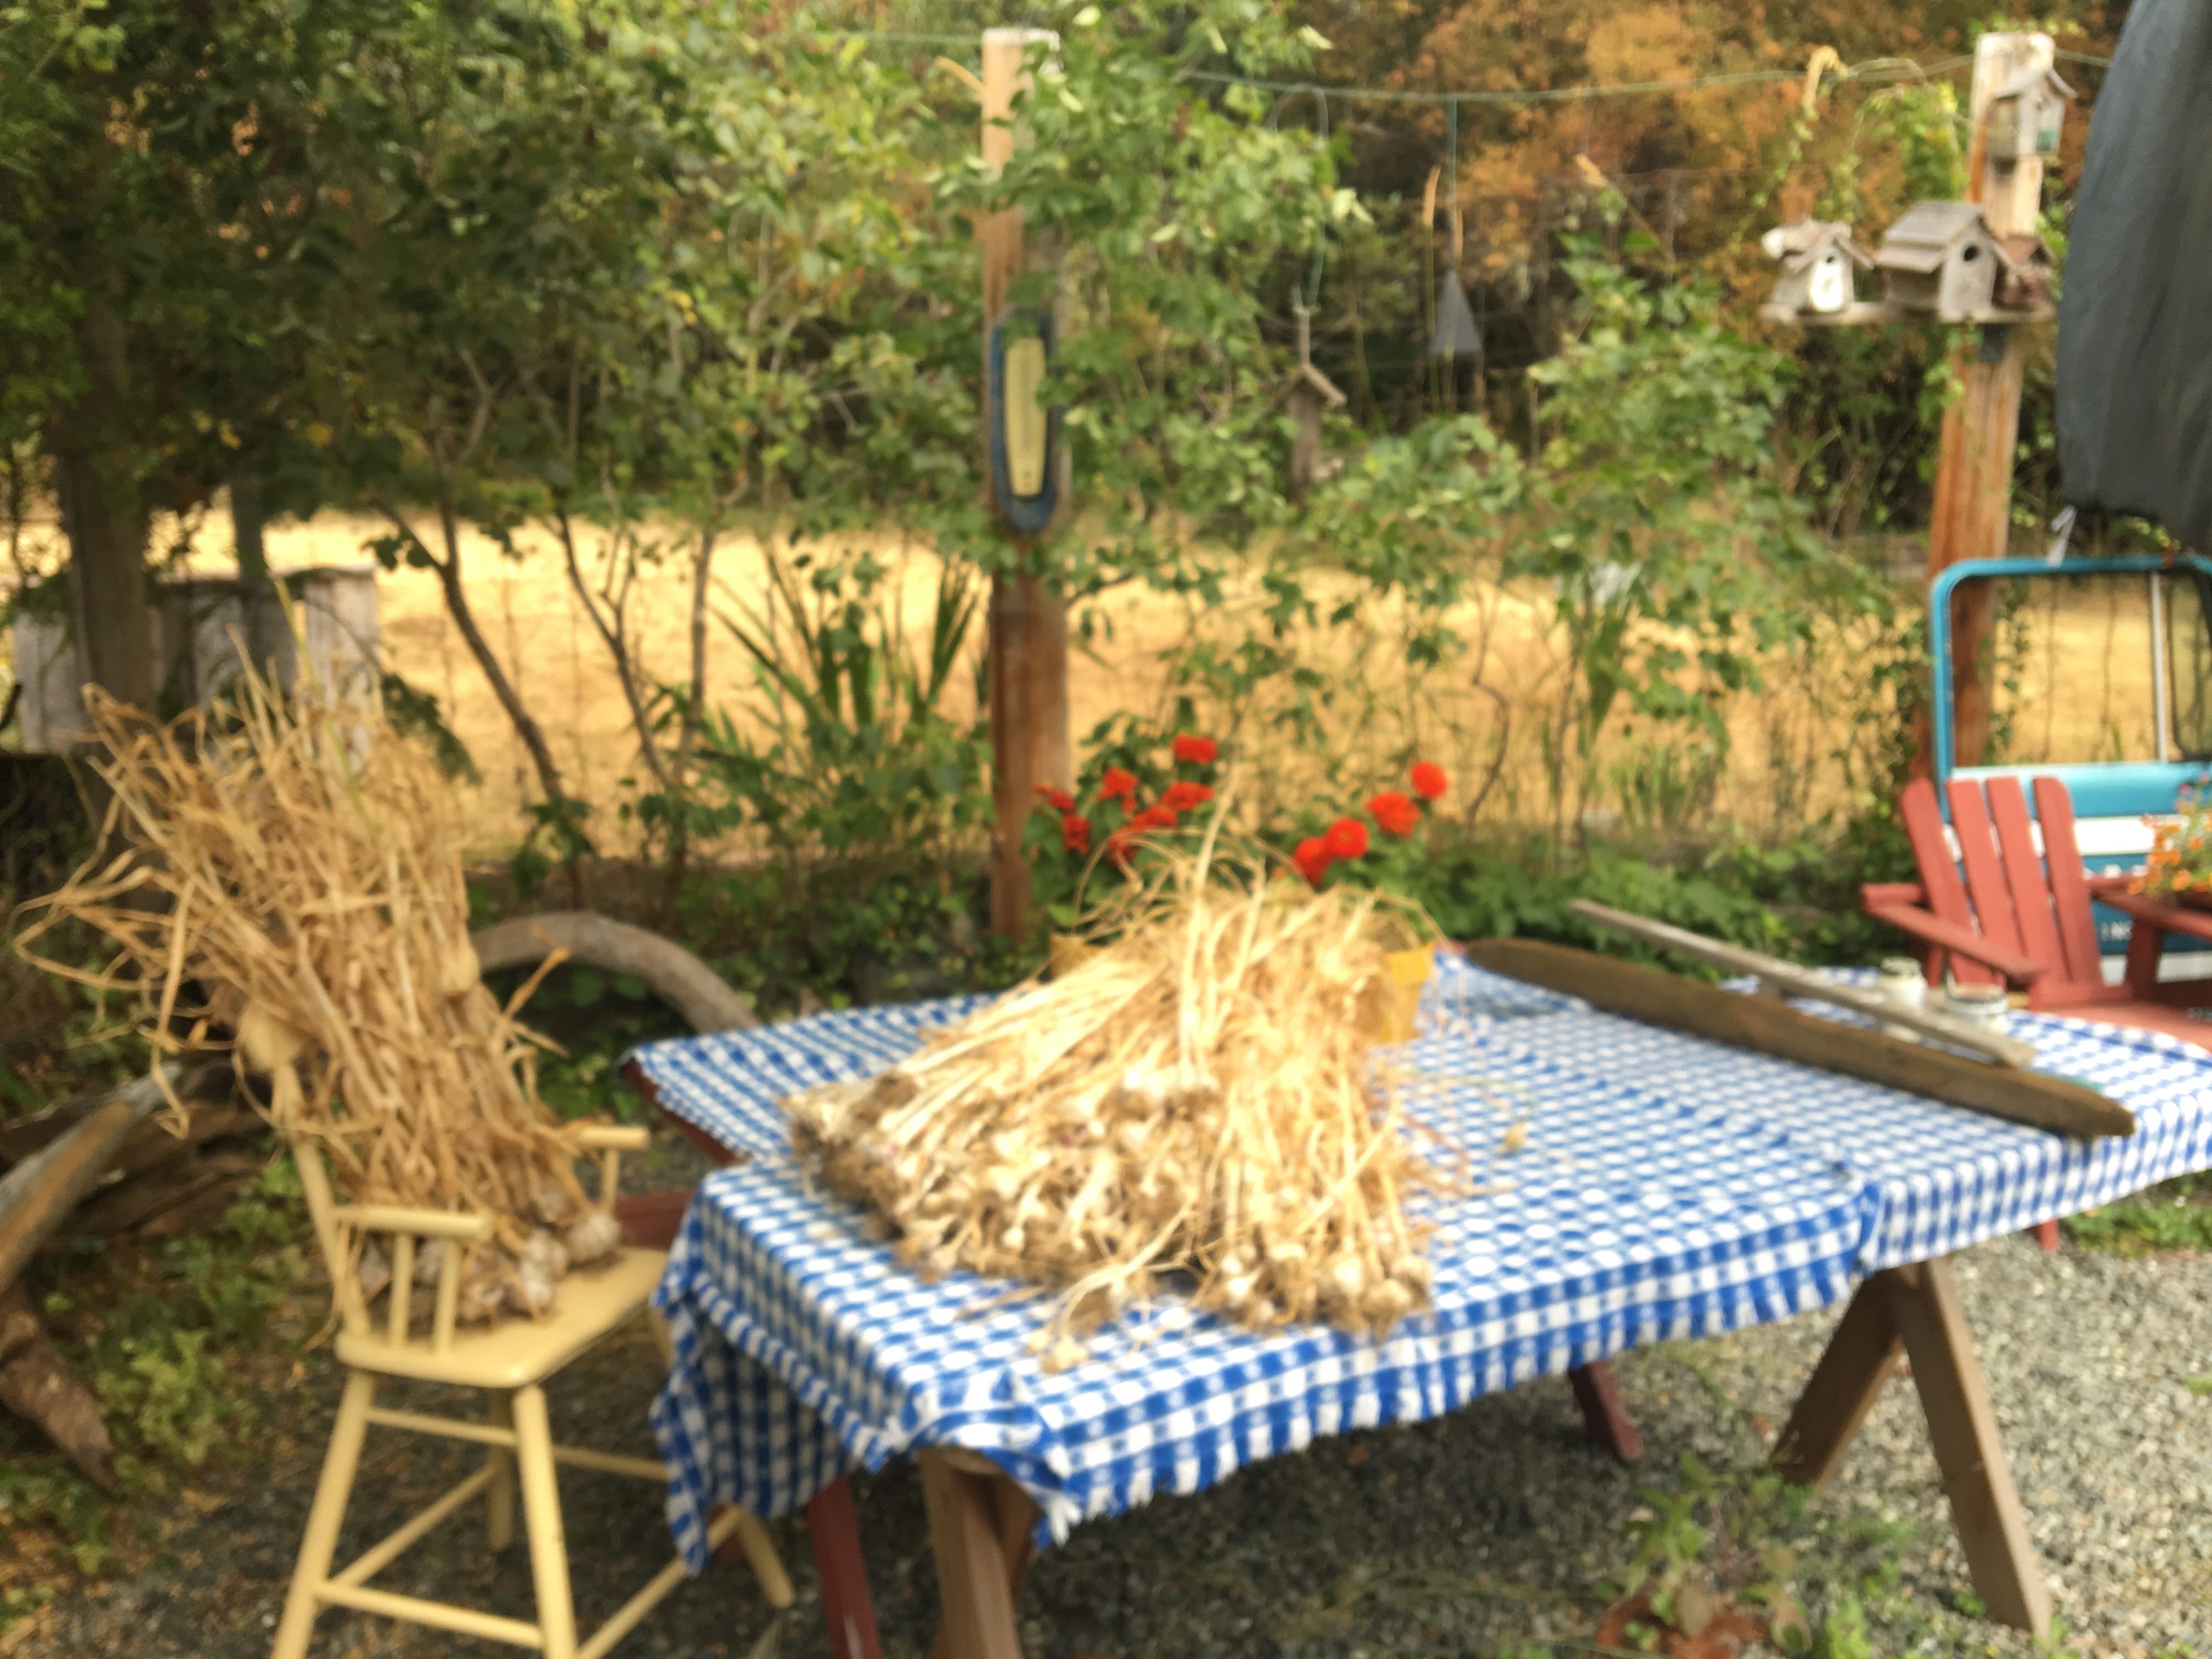
Garlic drying in the sun. Going to learn to braid this summer!
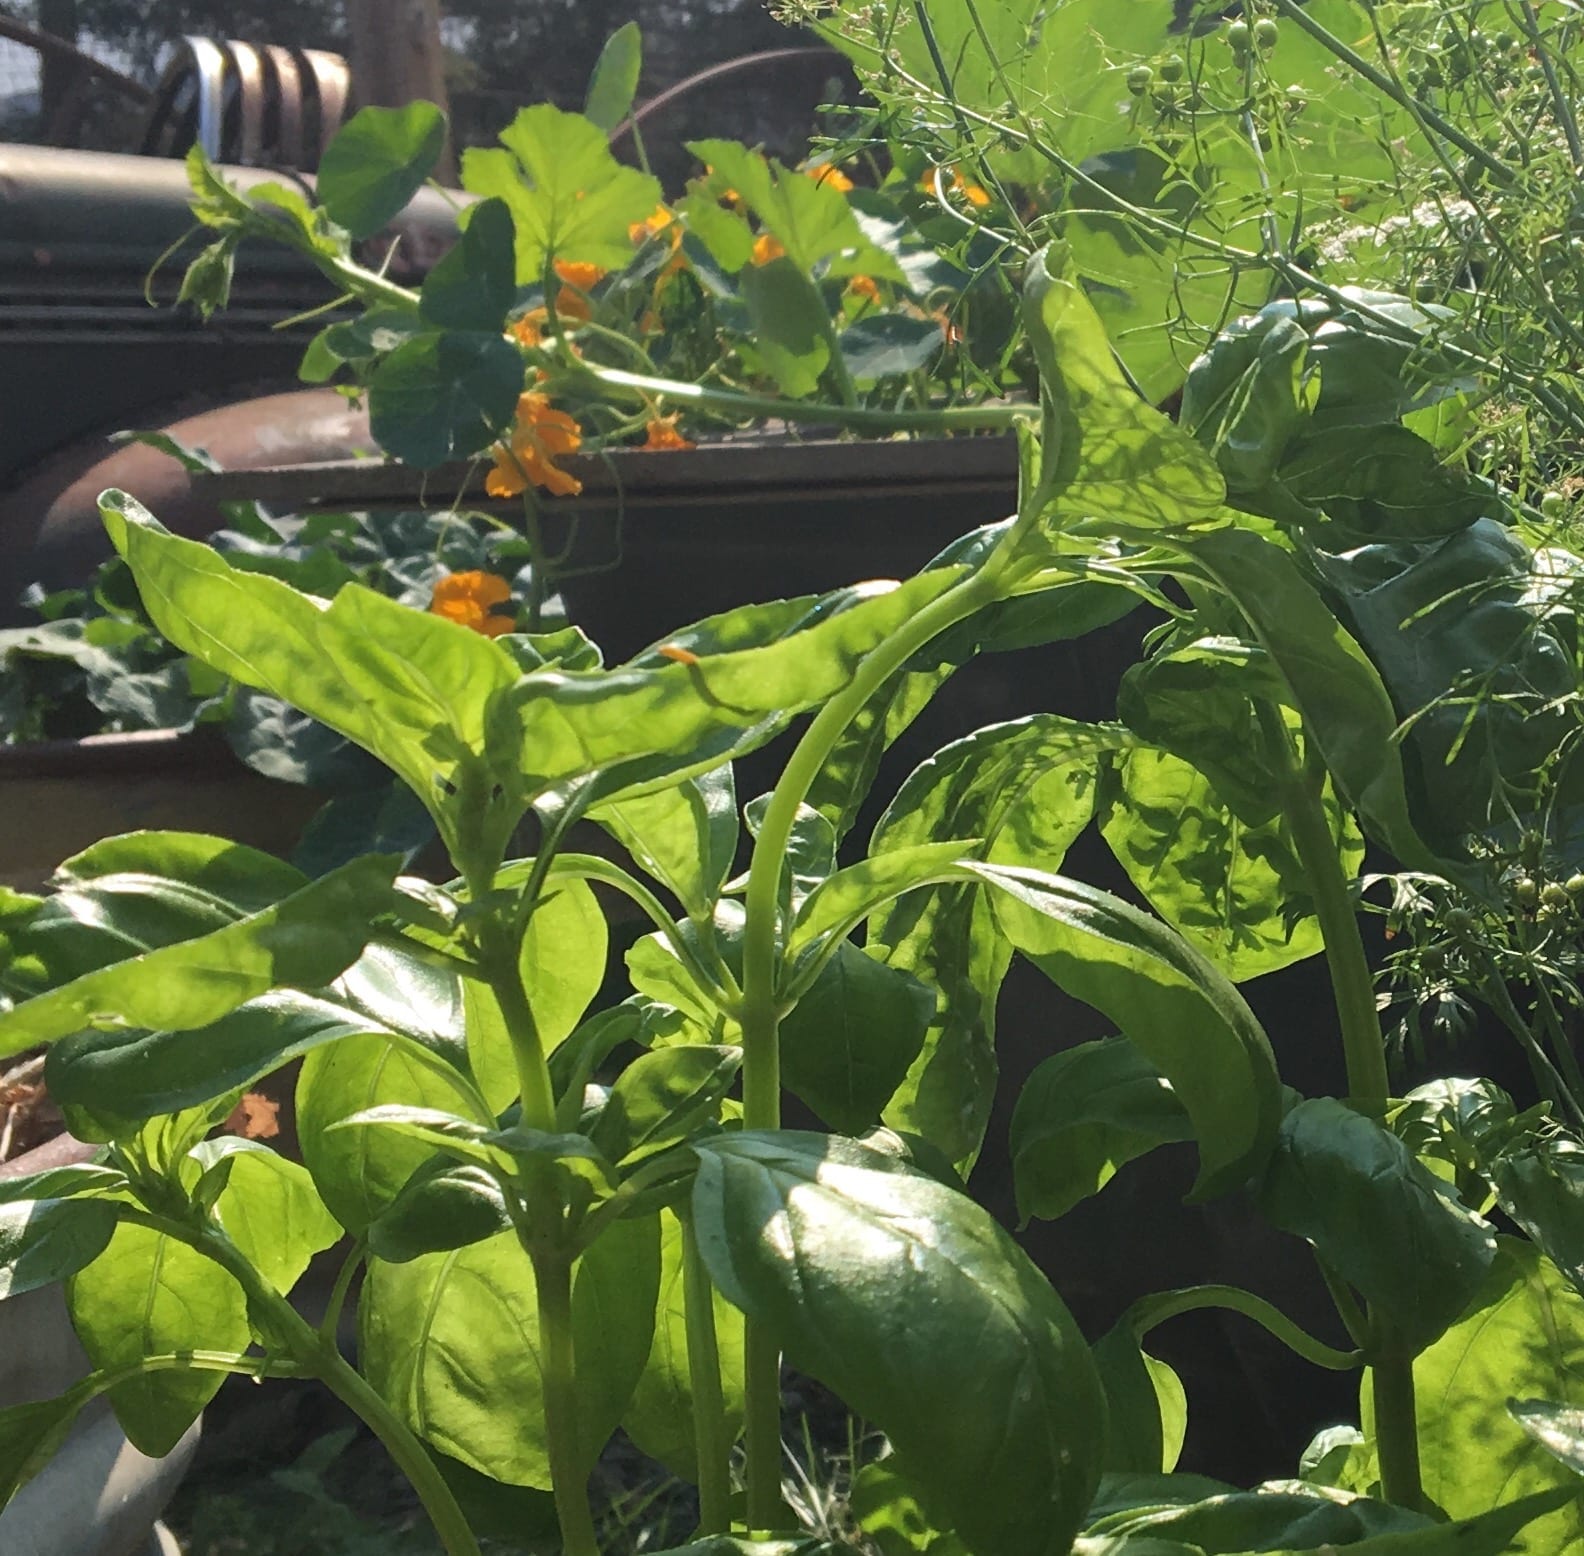
Basil love

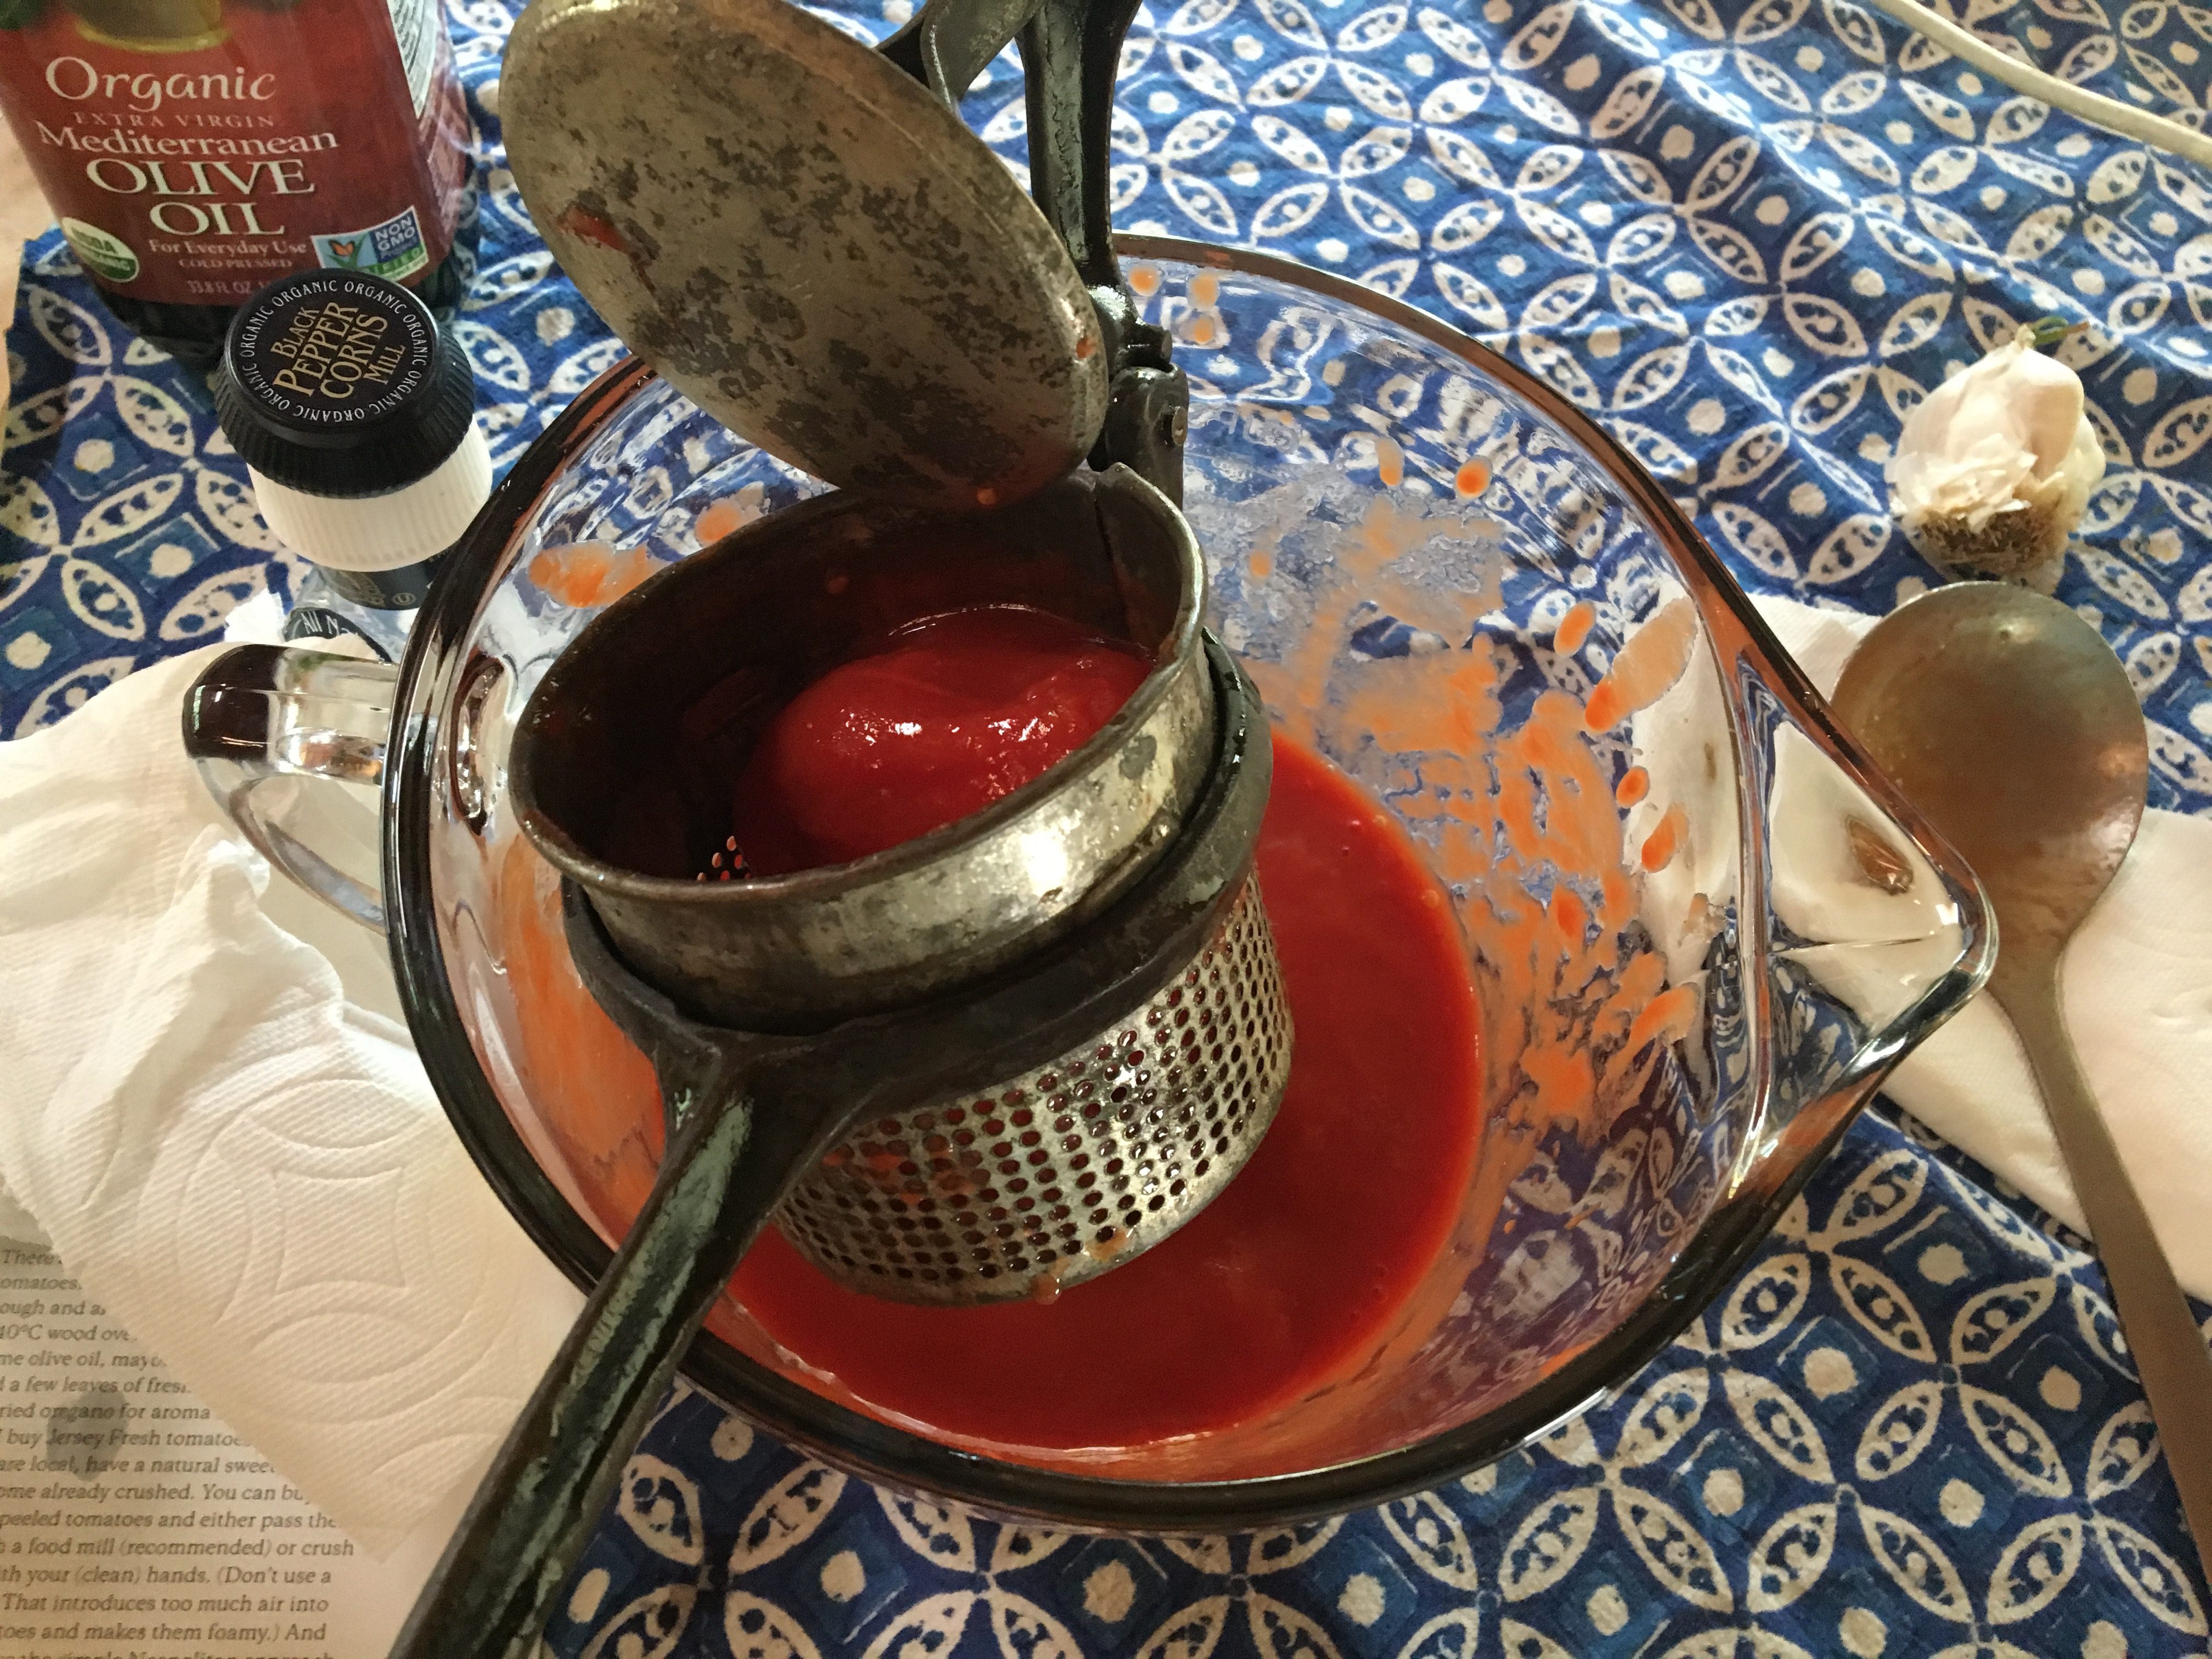
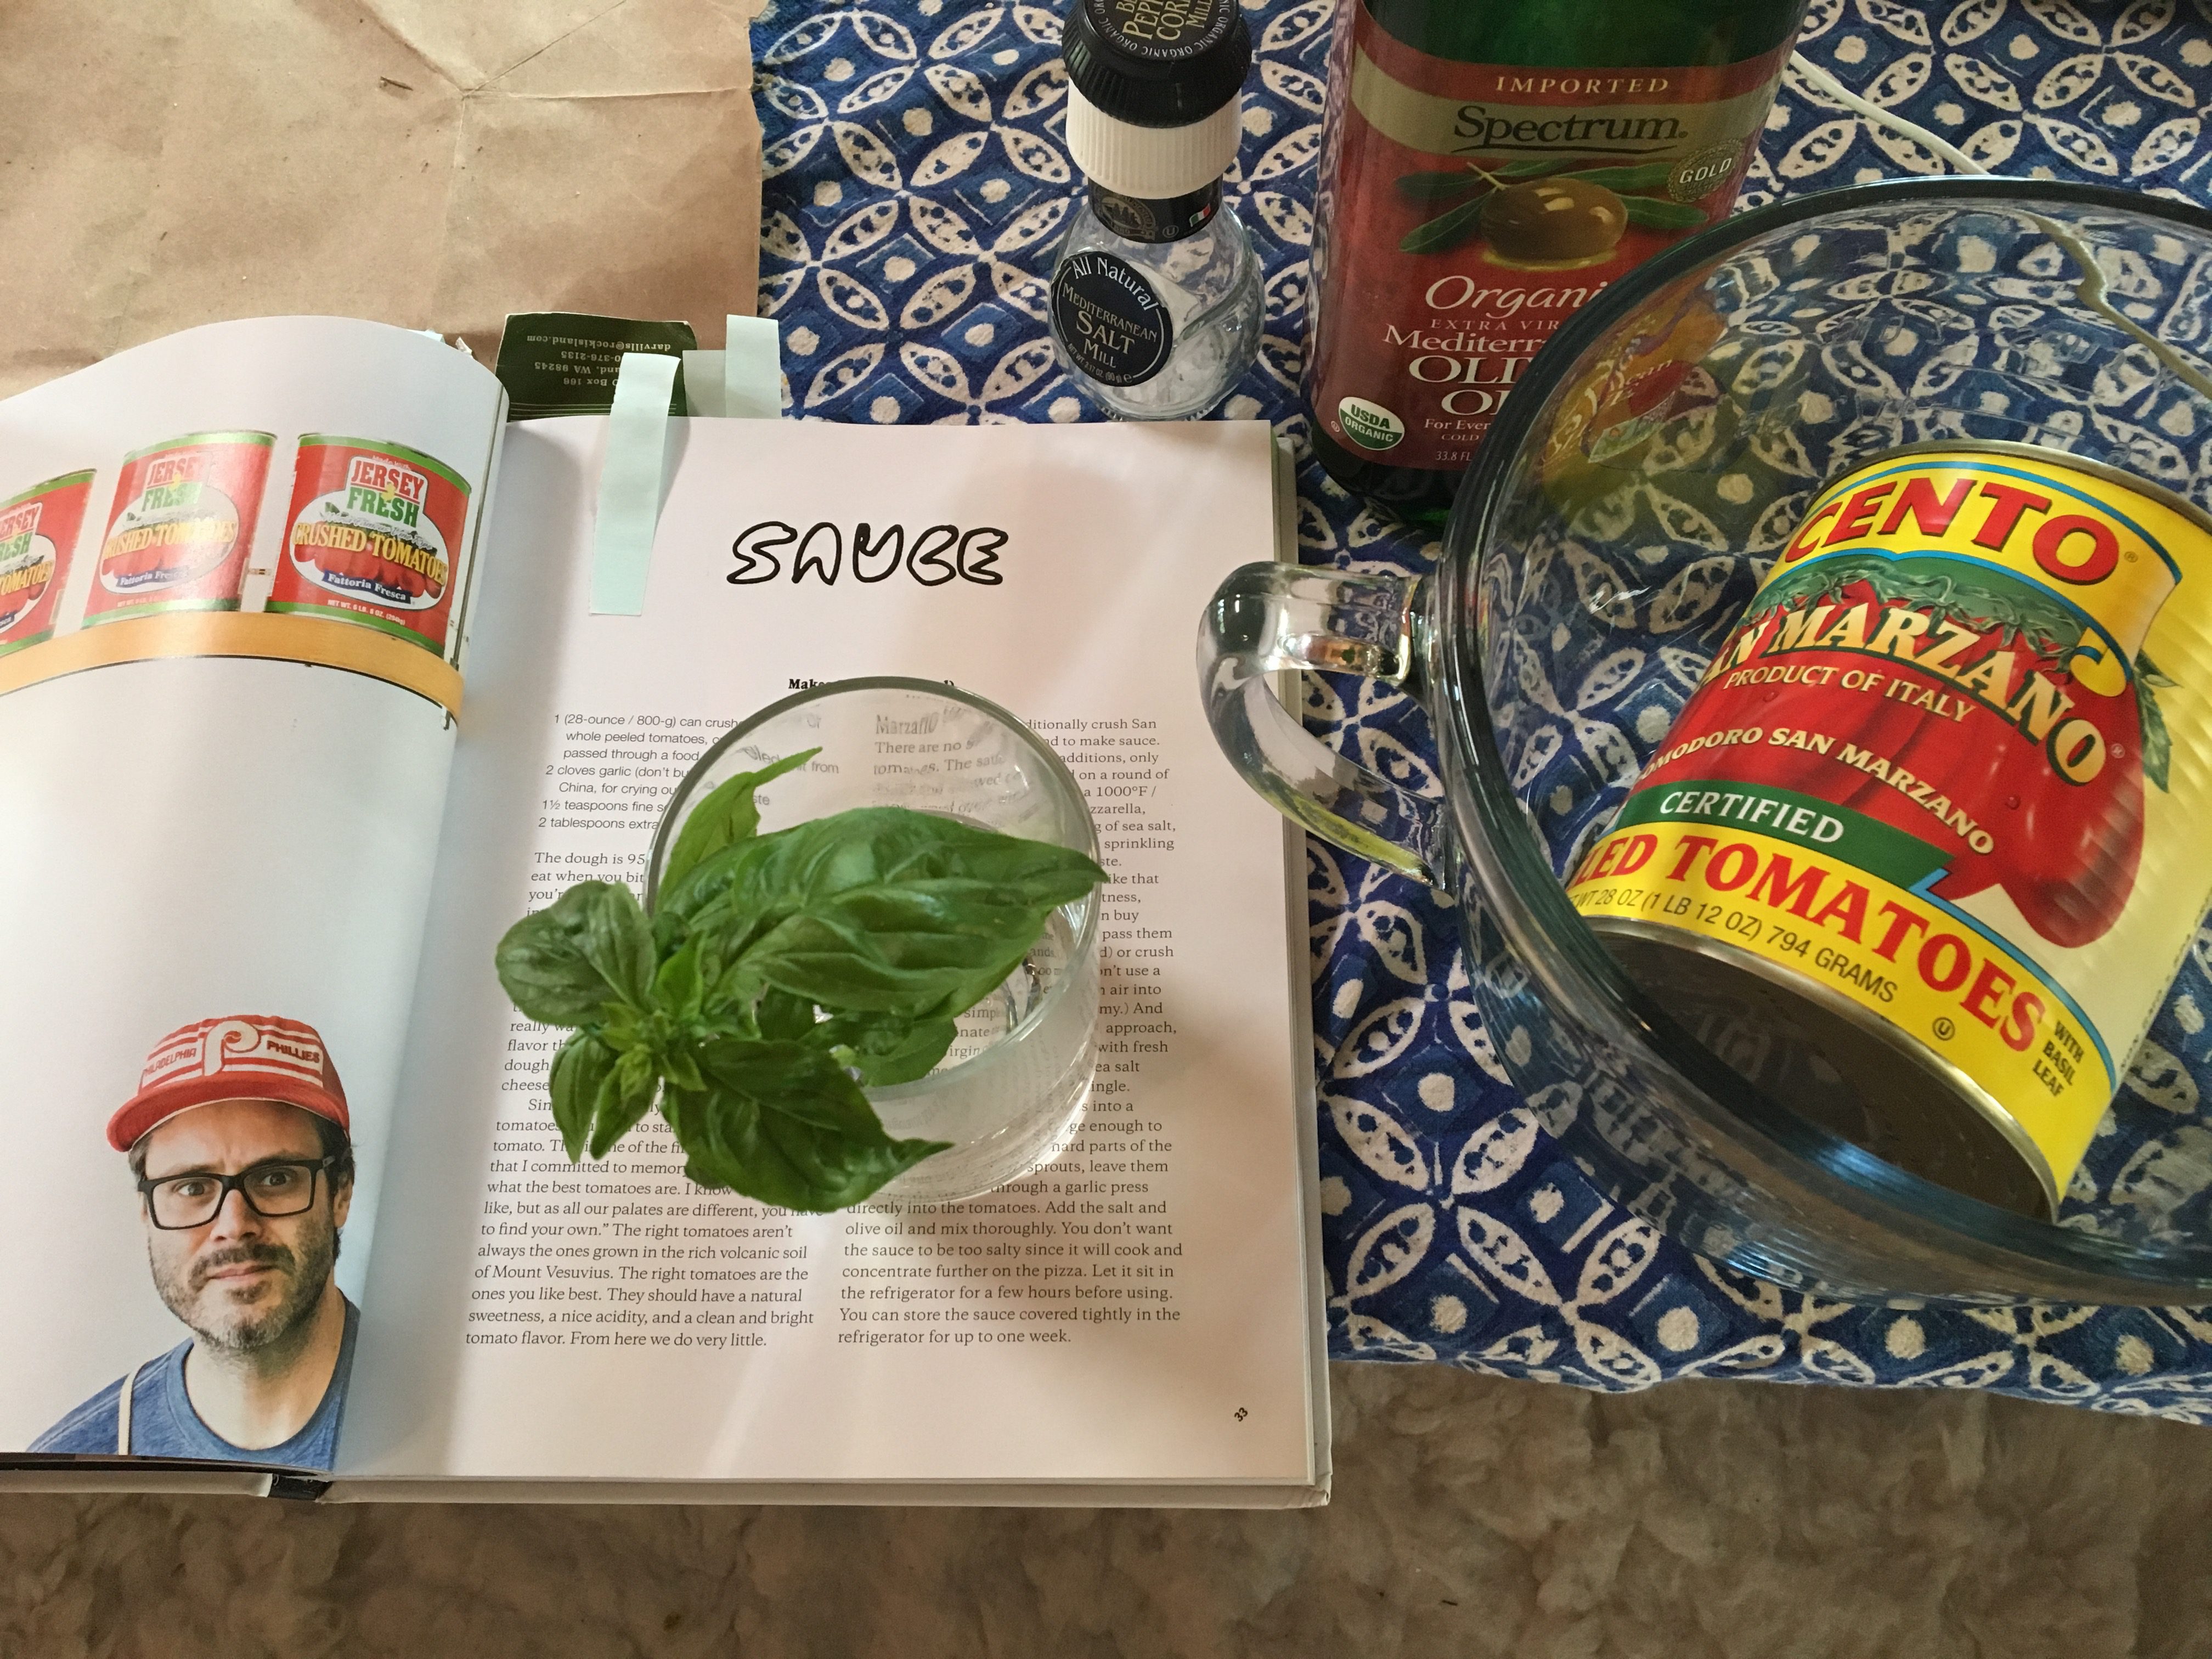
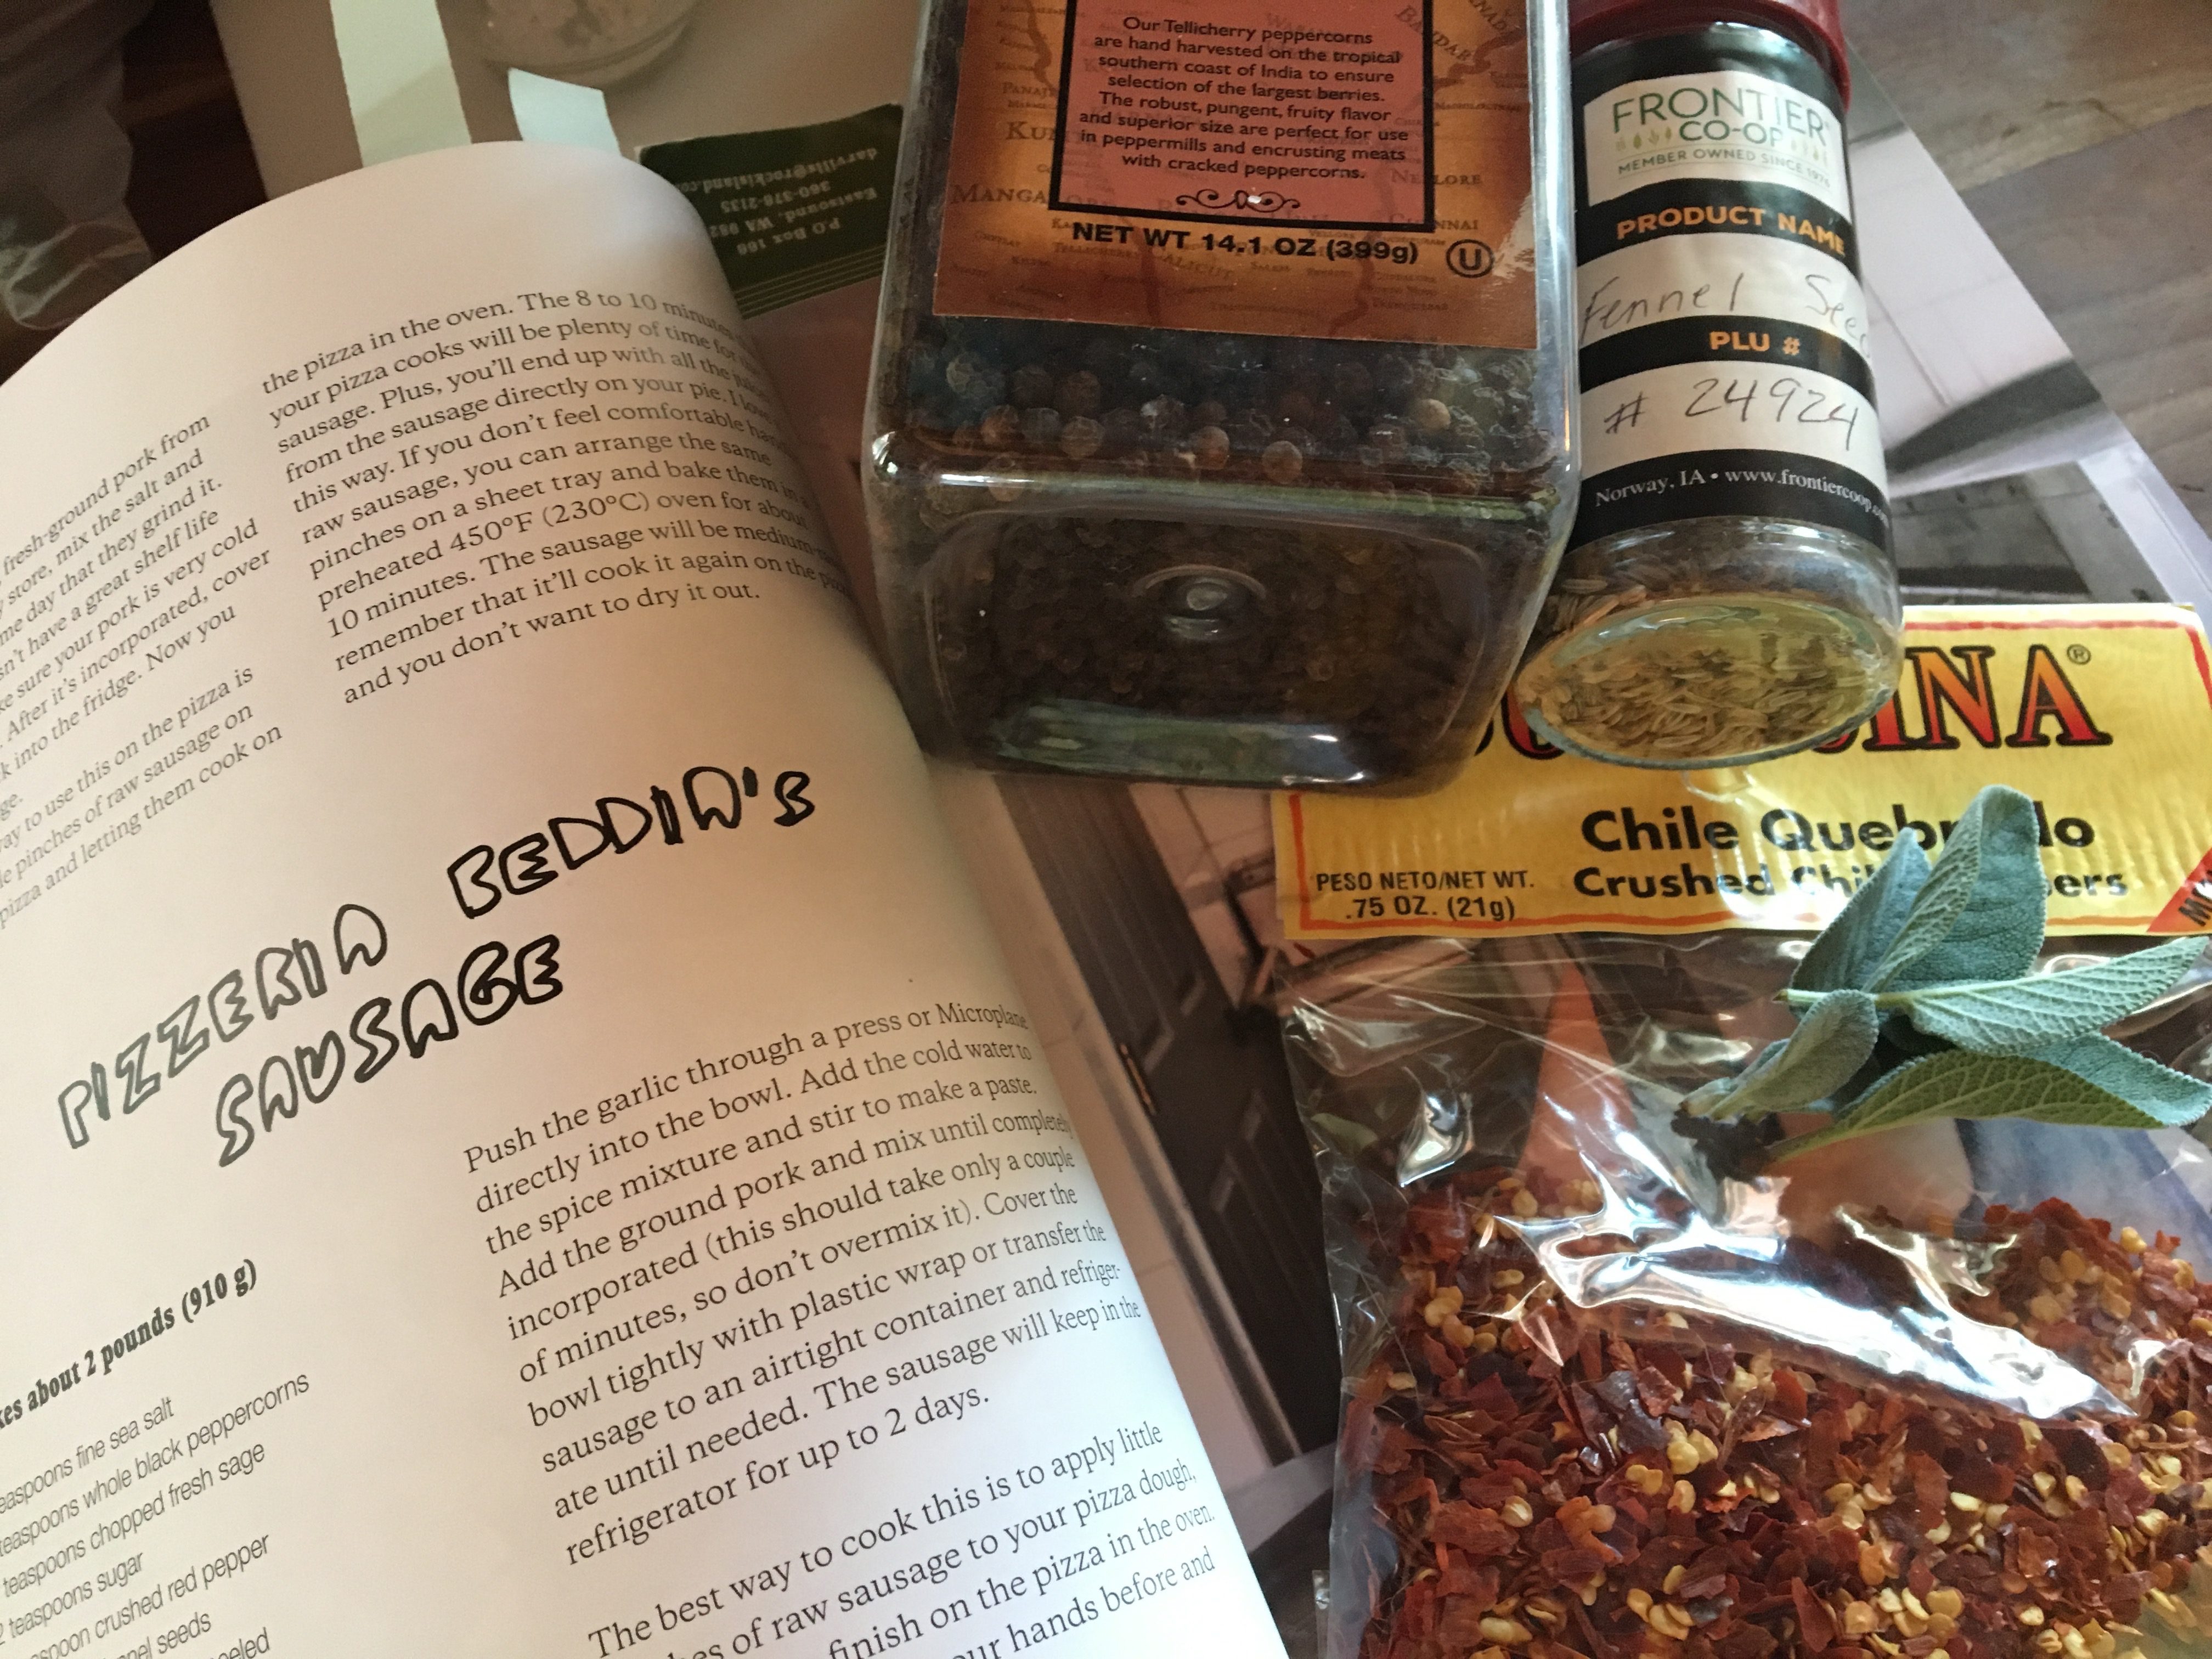
The sauce. I always thought you cooked up a batch of grandma’s secret tomato sauce and let it simmer for hours on the cooktop. No, Joe says they never cook the sauce in Naples. He recommends a nice fresh and bright tomato sauce, which comes with using the right tomatoes. So I read on. Joe uses Jersey Fresh crushed tomatoes in a can. A CAN!!! Ok, I can do this, FYI- I did go to Maple Rock Farm stand down the road and purchased fresh island grown tomatoes. Just in case. Continuing to read more from Pizza Camp, I learn the canned tomatoes, garlic and salt need to sit for a few hours in the fridge to meld flavors. I found canned tomatoes at Island Market from Italy – yes in a can.

Cheese will include fresh mozzarella and a hard cheese purchased at Roses Bakery. I think I will search for some local fresh goat cheese for the next time – Wendy Thomas, I’m headed out your way soon, girl.

Now what will I choose for toppings? Well I think a simple marguerita is a must. Just cheese and fresh basil – I can do this, and get a chance to go thank my garden once again for providing me with peace of mind and room for dreaming and creating good food. I wanted something a bit more for the second disc of saucy goodness, so I pulled some local pork out of the freezer. Pizza Camp shares many styles and types of toppings, one being Pizzeria Beddin’s Sausage – perfect!

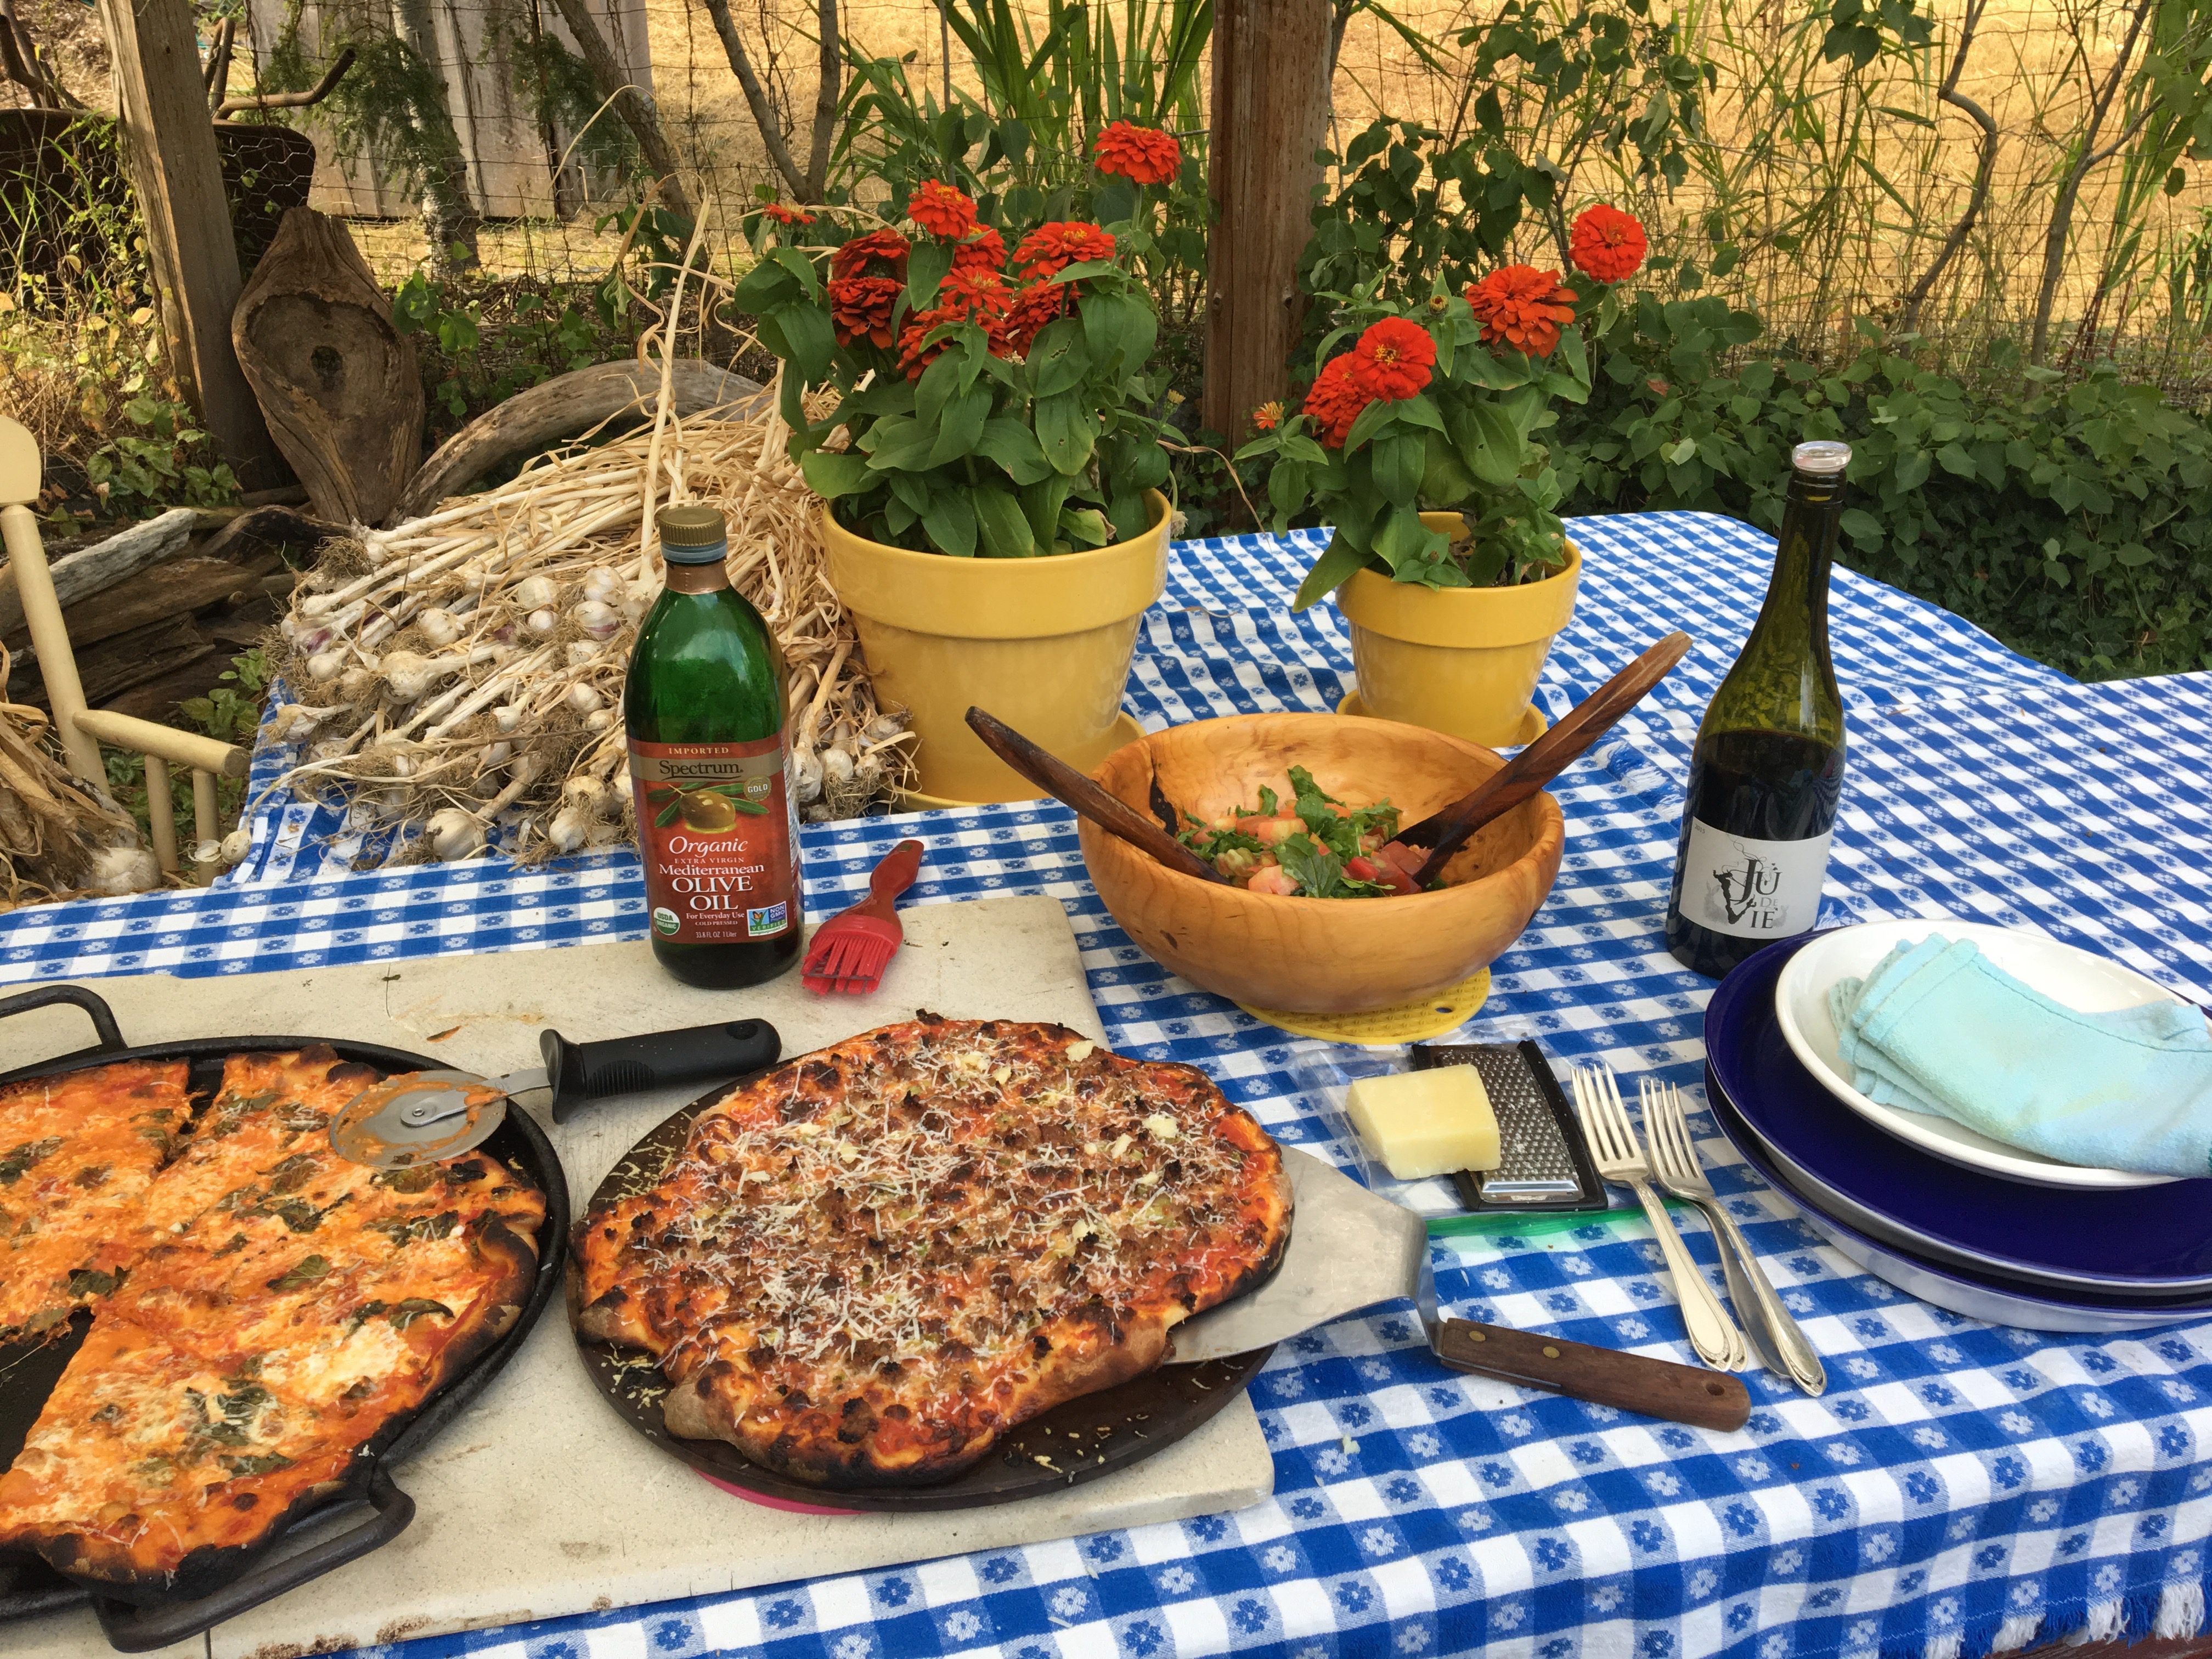
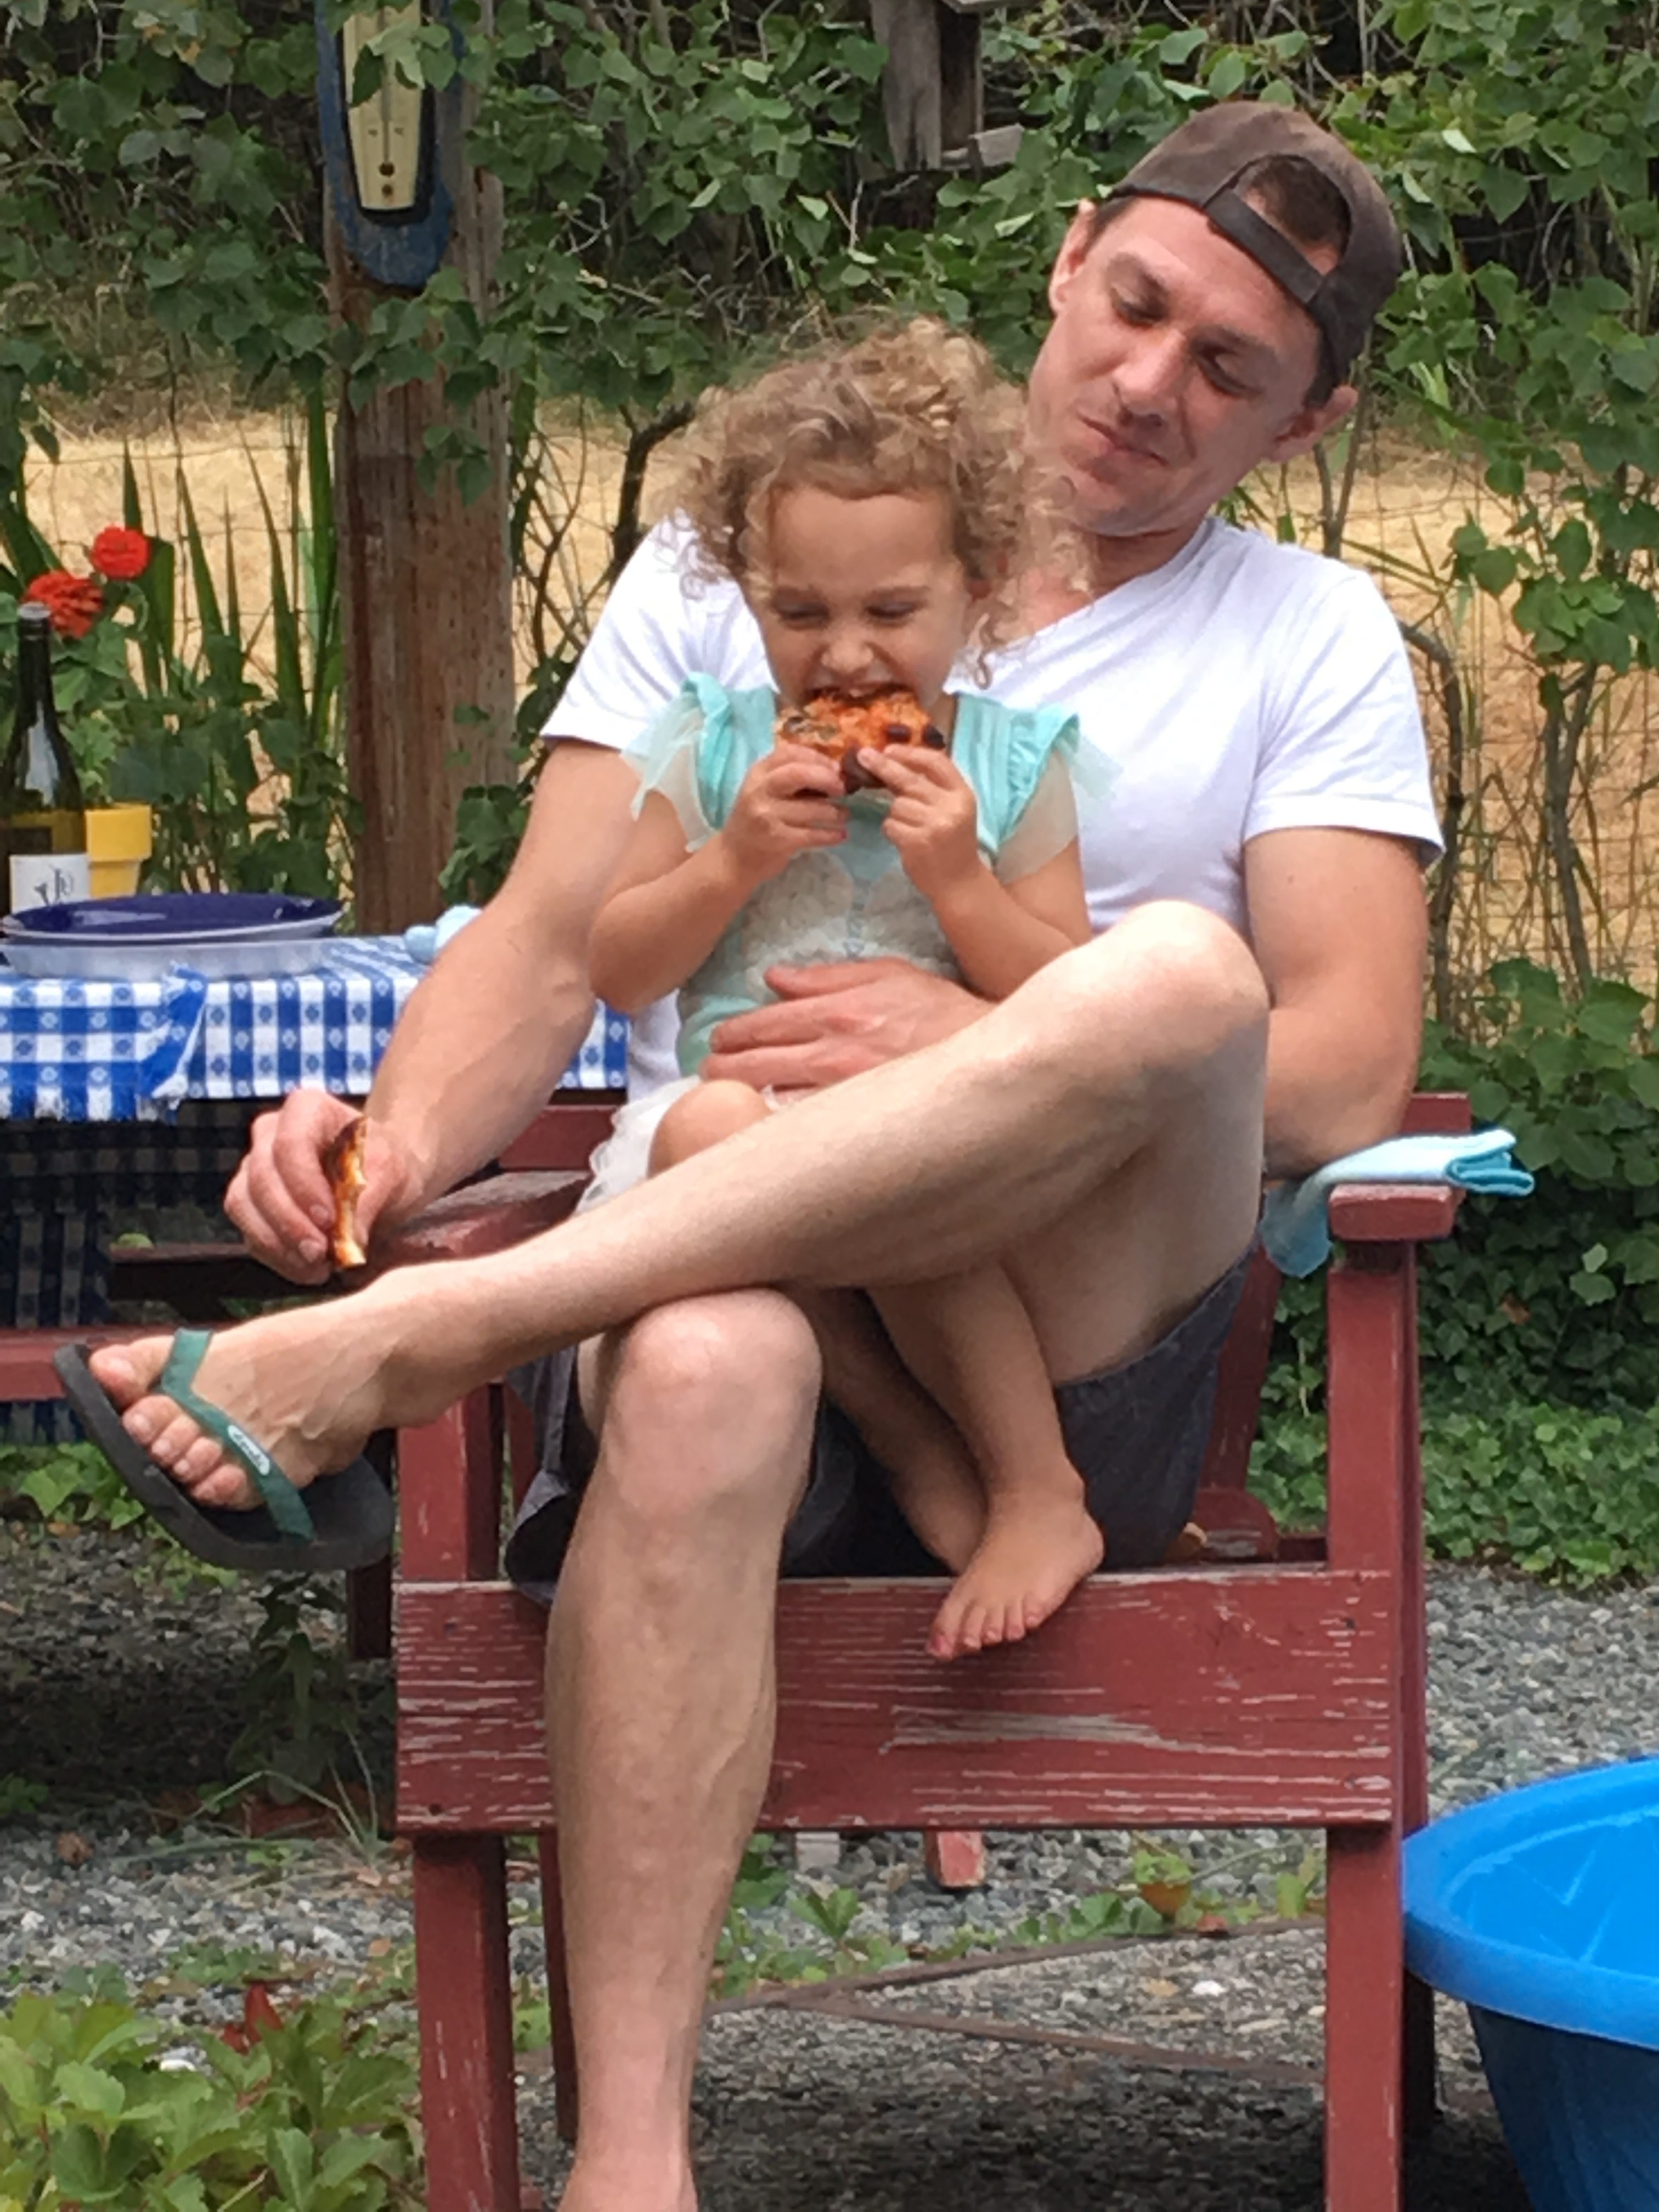
Anticipation is a wonderful thing. I could not enjoy this pizza experience by myself so made a short last minute call to Cory, Monee and Eleanor to come to Gramma T’s back yard bbq pizza oven. I believe this can work with my cast-iron flat pan. Yes, why not. Too early in the game to order a wood fired pizza oven to be constructed in my patio (save these dreams for when I am making dough).

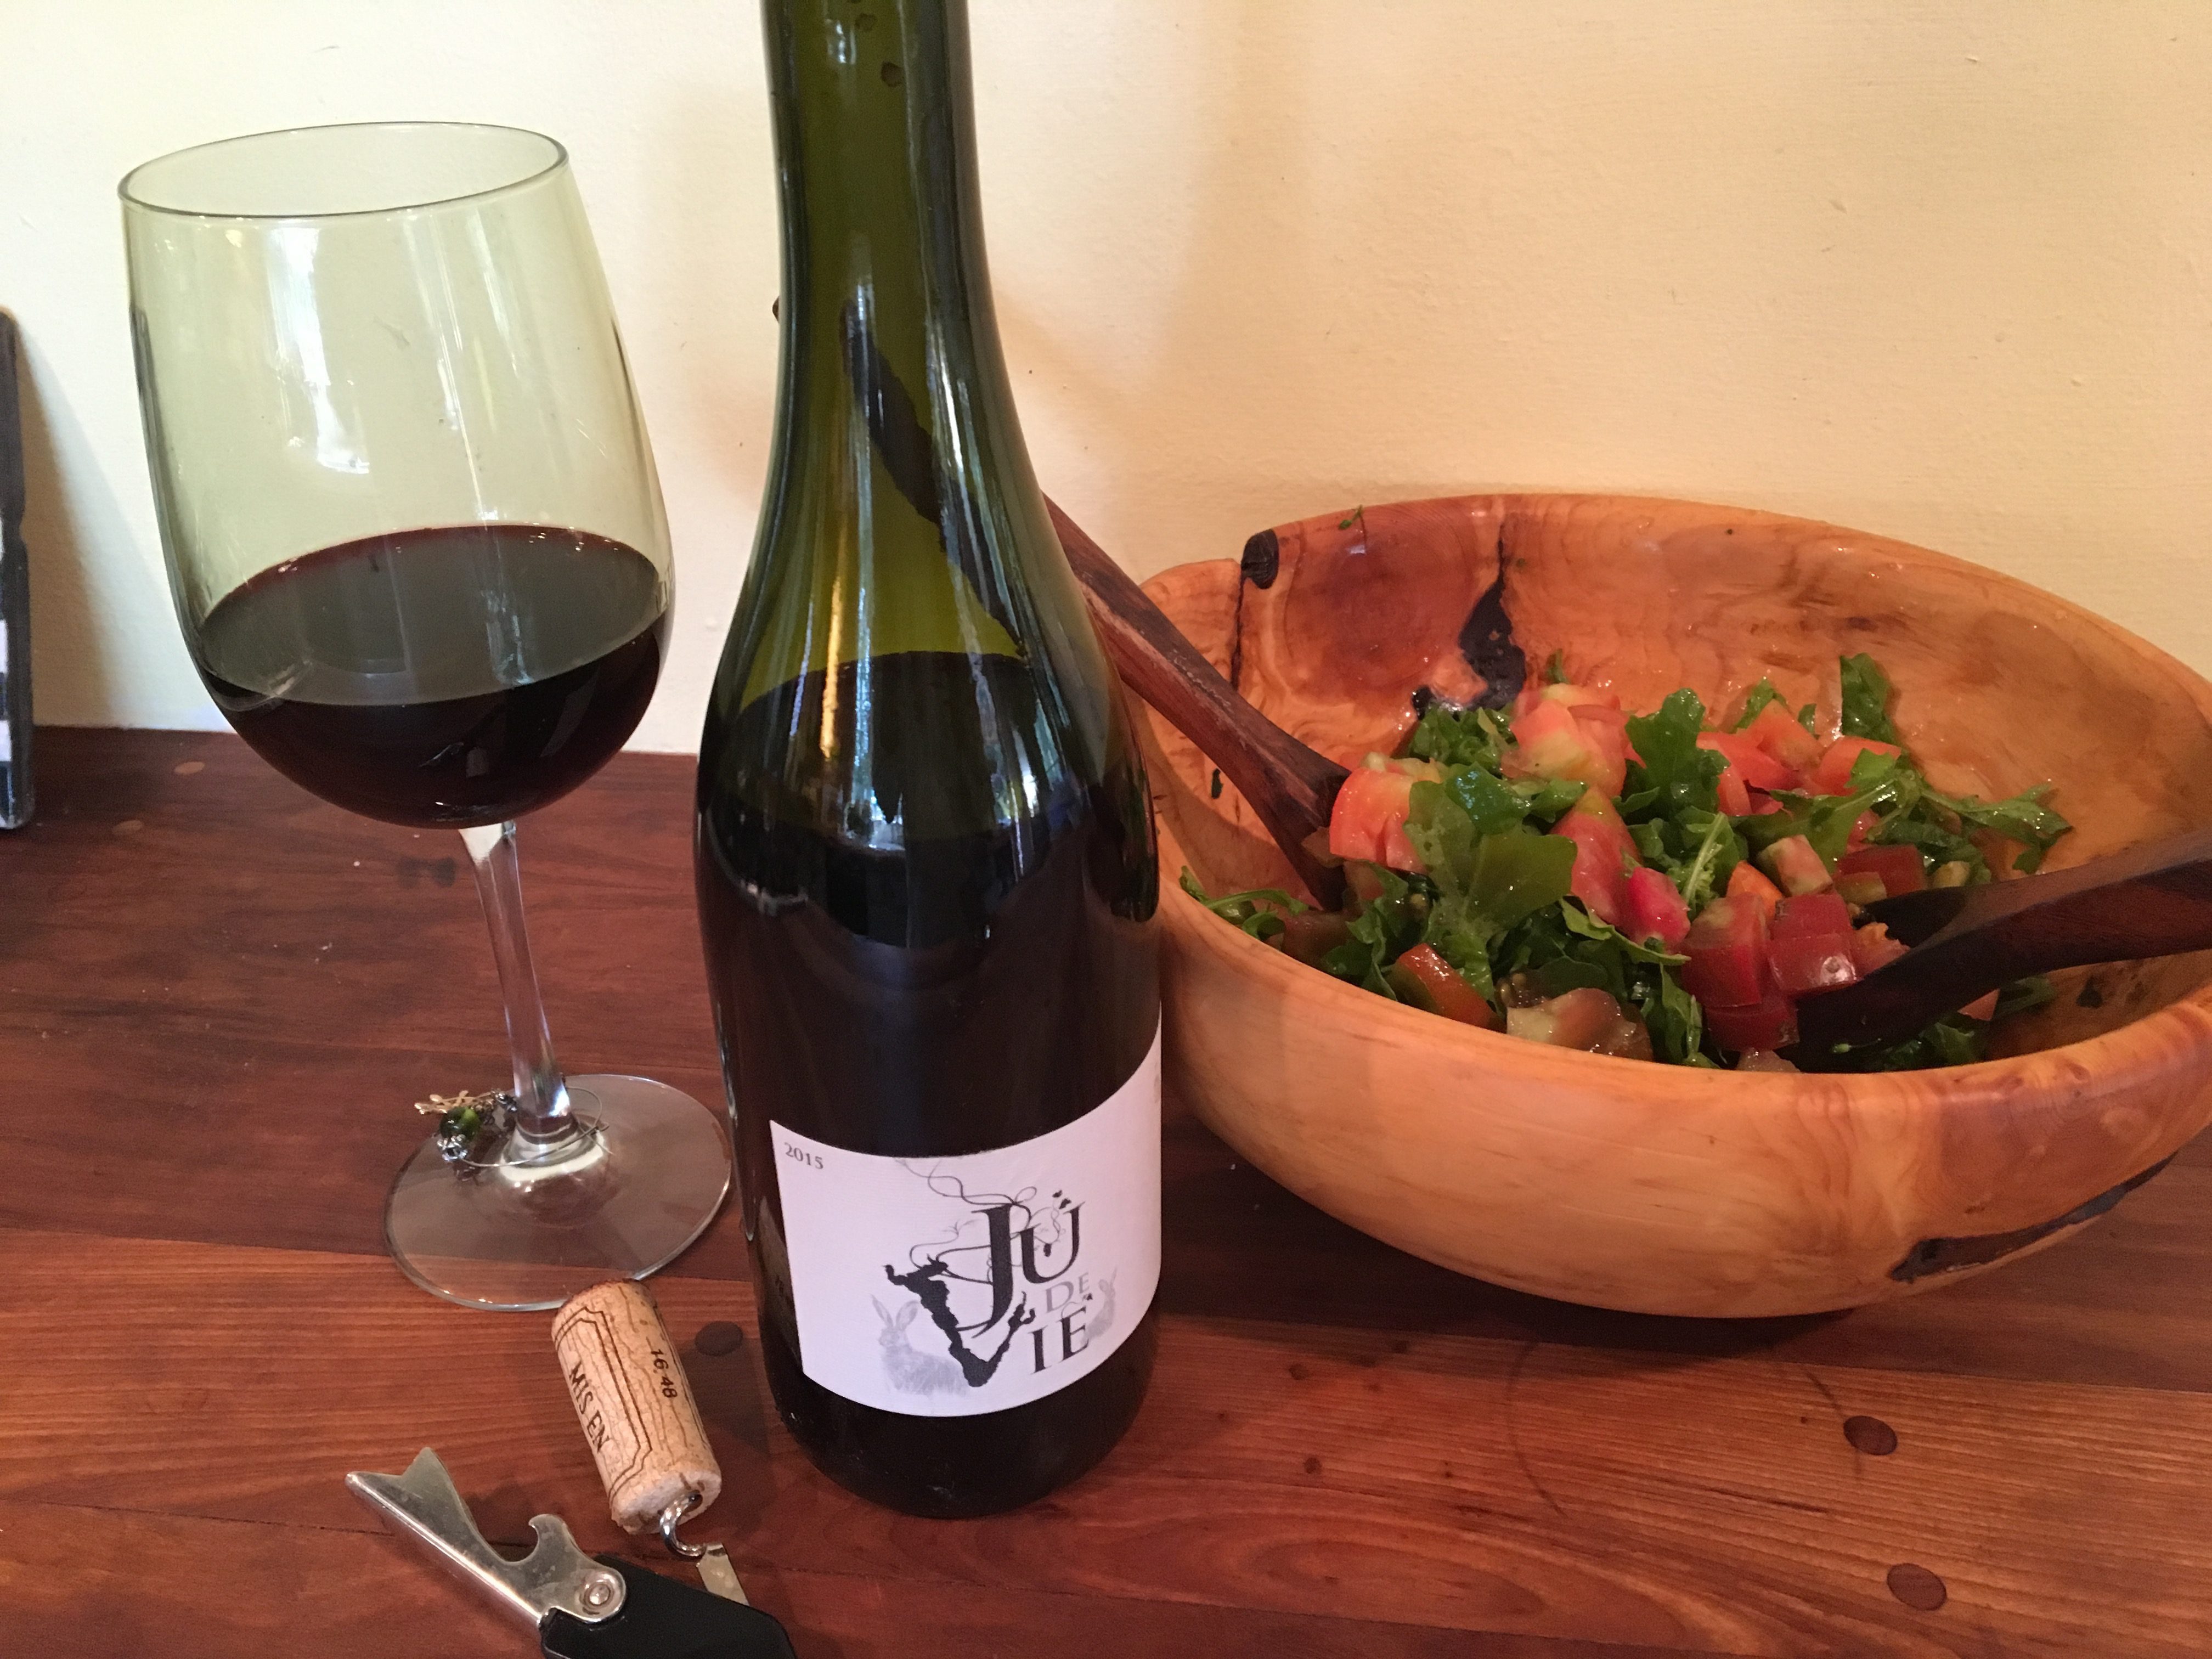
Ju DE VIE from tasting at Doe Bay Wine Company

.


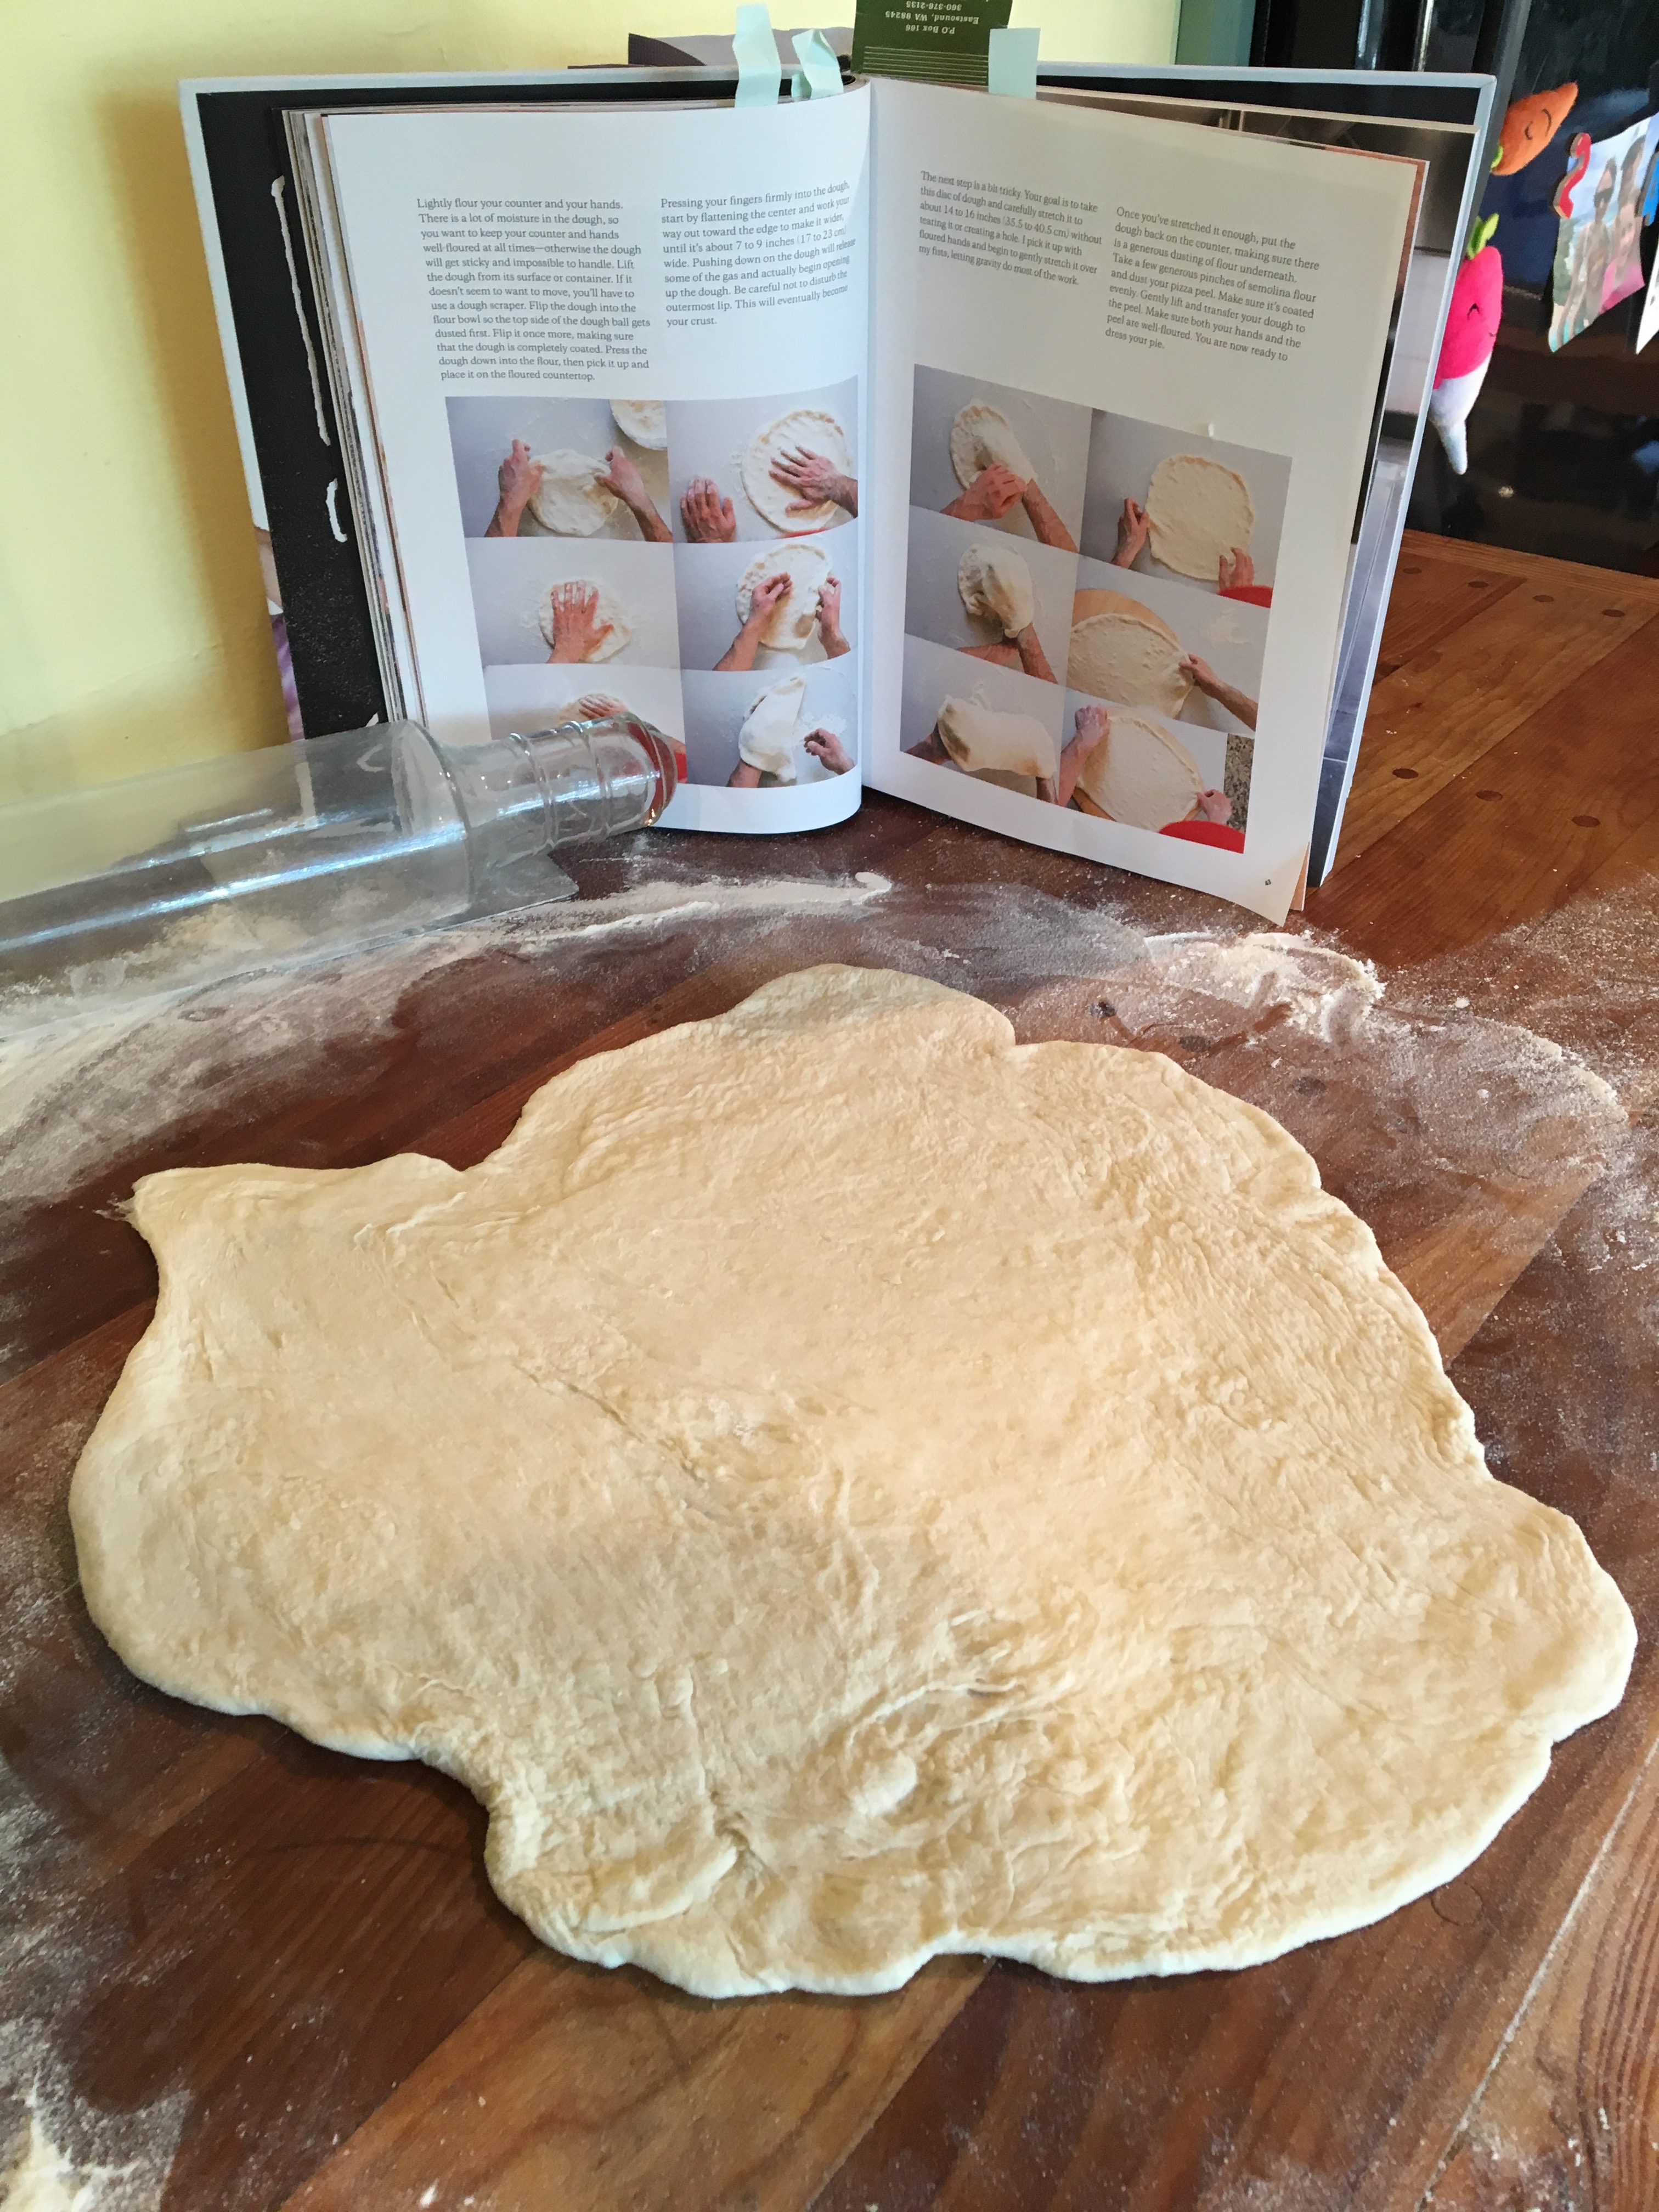
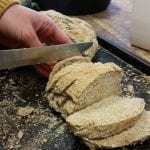
This was the hardest part and I have to say, I cheated and used my Grandma’s rolling pin. Need to do some recon on what is the trick to pushing, pulling and stretching the dough.

After Notes:

You need a pizza peel. I’ll save you the details on this, just believe me. And, do not grease your pan with olive oil. Avocado oil will stand the heat much better.

The two days of planning was a tasty success. I still love pizza and am already dreaming up the next PIZZA CAMP!

Comments Off on Pizza Camp

Filed under Family Life, Gardening, Recipes, Uncategorized

Saucy Cranberries

teri-williams-summer-cropBy Teri Williams

I am always looking for a new spin on a traditional holiday meal. While reading through my new Rodale’s Organic Life magazine, I came across this Pickled Cranberries recipe and seasonal Kale Salad. Pickling is super easy, with very few ingredients and results in a big flavor with many uses. I sealed several jars of the pickled cranberries and will give out as hostess gifts throughout the holiday season. And if you come to my house over the holiday season, you most likely will be served a fresh cranberry cocktail and a side of healthy kale salad!

Pickled Cranberries (makes 2.5 cups)
Note: Always use fresh organic cranberries.
fullsizerender-2

In a medium saucepan, combine 3/4 cup sugar and 1-1/2 cups of red wine vinegar. Tie 1/2 tsp. of coriander seeds and 1/2 tsp. peppercorns in a square of cheesecloth and add to the pan. Bring to a boil over medium heat, stirring until sugar dissolves.

Add 10-12 oz. fresh or frozen cranberries and bring back to a boil. Lower heat to a simmer and cook until skins begin to split, 2-3 minutes. Let cool in saucepan, remove and discard spice sachet, and transfer cranberries and liquid to a jar. Refrigerate in sealed jar until ready to use. Pickled cranberries will keep for a few weeks; or process to seal according to canning practices.

2016-11-13-14-17-18
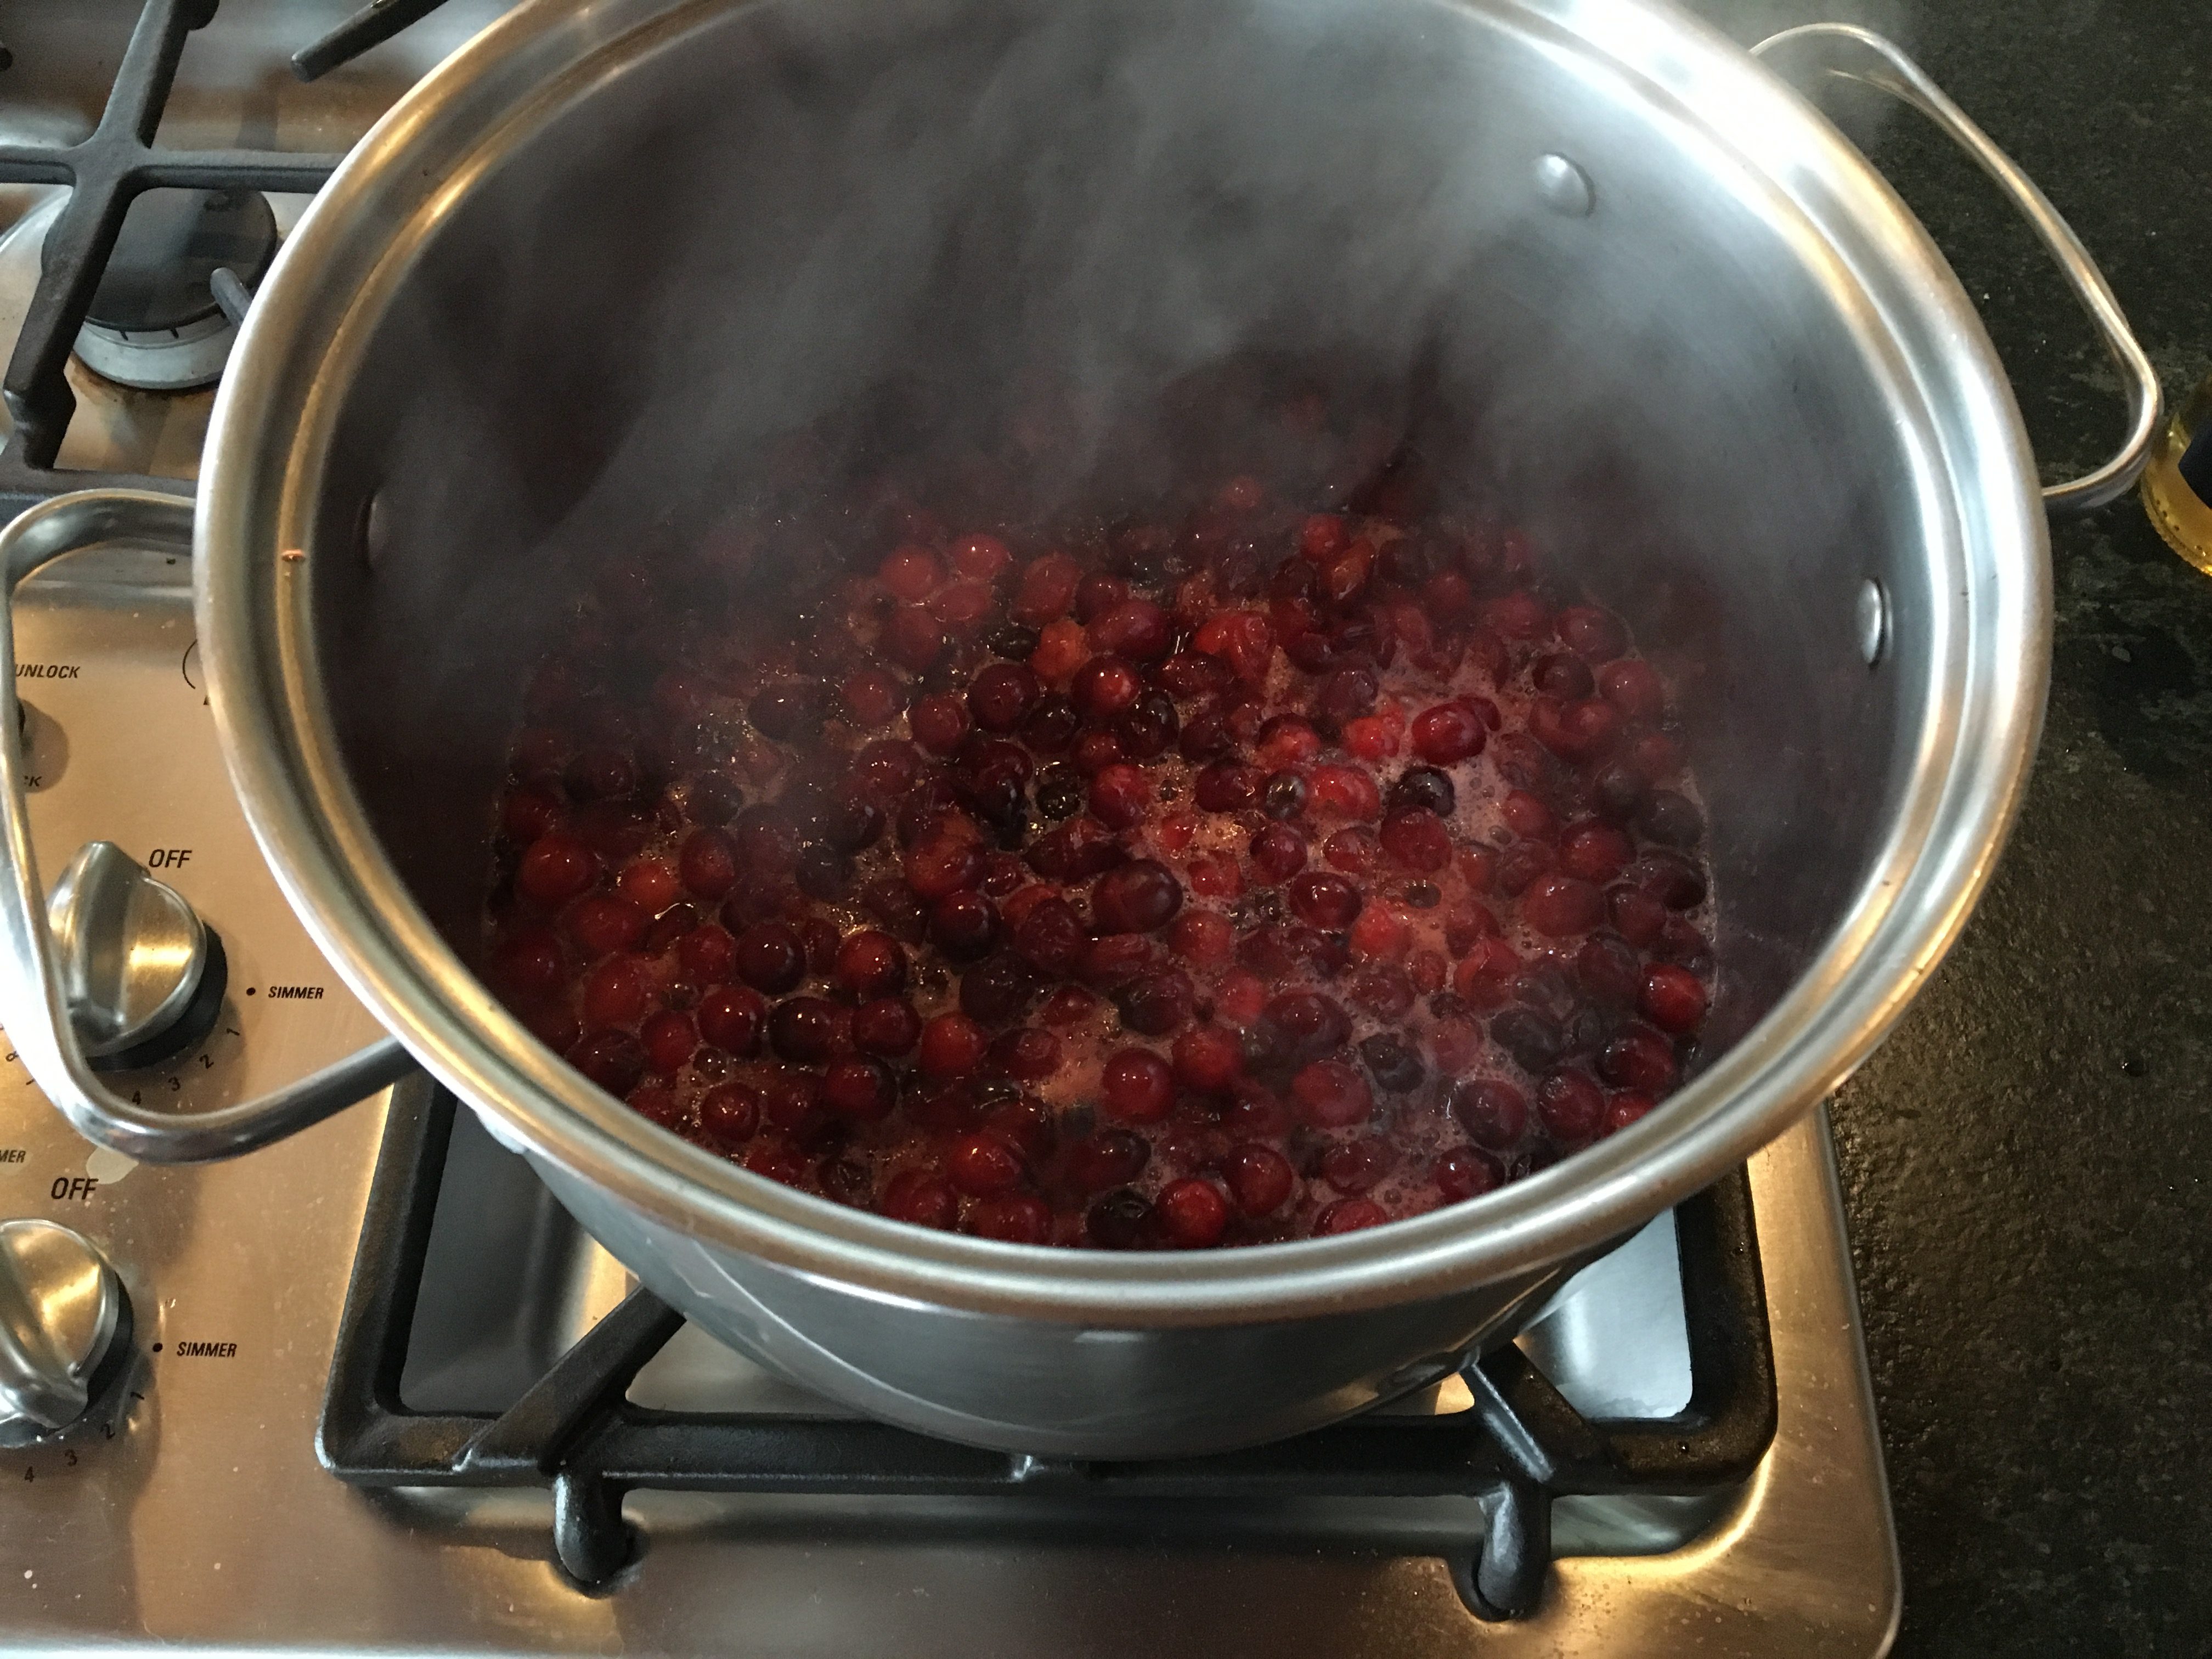
The liquid can be strained to use in cocktails, and the pickled cranberries can be tossed into salads and stuffings.

My favorite easy hors d’oeuvre is as follows:

Slice baguette into 1/4-inch slices (may 2016-11-13-14-54-19
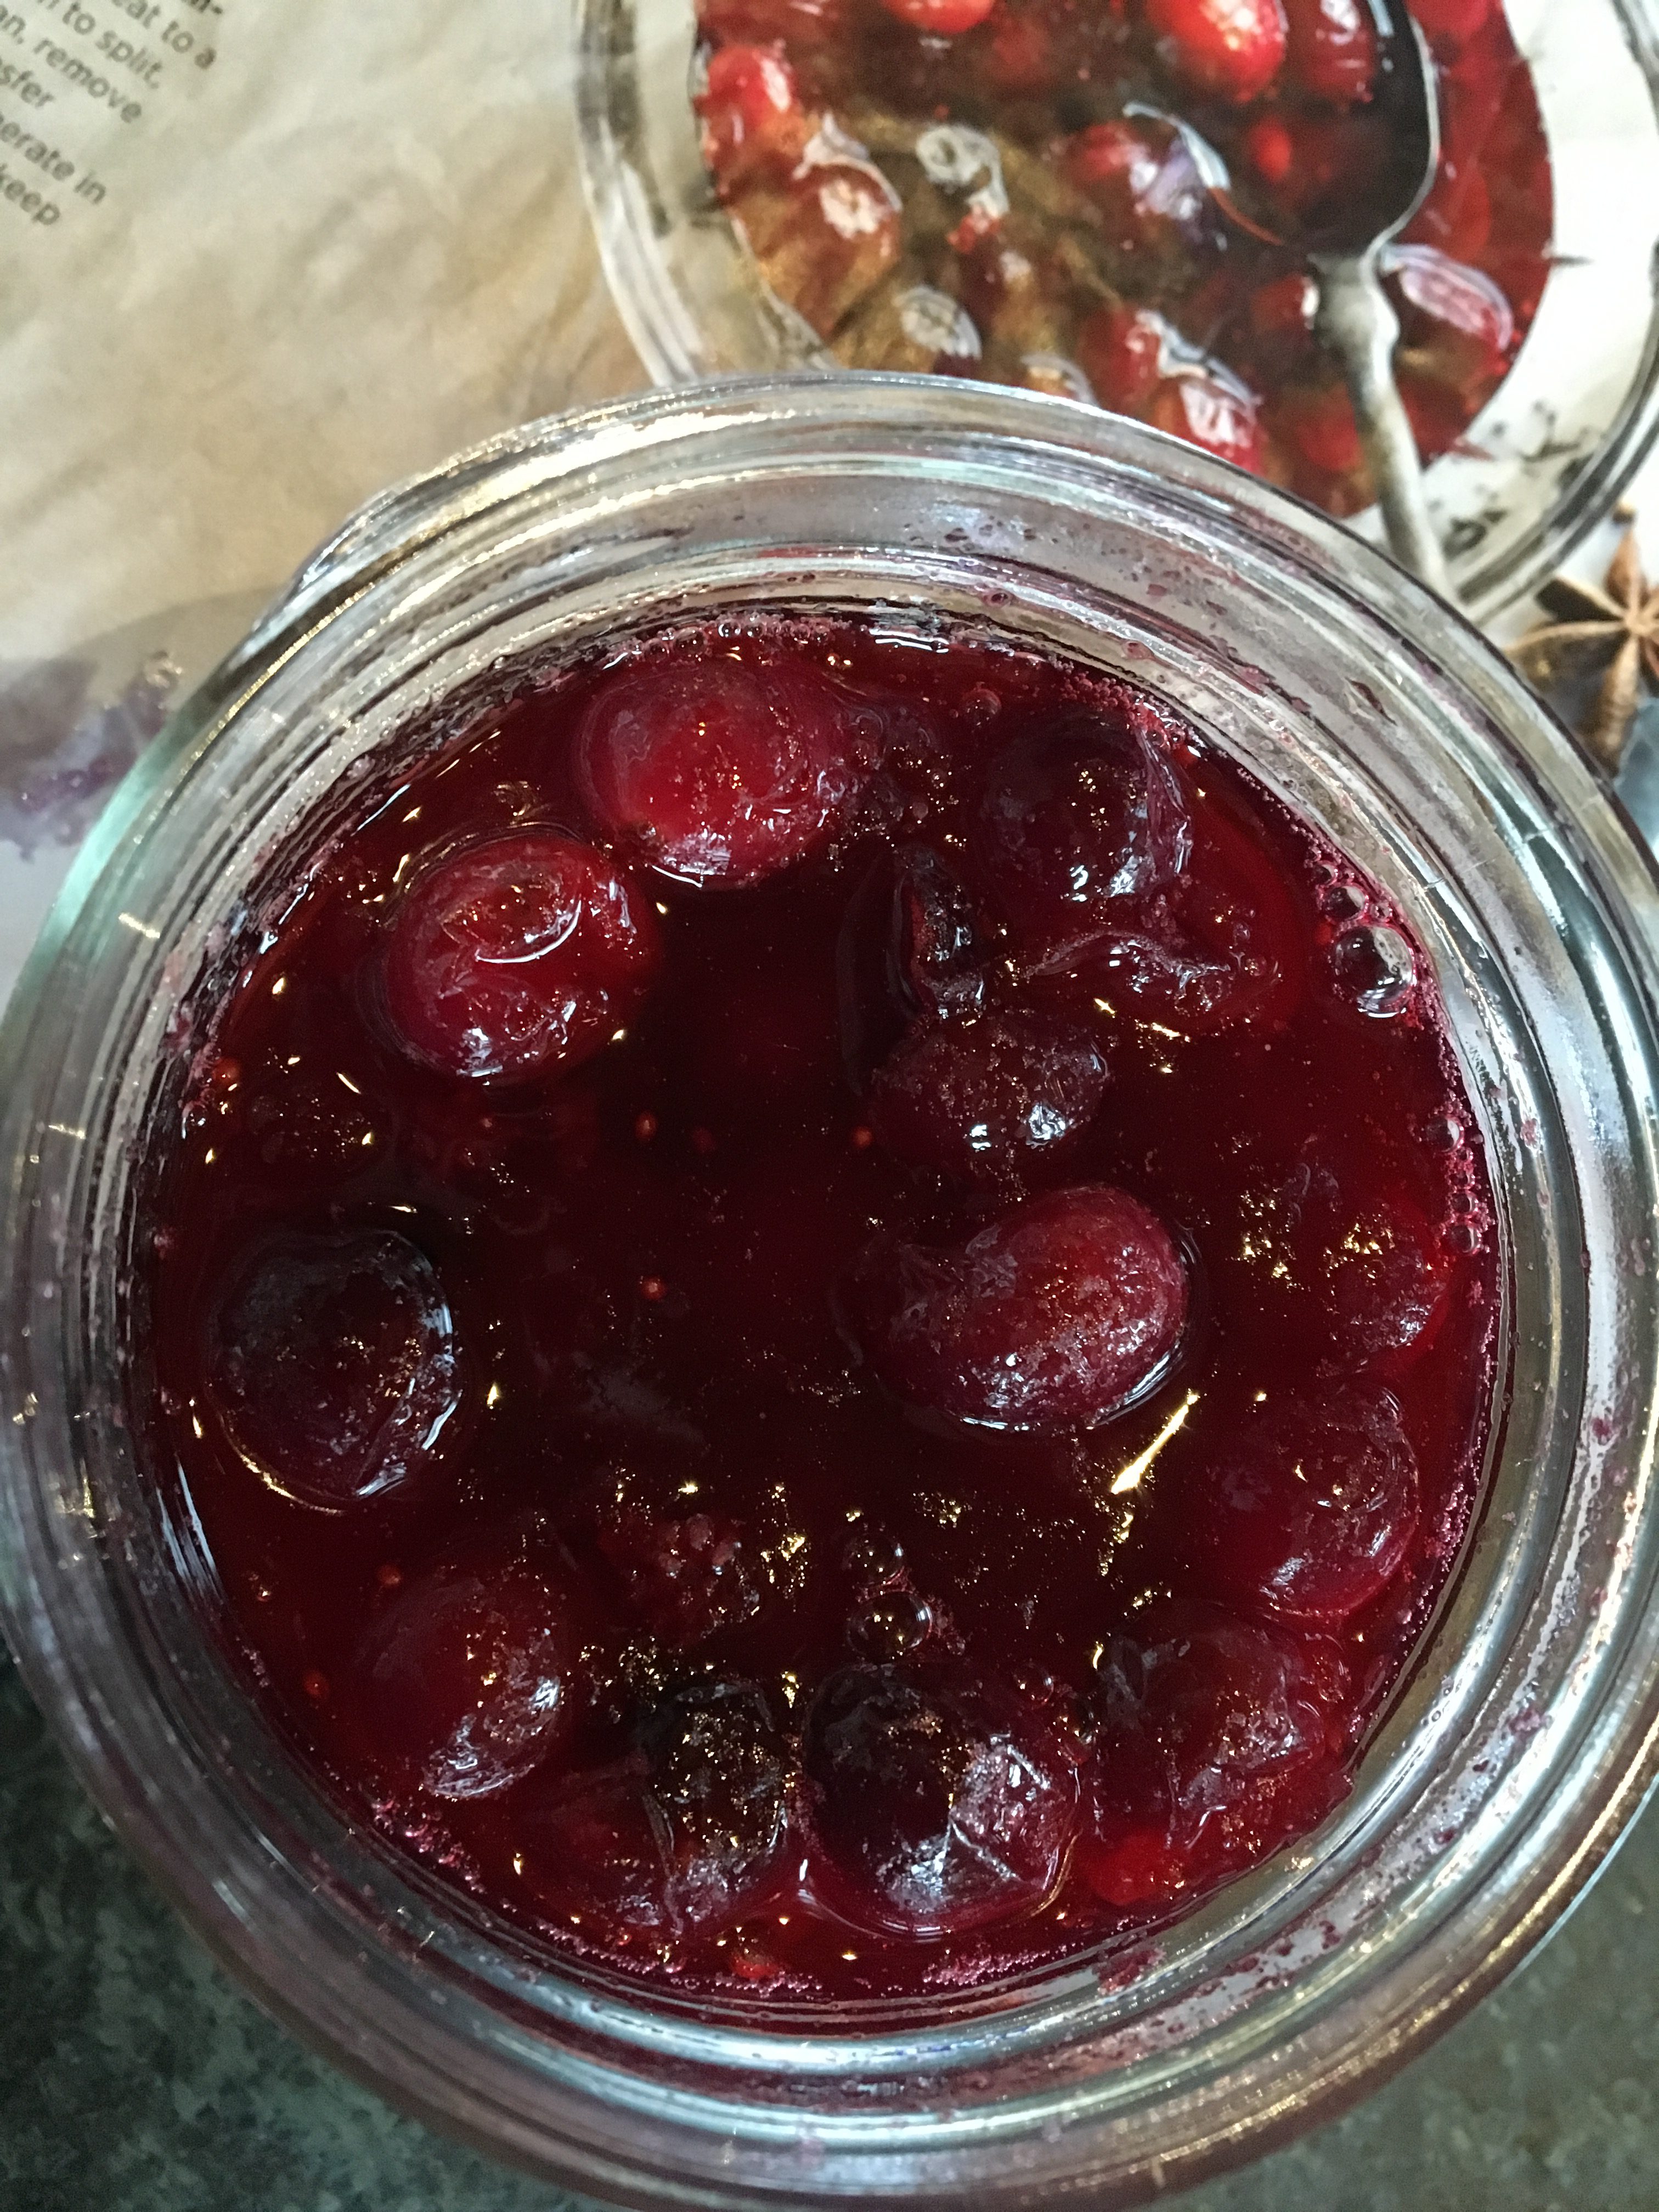
toast or leave soft), top with your favorite ricotta cheese, place a dollop of pickled cranberries and finish with a drizzle of honey. A sweet, tart, smooth and tasty treat in minutes!
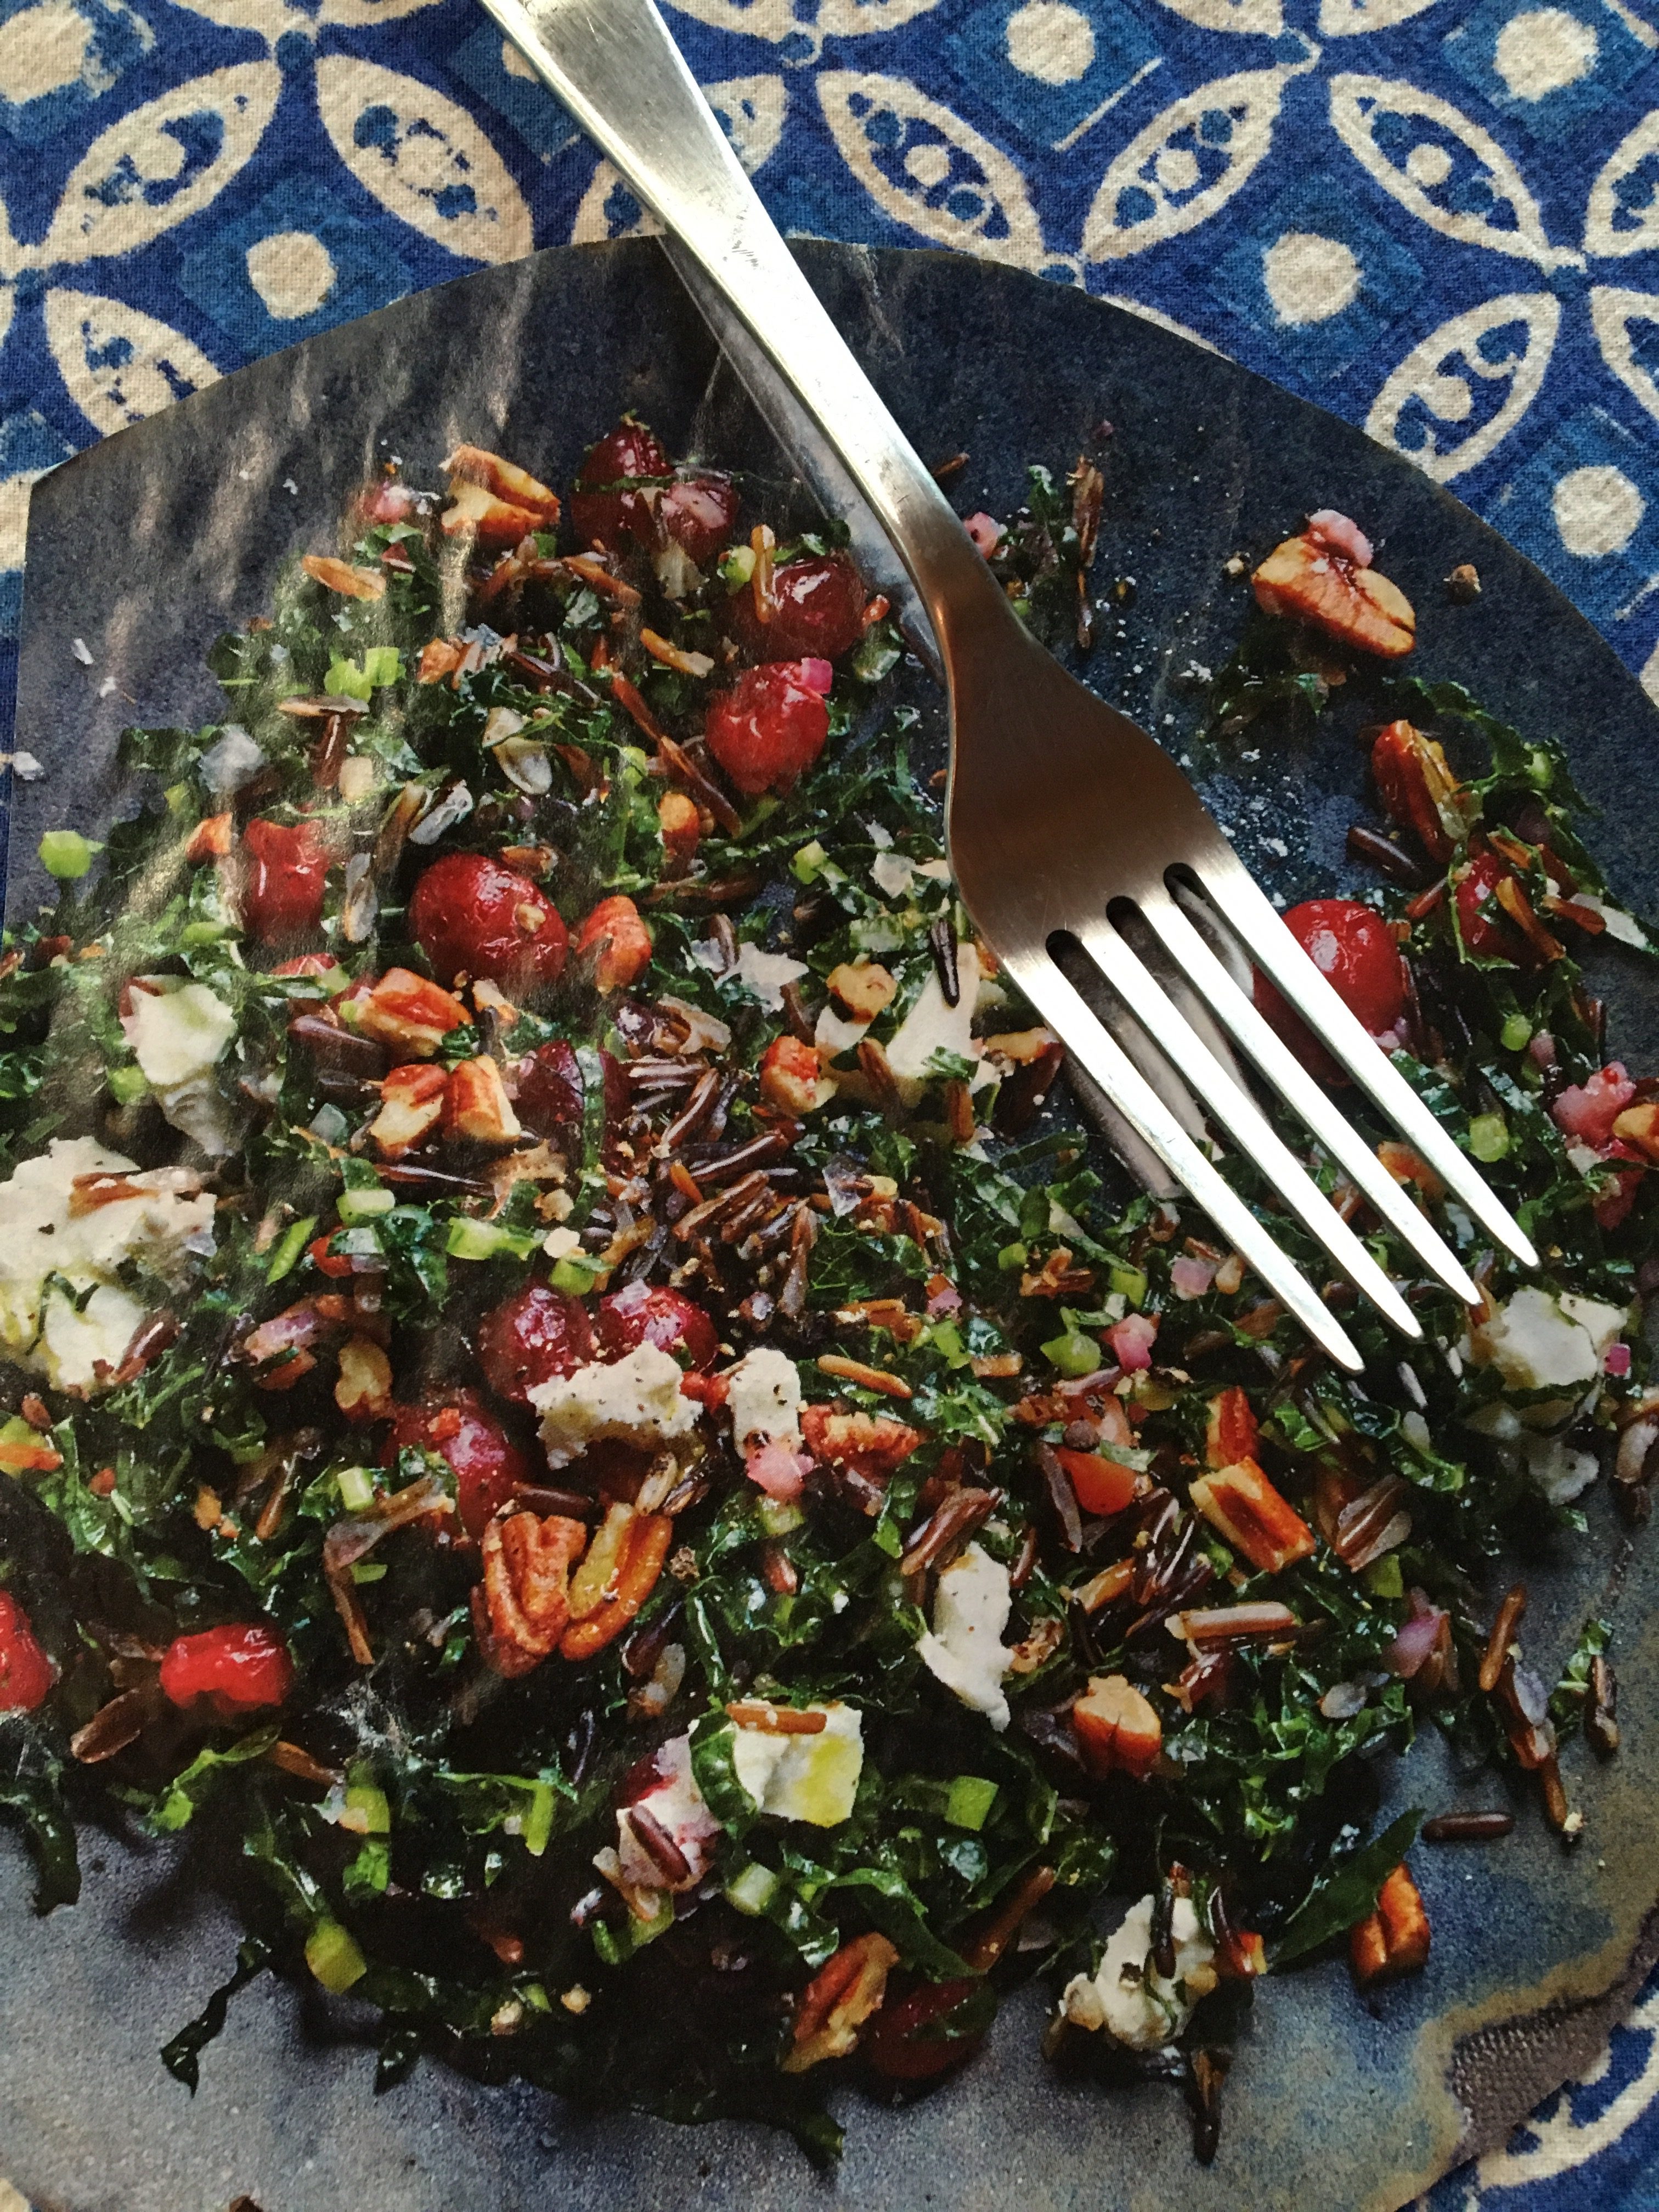
Kale and Wild Rice Salad

1/2 cup cooked wild rice
1/2 tsp. salt
1 medium shallot, finely chopped
1 Tbsp Dijon mustard
Fresh ground black pepper
3 Tbsp. liquid from pickled cranberries (see above recipe)fullsizerender
3 Tbsp. extra virgin olive oil
1 bunch kale, stemmed and shredded into thin ribbons
1 cup pickled cranberries, drained
1/2 cup goat cheese, crumbled
1/2 cup toasted pecans, coarsely chopped (can use walnuts)

In small bowl stir together shallot, mustard, pinch of salt, pepper and pickling liquid. Whisk in oil. Pour half the liquid, adding more as needed, and use your hands to massage into kale for 5 minutes.

To serve, lightly toss with rice, cranberries, cheese and nuts. Serve as a side dish or add chicken or salmon to create a colorful and satisfying main dish.

Happy and Healthy Holiday Wishes sent from my family to yours ~


Save

Save

Save

Save

Save

Save

Save

Save

Save

Save

Save

Save

Save

Save

1 Comment

Filed under Family Life, Recipes, Uncategorized

Traditional Irish Soda Bread

 mandy card By Mandy Randolph

Here it is, March again. It certainly came in like a lion here on Orcas Island! I began thinking about the Lucky Irish as soon as my calendar turned. My Farm to Classroom students at Orcas Island Elementary got a baking lesson last week complete with some Irish history and basic chemistry.

12380597_1743335045902385_1561956209_n

Bread soda was introduced in the early 1800s and it suddenly meant that people who didn’t have an oven—and virtually nobody had an oven then—could make soda bread. They cooked the bread in what’s called a bastible—a big cast-iron pot with a lid on it that would have been put right onto the coals or onto the turf fire. The great thing about soda is that it was not as perishable as yeast and it would have been relatively inexpensive. The Irish people would have had buttermilk from the cows (old-fashioned buttermilk is a by-product of making butter) and they would have been growing wheat, so they would have had flour (whole wheat of course).

A very basic explanation of the reaction between the soda and the acidic buttermilk was followed by a classic demonstration of the concept using baking soda and vinegar.

Time to make the bread!

Traditionally a cross was cut into the bread before baking. Some people said it was to let the fairies out. Some said it was to keep the devil out. But most likely it was to help the bread bake evenly!

12498476_1743334819235741_1545544054_n

Add some rosemary or other herbs for a dash of flavor.

Bread is best when shared with friends!

INGREDIENTS:

3 1/2 cups whole wheat flour

2 tablespoons caraway seeds or rosemary (optional)

1 teaspoon baking-soda

3/4 teaspoon salt

1 1/2 cups (about) buttermilk


PREPARATION:

Preheat oven to 425°F. Lightly flour baking sheet (or cast iron pan). Mix flour, caraway seeds, if using, baking soda and salt in large bowl. Mix in enough buttermilk to form moist clumps. Gather dough into ball. Turn out onto lightly flour surfaced and knead just until dough holds together, about 1 minute. Shape dough into 6-inch-diameter by 2-inch-high round. Place in cast iron pan. Cut 1-inch-deep X across top of bread, extending almost to edges. Bake until bread is golden brown and sounds hollow when tapped on bottom, about 35 minutes. Transfer bread to rack and cool completely.

Comments Off on Traditional Irish Soda Bread

Filed under Kids, Recipes, Uncategorized

Pickle Camp 2015

teri-williams-summer-cropBy Teri Williams

I look forward to pickle camp each year. Friends and family gather to share stories and the thrill of scrubbing cucumbers and peeling garlic.

"pickle pals" for life, Elsa and Teri

“Pickle pals” for life, Elsa and Teri

There are also plenty of laughs and good food enjoyed by all as we sit back at the end of the day and get that warm feeling about what we accomplished, and begin to start counting down the calendar days until Thanksgiving, when the first jar is popped open and pickle camp comes back to life, one jar at a time.

IMG_1427

Fresh, ready-to-pack ingredients line the counter for packing jars.

Fresh, ready-to-pack ingredients line the counter for packing jars.

Elsa had the liquid measurements on her wrist likened to a quarterbacks play list. The assembly line behind her was moving fast.

Elsa had the liquid measurements on her wrist likened to a quarterbacks play list. The assembly line behind her was moving fast.

IMG_1450


ELSA’S PICKLES

Place the following in the bottom of a quart canning jar:
1 head of dill
2 cloves of garlic
½ tsp mustard seed
1 red chili pod
¼ tsp turmeric
4 whole pepper corns

As jars are being filled, another garlic clove, red chili or a pinch more of dill can sneak into the jar, making the recipe really just a guide line.

For 7 jars, in a sauce pan heat:
6 cups vinegar
7-1/2 cups water
1 cup kosher salt
3/8 cup sugar

Place cucumbers in jar standing on end, pack tightly. Fill jar with vinegar liquid mix, place canning lid on top and screw lid on tight. Place into a water bath canner (water should cover top of the jar) and bring to a rolling boil. Process for 15 minutes. Do not open until Thanksgiving.

1 Comment

Filed under Family Life, Gardening, Recipes, Uncategorized

Green Goddess

teri_cropI have no patience for waiting on the greens in the garden to mature, so with a little help from my local farmer John at Maple Rock Farm, I learned to create and use some of the bounty early.

I have never been good at following recipes and measuring. Everything is done by eyeballing, more liquid or greens can be added to get consistency desired.

Parsley- Walnut Pesto

IMG_0583
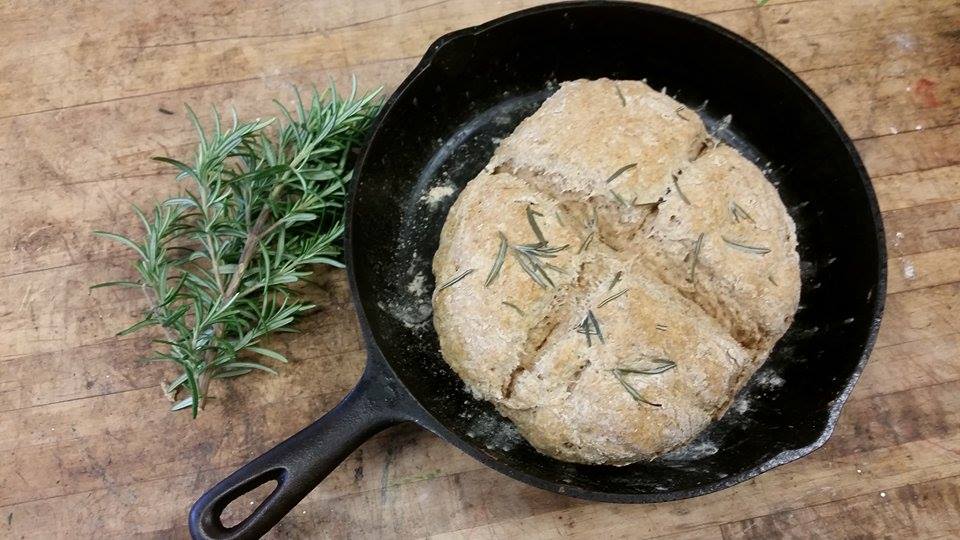
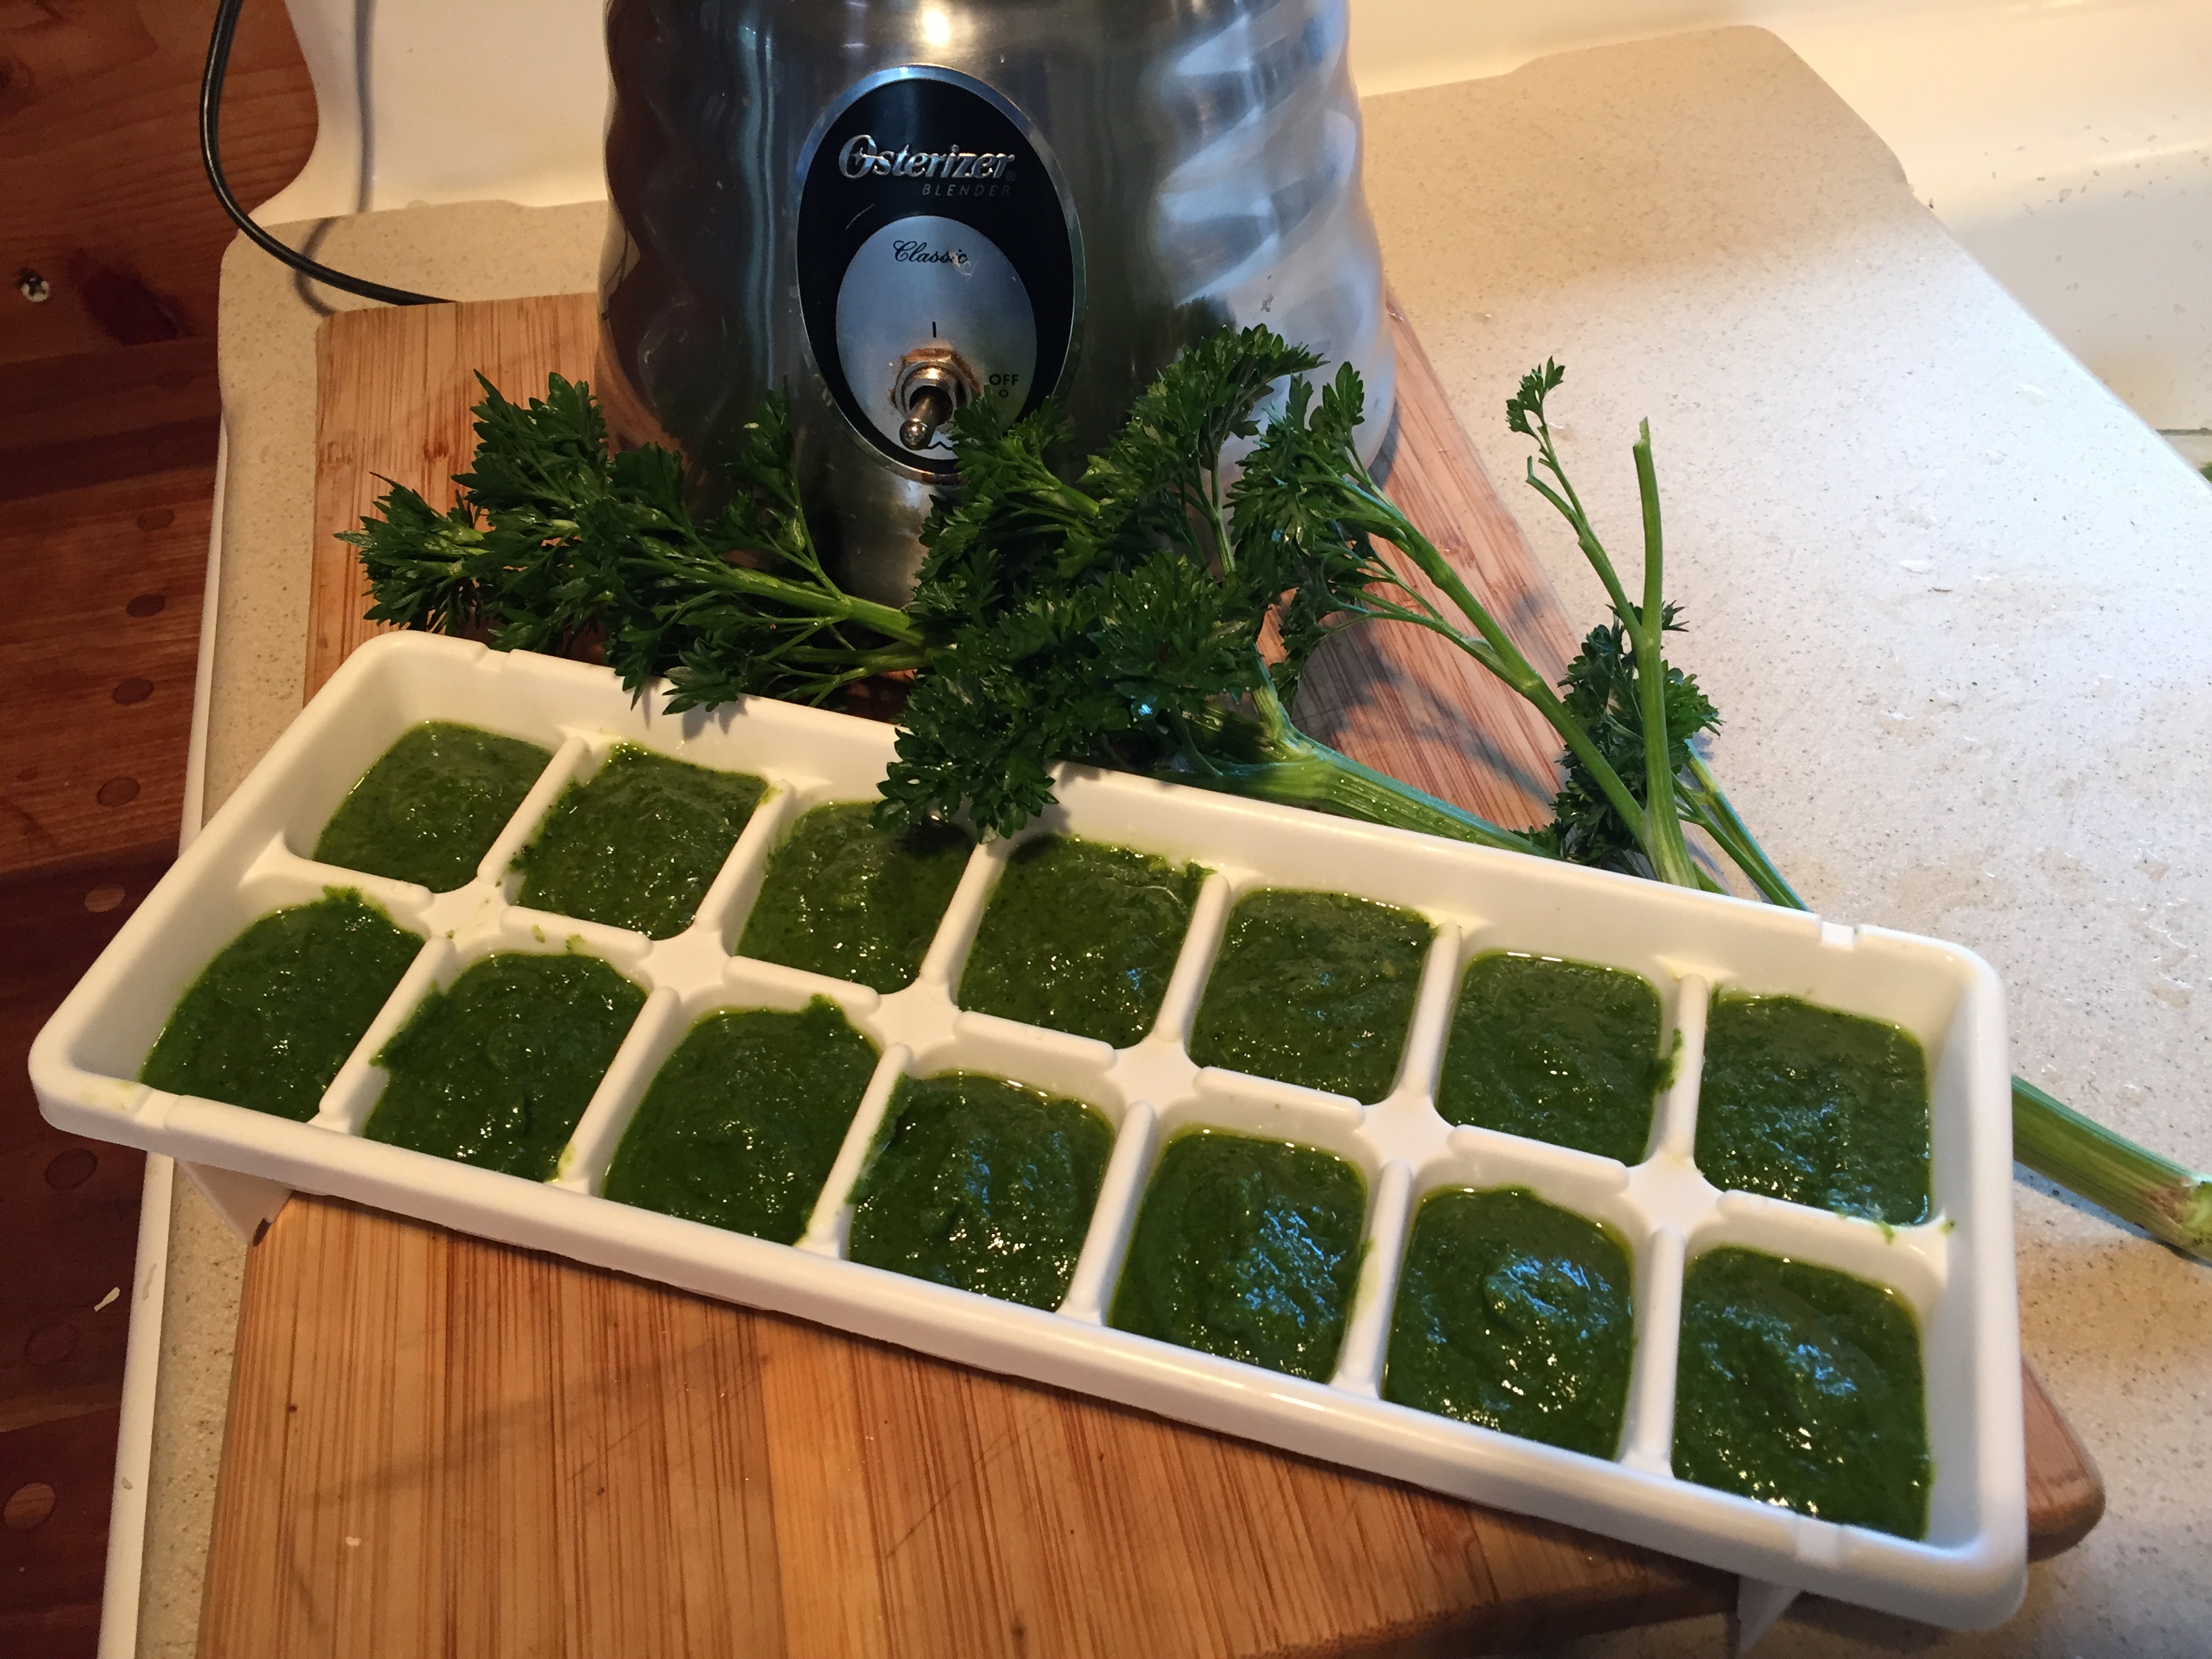
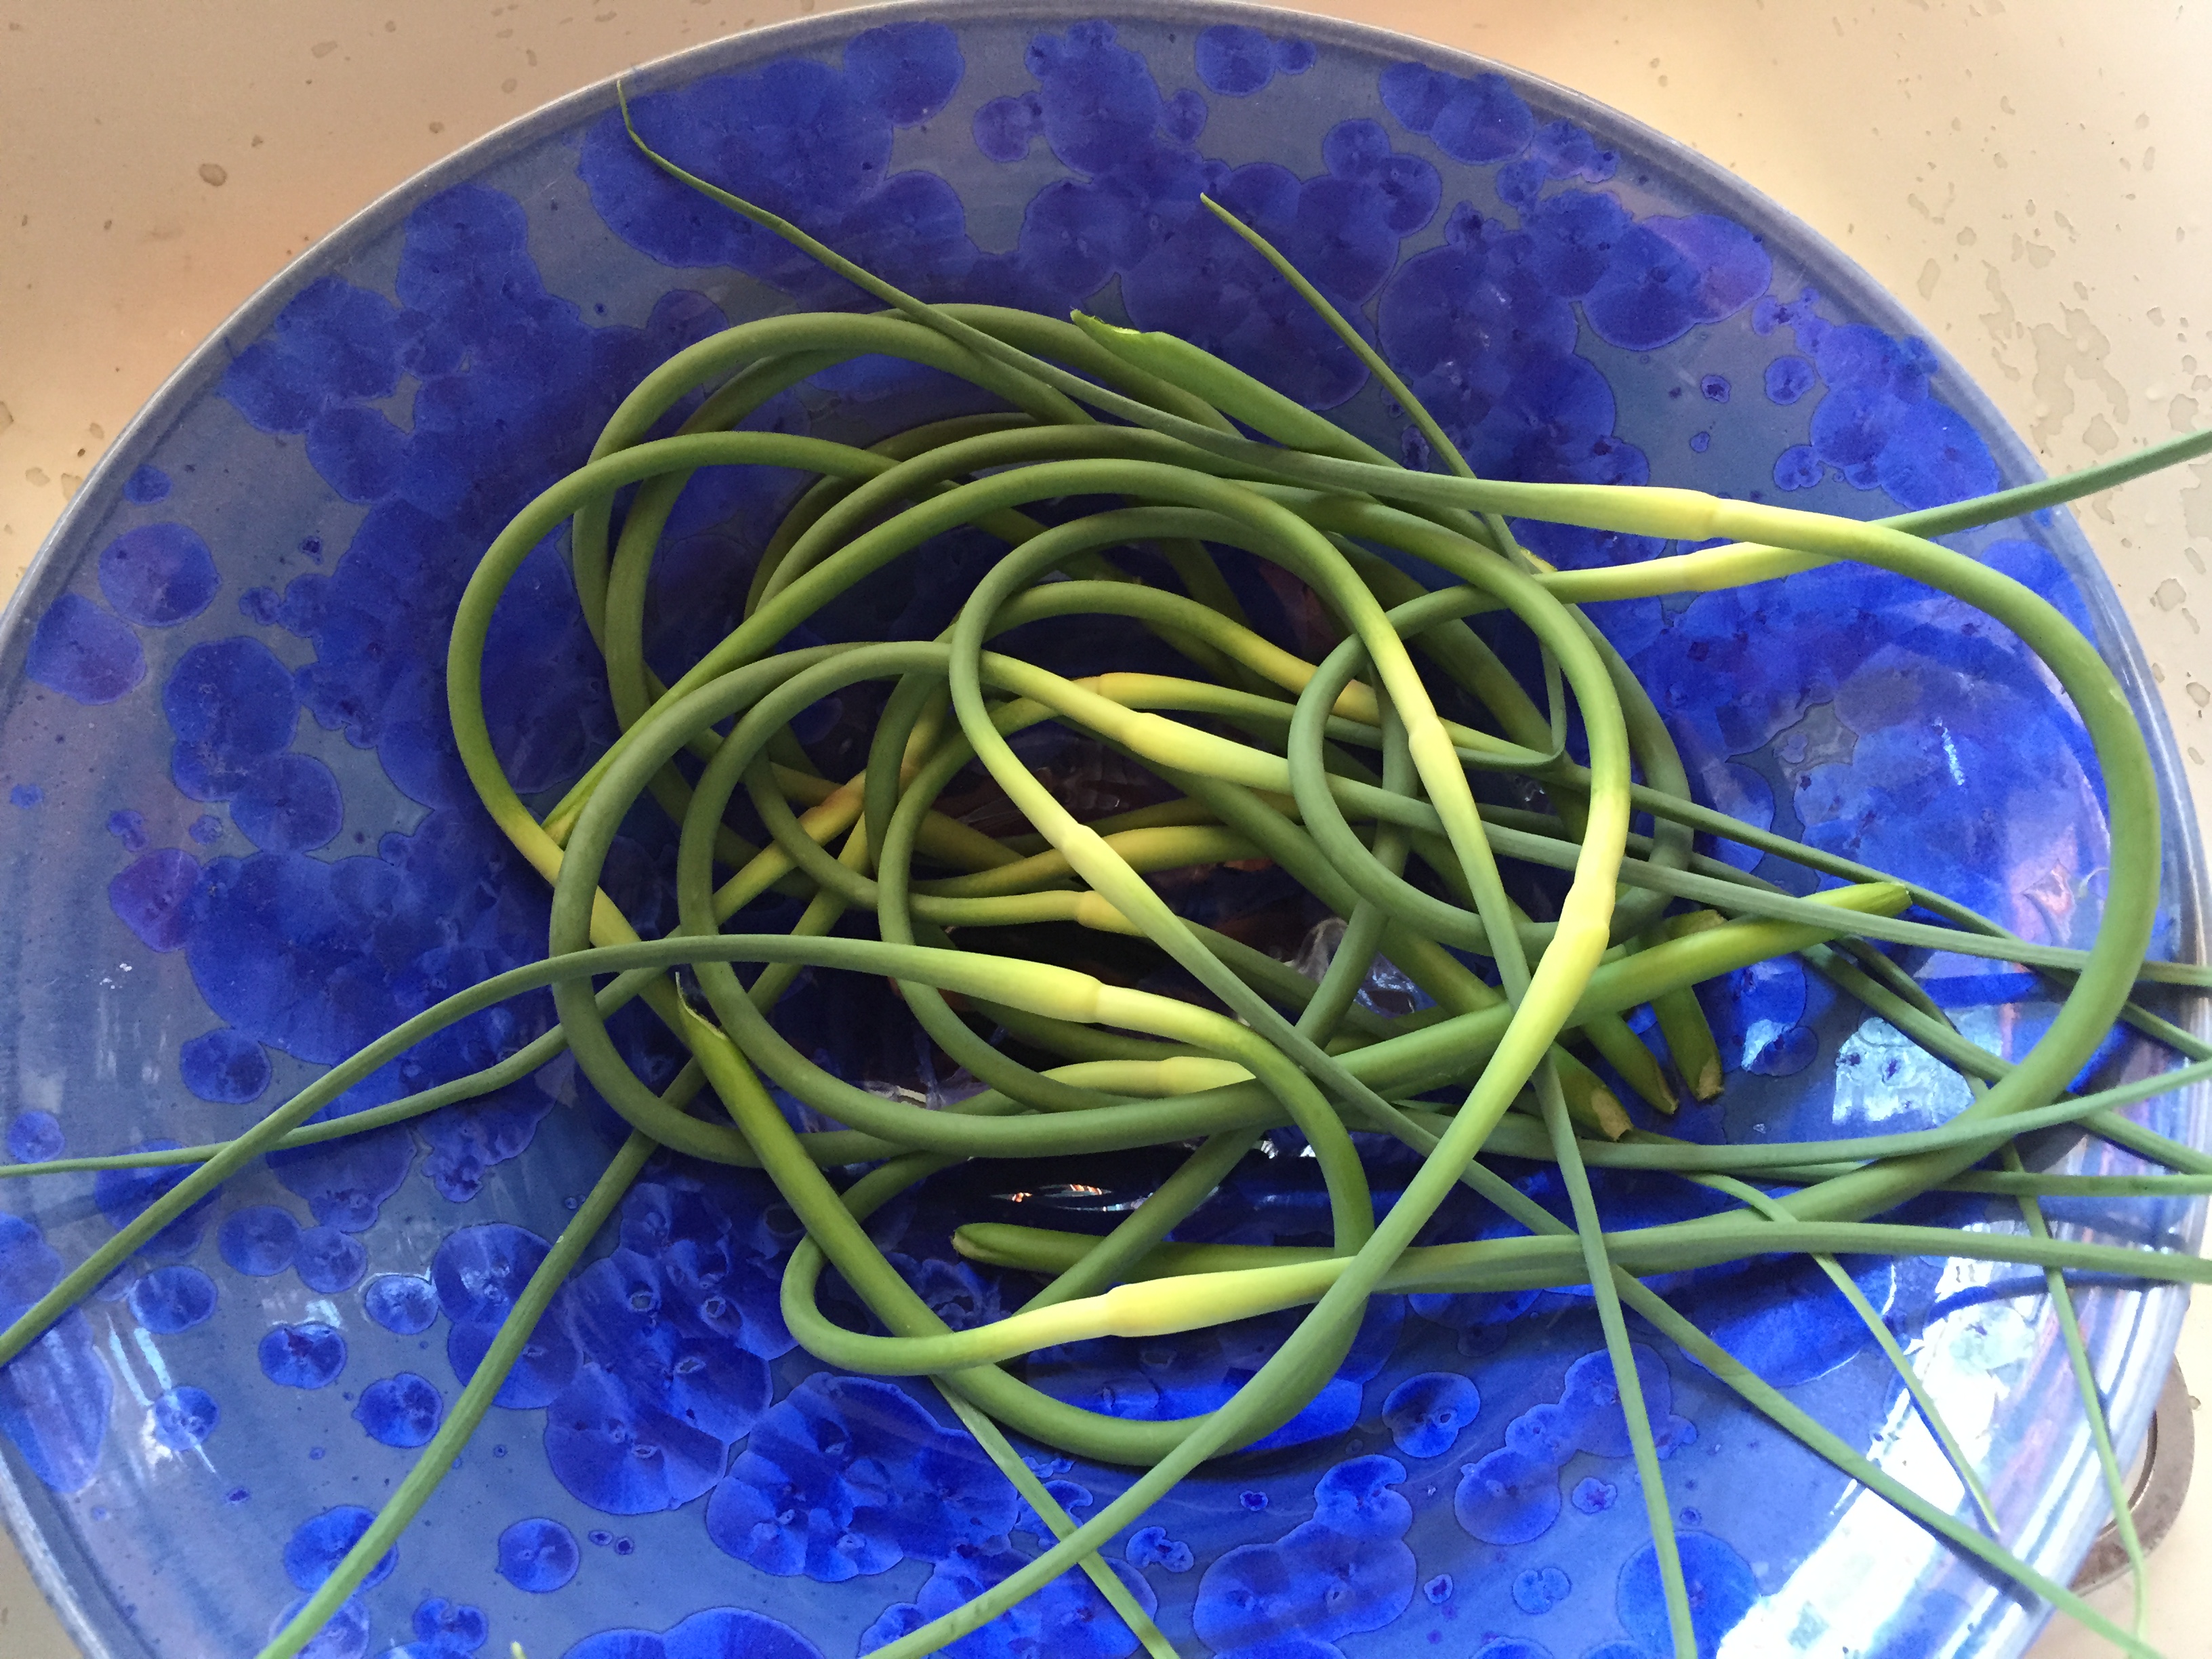
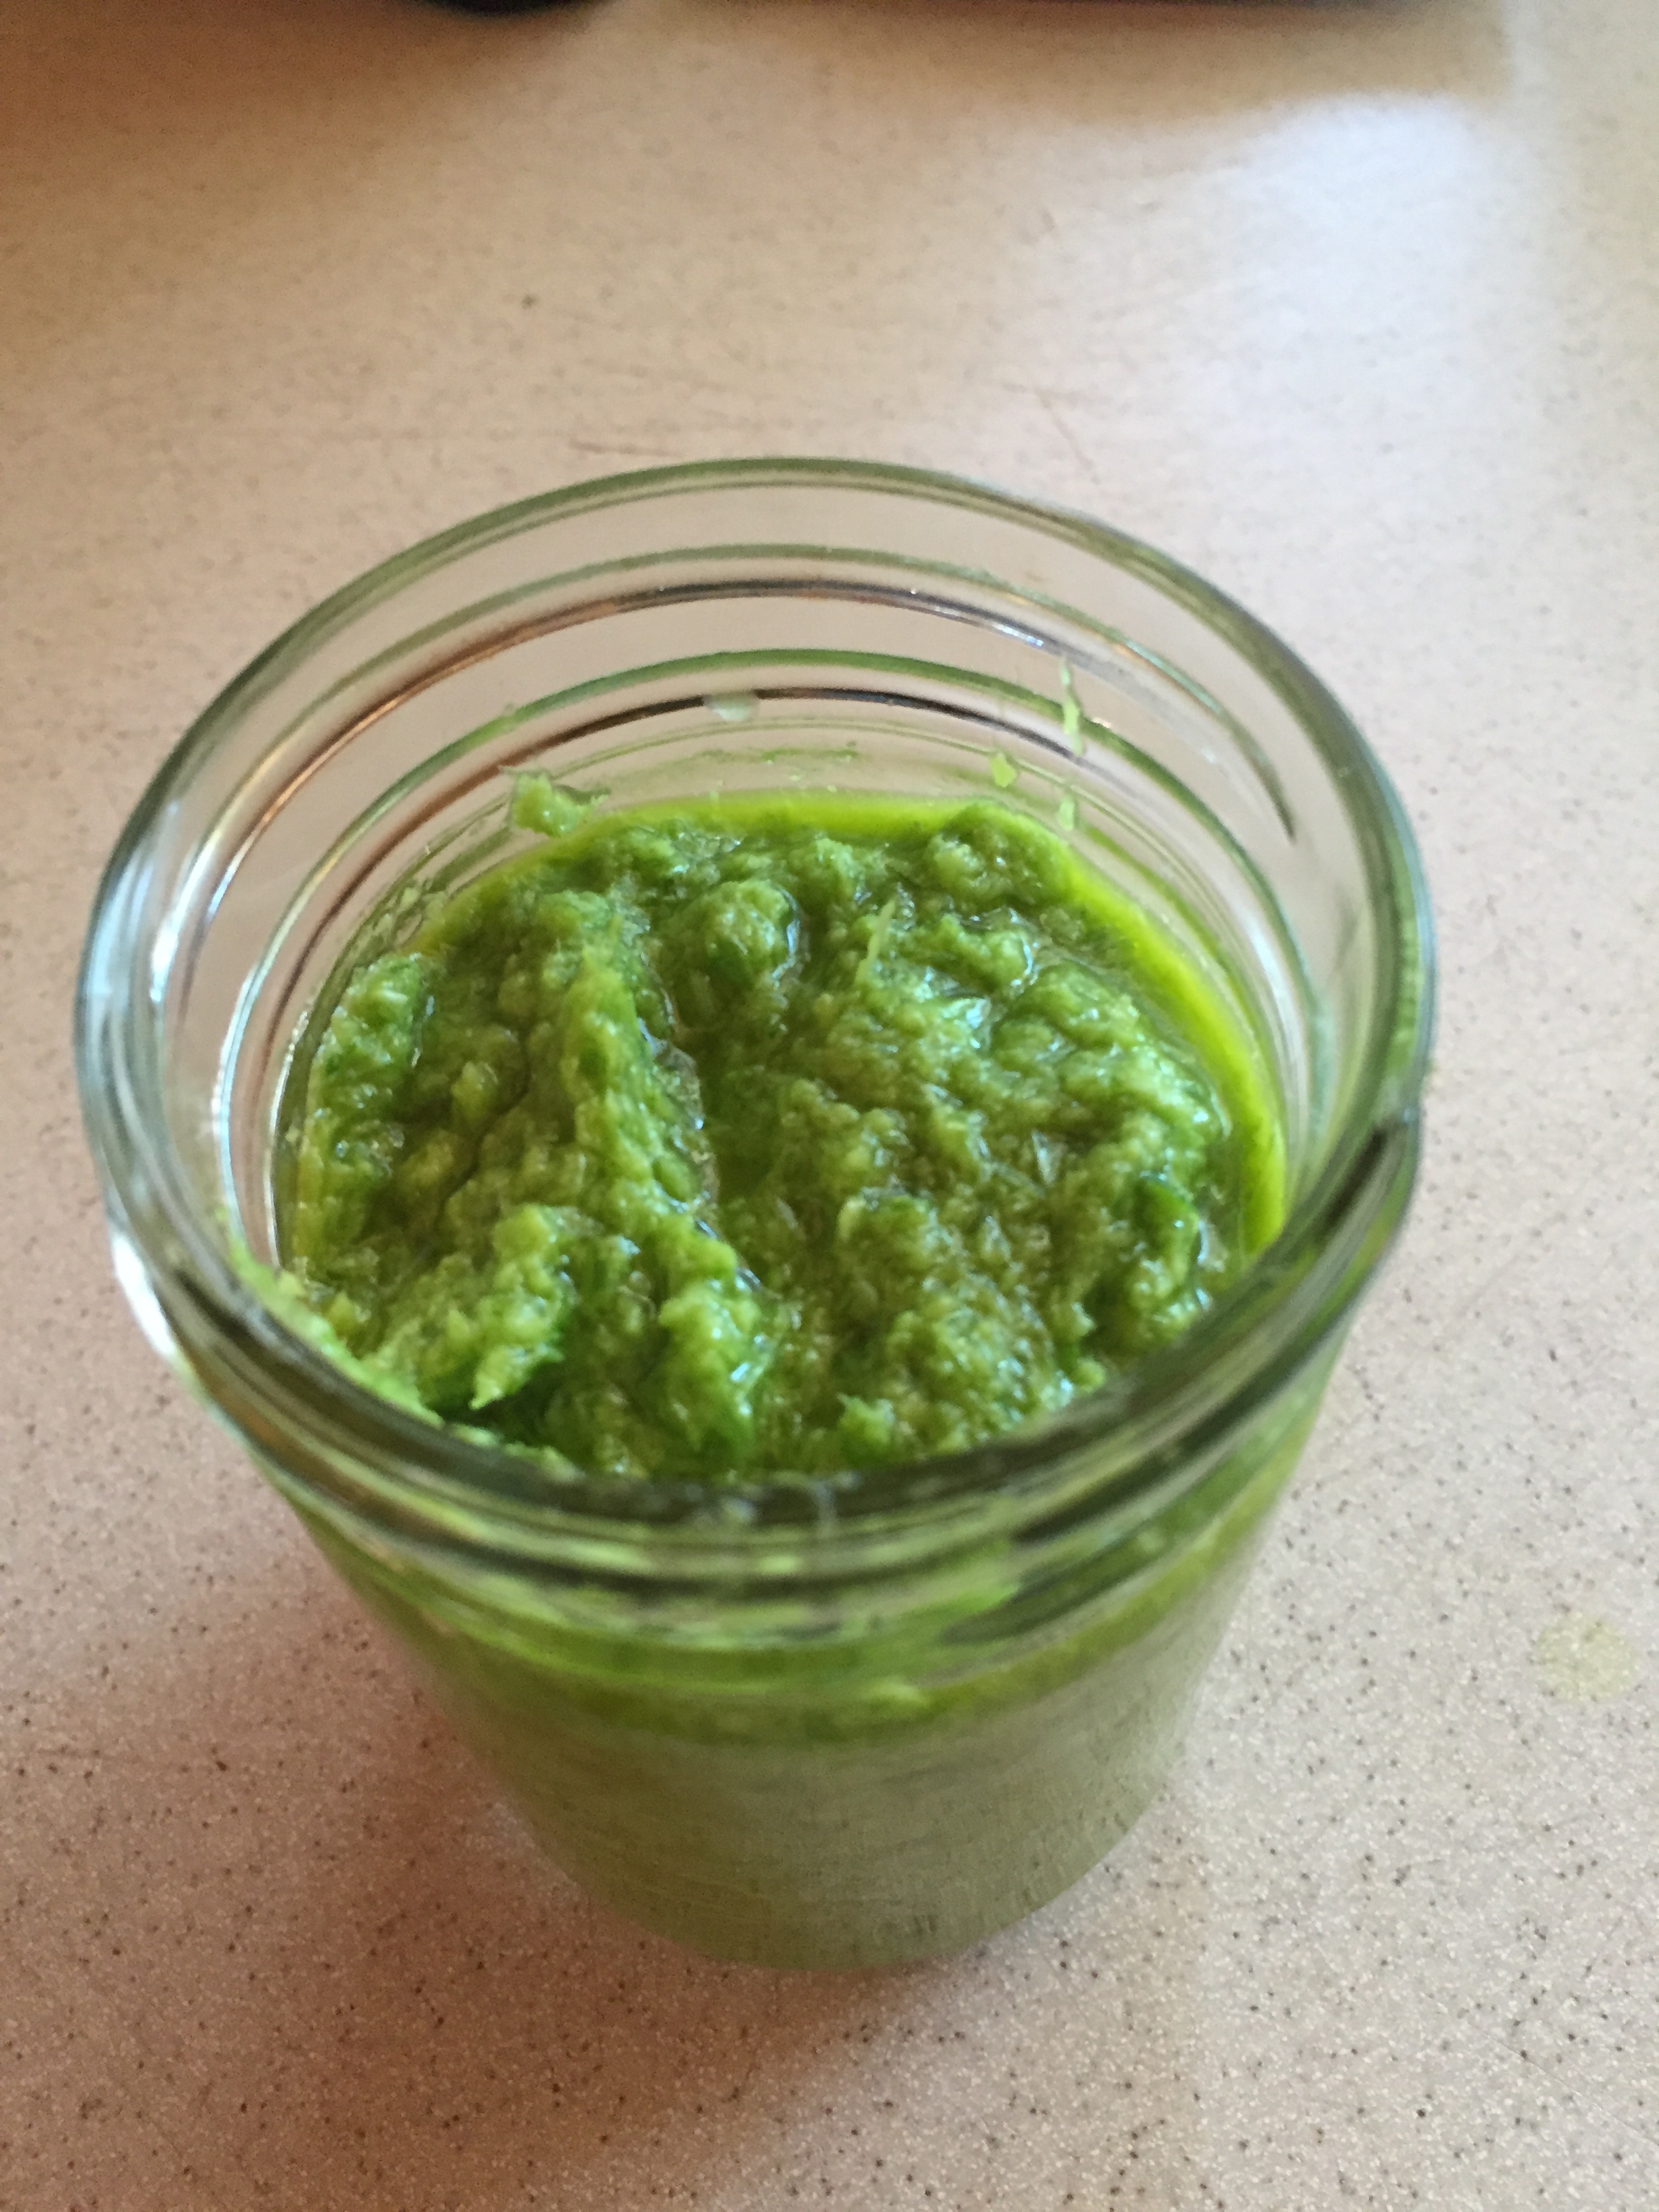
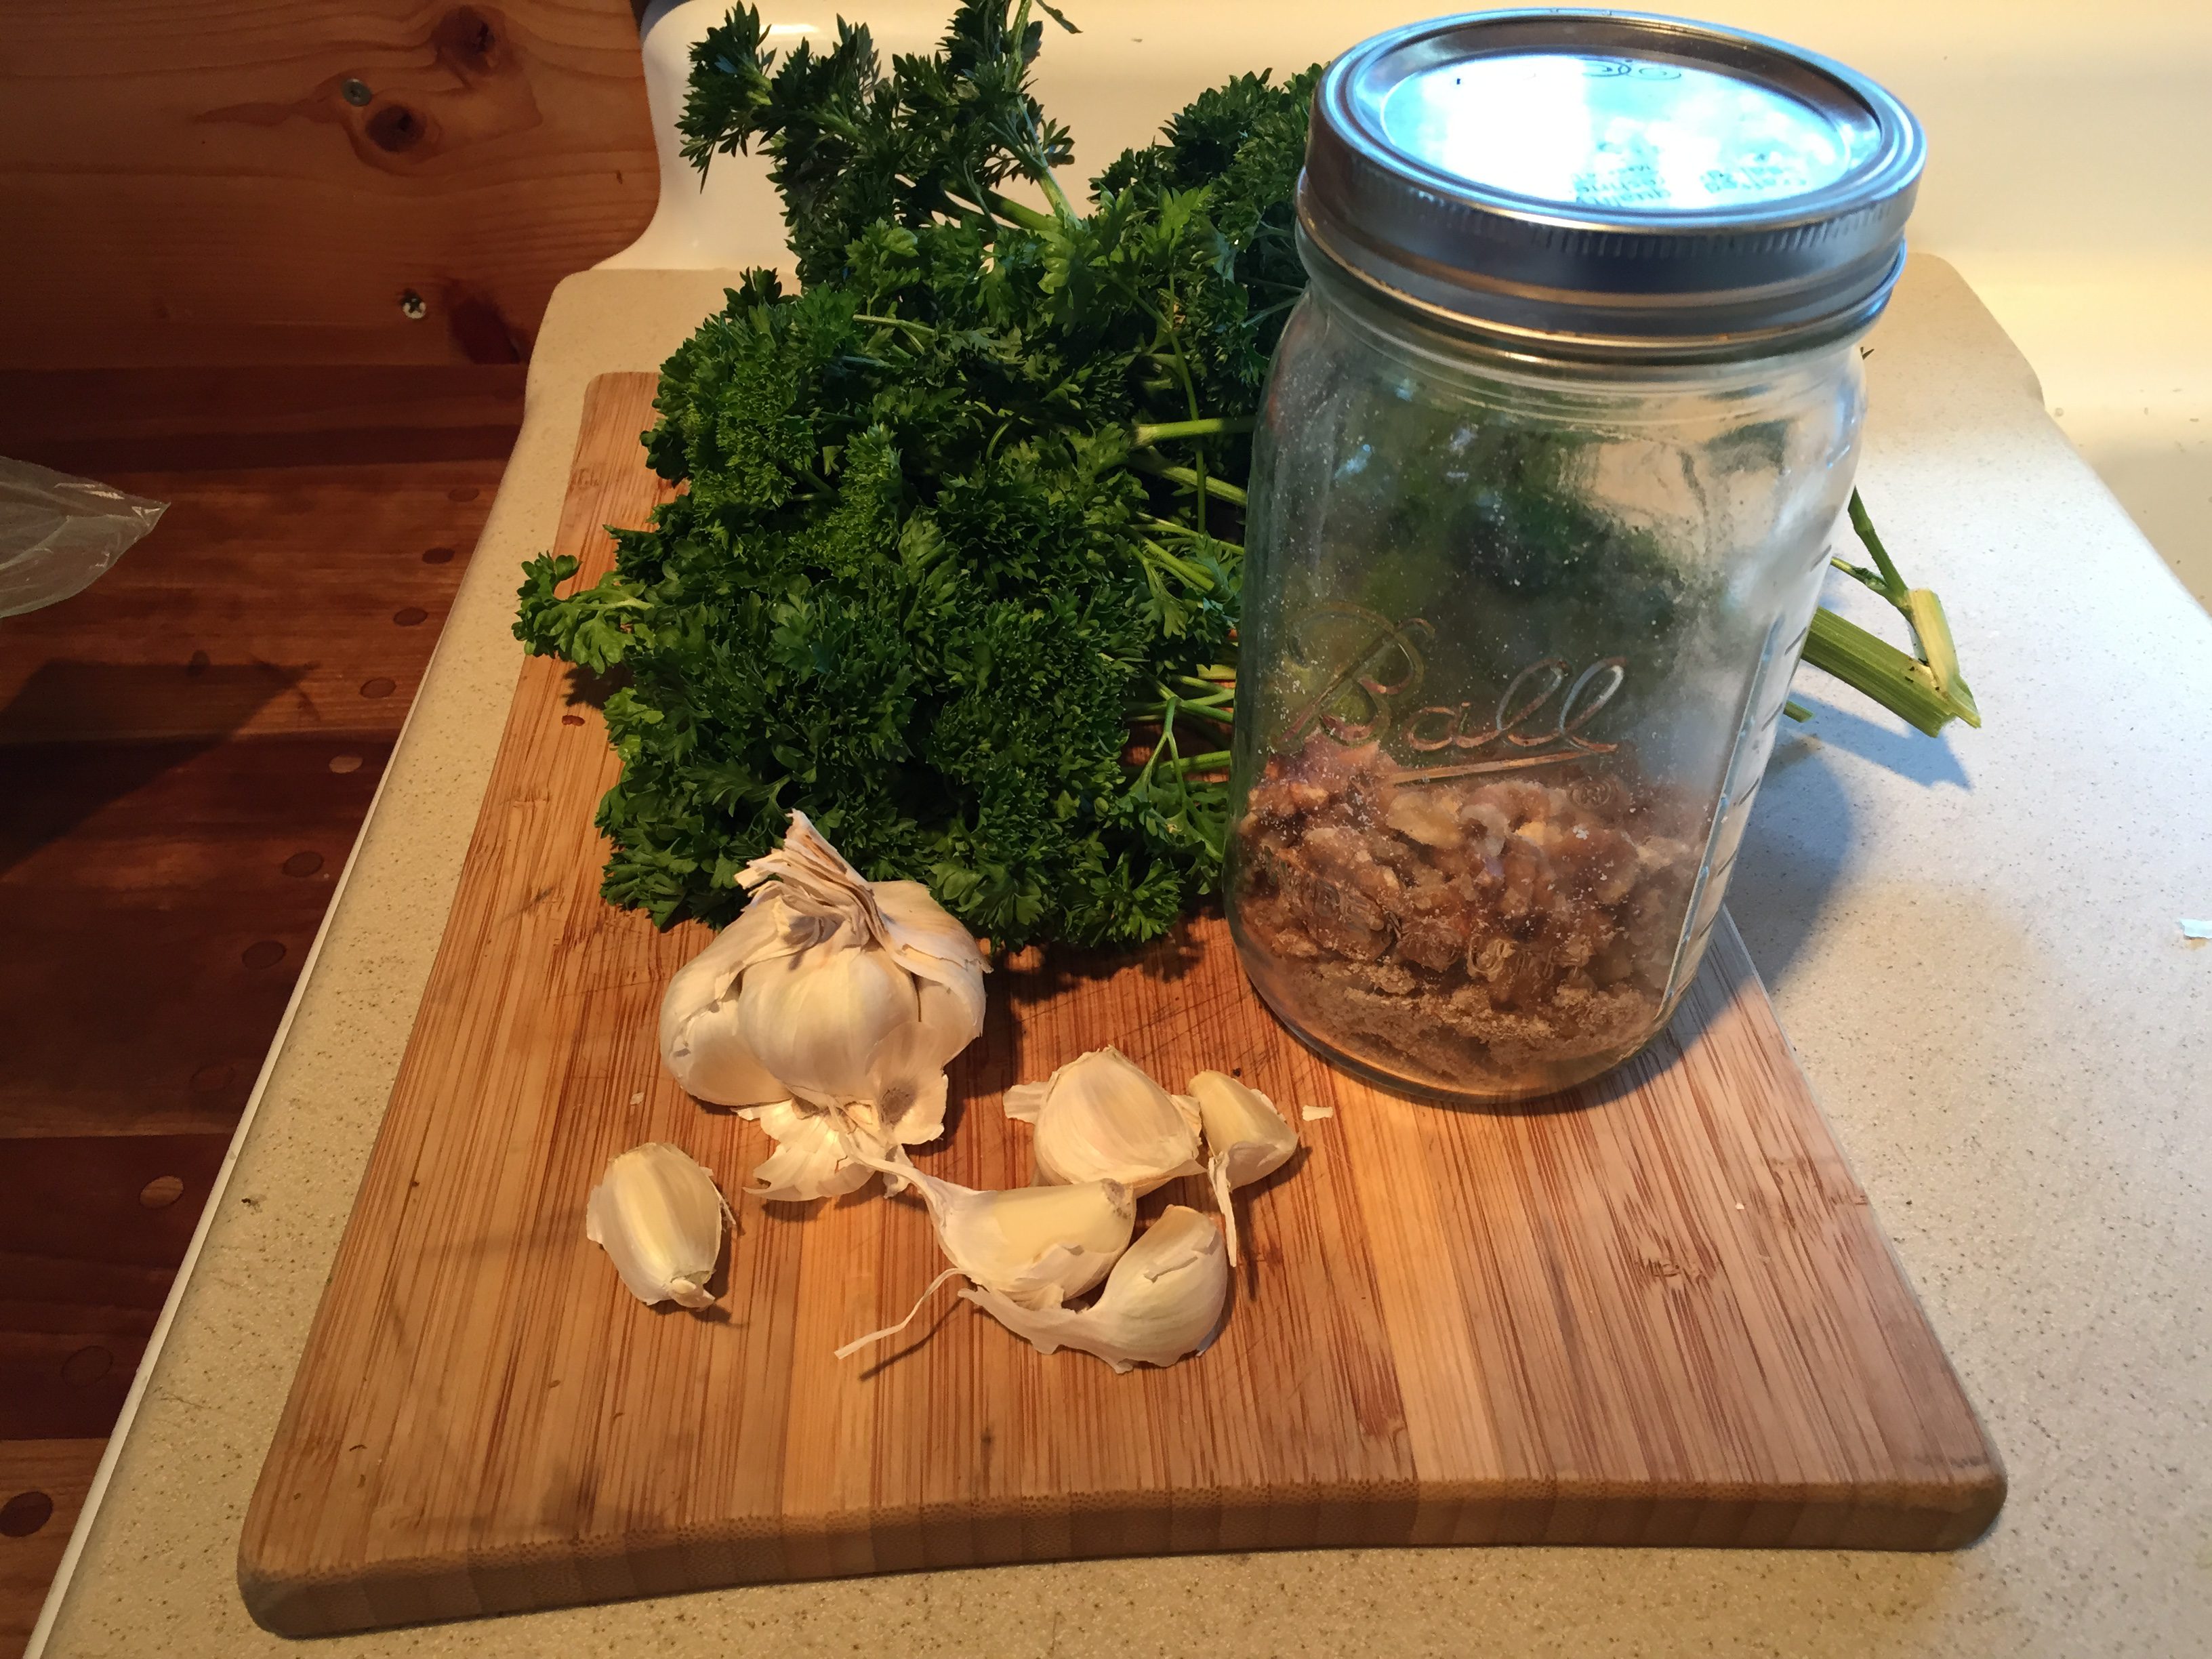
Fill your blender with 2 cups of chopped parsley, 1 cup chopped walnuts, 3-5 cloves of garlic.

Pour in ½ cup of good olive oil (I used Olivar De La Luna organic extra virgin). Begin blending, add more olive oil as the paste begins to pureé. You do not want it so thick you cannot get it out of the blender, but it should not be too runny.

Use a spoon and scoop into ice cube tray and freeze.IMG_0584

Once cubes are frozen solid, place the tray in a pan of hot water for a few minutes to loosen cubes of pesto, then place them on a cookie sheet to freeze hard again, then store in a container in the freezer.

When you want pesto, place a cube (or several) in a bowl and thaw to room temperature. Add hot or cold pasta and mix.

Grate parmesan cheese over pasta and mix. Do not add cheese before freezing, (it will turn into globs when heated).

Green Garlic Paste

IMG_0743Early summer-late spring, cut the garlic scape off of last year’s garlic you planted in the fall. These can be chopped and put into dressings, sauces and salads, but I like to make a garlic paste that is versatile and keeps in the refrigerator for several weeks.

Fill blender half full of chopped garlic scapes, add ¼ cup of good olive oil and begin blending. You will add more olive oil as the combo begins to blend into a chunky paste.


IMG_0748This paste does not get smooth but will have texture.

Add more oil, or scapes, until you get a consistency of soft paste (if it is too thick you will not get out of the blender). Place green garlic paste in a mason jar with lid and keep in the refrigerator.

I use this as a rub on chicken; add to tomato paste-balsamic vinegar-olive oil as a marinade for beef; add to good olive oil-balsamic vinegar and salt/pepper as a salad dressing; stir into pasta; add to any dish you would add garlic to.


Comments Off on Green Goddess

Filed under Gardening, Recipes

So Very Thankful

Teri Williams, T WIlliams RealtyBy Teri Williams

I started to write about how thankful I am for my island community, Orcas farmers, my work, friendships old and new, family, the summer of 2014, grandchildren, my cat’s unconditional love and my health.

But, that is not what I am going to share with you.

Through this exercise, I realized I would not have my life without my husband’s never-ending support. He came home from work to young step sons and sat at the dinner table and passed out love and shared his strengths, resulting in grown loving sons who look up to him and pass along to their children what they learned from this man.

Teri Williams and jay Fowler

Just yesterday, Jay was in the office helping us put a new coat of paint on the walls. This man does not quit!

I wake up each morning to coffee, the garbage taken out and a little note telling me how he will think of me and can’t wait to come home, even though he may take the brunt of the day from me when he returns. The support from this man I have never known anywhere else in my life and I would not have all the things in my life I am grateful for without it.

Thank you, Jay Fowler, for everything, and cheers to another Thanksgiving together!

Happy Thanksgiving to all, and I hope you are able to get together with loved ones and friends on this day of thanks. Why not warm your hearts with the warmth of home cooking, and gather around a pot of hot soup — I offer one of my favorites: Cheddar-Ale Soup.

Happy Thanksgiving everyone!


Cheddar-Ale Soup

4 thick cut Coffelt Farm bacon slices, cut into narrow strips
2 tbsp. olive oil
2 tbsp. unsalted butter
1 large yellow onion, diced
3 carrots, chopped
3 celery stalks, chopped
3 garlic cloves, minced
1/3 cup flour
1 cup pale ale
1 tbsp Worcestershire sauce
2 cups each, whole milk and vegetable broth
1-¼ lb. sharp cheddar cheese, shredded
Salt to taste

In a 4-5 quart soup pot over medium-high heat, cook bacon until crisp. Drain bacon on paper towel, save for garnish. Reduce heat to medium; add olive oil and butter, melt. Add onion, carrot and celery; cover and cook for 20 minutes. Add garlic; cook for 1 minute. Add flour; cook, stirring occasionally, 3-4 minutes. Add ale; cook stirring constantly 2-3 minutes. Add Worcestershire, milk and broth; bring to a simmer. Reduce heat and simmer for 10-12 minutes. Puree in food processor until smooth. Set over low-medium heat. Add cheese gradually, stirring constantly. Do not boil, watch for scorching. Season with salt to taste. Top with bacon.

Serve with toasted baguette slices. Can be made ahead of time. Re-heat slowly, using a whip to smooth out lumps.

3 Comments

Filed under Community, Recipes

Happy Thanksgiving!

By Teri Williams

Teri Williams and signpostI’m off visiting with family this holiday, and just like you, we’re bound to have lots of leftover turkey. Here’s a recipe from my kitchen that’s sure to please:

LEFTOVER TURKEY ENCHILADAS

4 cups chopped turkey
1 4 oz. can diced green chilies
1½ cups mozzarella cheese, shredded
8 oz. package cream cheese
1 16 oz. can green enchilada sauce
10-12 medium sized flour fajita tortillas

Combine all ingredients except tortillas; mix well. Place ½ cup of the mixture along one end of a tortilla; distribute evenly along the length. Roll up into a tube shape. Place in a 8×10 cake pan, seam side down. Repeat with other tortillas. Pour green sauce over the enchiladas; make sure they are all covered. Bake at 325 degrees for 30-35 minutes. You can make enchildadas ahead or freeze prior to baking. Bake up to 60 minutes if frozen.

Top as desired with chopped black olives, grated cheese, chopped green onion and finish with a dollop of sour cream.

Enjoy your turkey time, and thank you, Orcas Island, for your support throughout the year.

1 Comment

Filed under Recipes

A Thanksgiving Treat

Teri Williams, T Williams RealtyBy Teri Williams

Here’s a wonderful recipe I’m preparing for friends and family this Thanksgiving on Orcas Island. It’ll keep them all happy while I’m getting dinner ready! Even if you’re not here with us, you can treat your guests to this delicious appetizer of butternut squash, cranberries and cheddar cheese. You can be sure they will thank you! Happy Thanksgiving everyone!

Butternut Squash, Cranberry and Cheddar Wontons

Butternut Squash1 small butternut squash
½ tsp ground cinnamon
½ tsp grated nutmeg
Salt and pepper to taste
1 cup extra sharp or Habanero cheddar, grated
1 cup fresh cranberries, coarsely chopped
24 wontons
1 quart vegetable oil, for frying
Preheat oven to  350F

Cut squash in half and remove seeds, sprinkle with cinnamon, nutmeg, salt and pepper. Place cut side up in baking dish. Add 2 cups of water and cover tightly with foil. Bake for 45 minutes, or until tender.

Scoop out ¾ cup of flesh into mixing bowl. Stir in cheese and cranberries, salt and pepper to taste.

Butternut Squash, Cranberry and Cheddar WontonsArrange wonton skins on work surface. Place a ½ tablespoon scoop of filling in the center of each. Brush two edges with water, fold in half to make a triangle and press to seal.

In heavy sauce pan or deep fryer, heat oil to 350F, and fry wontons in batches until golden brown. Watch carefully: they can burn easily.

Remove from oil and transfer to paper towels to drain. Serve warm with Sesame Cranberry Dipping Sauce.

Sesame Cranberry Dipping Sauce

½ cup jellied cranberry sauce
1 Tbsp toasted sesame oil
1 Tbsp soy sauce
1 Tbsp maple syrup
1 tsp sesame seeds

Stir together all ingredients.

1 Comment

Filed under Recipes

Prawns and Fettuccini

Posted by Teri

This is soooo easy, fresh and light. A dish that is just right for a summer casual patio dinner. I pulled the recipe out of a magazine (Rachel Ray’s, Whole Living, Light Cooking or Martha) Not sure which one. I have since lost the recipe so I create by memory… that’s my style. I do not like to follow directions.

Serves two people with a little left for Jay’s next day lunch.

Peel a hand full (10) prawns, set aside.

Local prawns

Local prawns

½ package of fettuccini. Place pasta in boiling pot of water while you make sauce below. Cook fettuccini to al dente. I have used many styles, rice, whole wheat, egg noodle. Any style you choose will be great with this light sauce.

Add 2 tbsp. of olive oil to a skillet (I have the biggest collect of cast iron skillets in San Juan County!)

Add chopped or grated garlic and sauté, careful not to burn.

Add ½ c. white wine and bring to a simmer.

Turn heat to low, add ½ c. Crème Fraiche and mix well. I have added more if my noodles seemed too much and needing more love.

Add 1 tsp. fresh lemon juice.

Add prawns and cook 2-3 minutes, just until they turn pink.

Add cook pasta and toss. Salt and pepper to taste.

Light, fresh sauce adds just the right touch to local seafood

Light, fresh sauce adds just the right touch to local seafood

Serve in bowls with freshly grated parmesan cheese, a hint of grated lemon peel and chopped chives.

I serve this with a side green salad. Top with a splash of color with sliced green grapes and strawberries.

Crudités are a great side as well

I recommend serving around a fire on the patio with a great bottle of wine-bonus= ROMANCE!!

Looking to enjoy the simple life on beautiful Orcas Island? Contact T Williams Realty – we’ll help you find your way home.


1 Comment

Filed under Recipes

Summer Strawberry Hand Pie

Posted by Teri

I found this recipe in an OPRAH magazine and had to rip it out to try when my strawberries were ripe. Even though this includes fresh fruit, it’s not a fat free, good-for-you recipe. BUT it’s yummy and the hand pies are small, so calorie count is tolerable (unless you are like my husband Jay and you enjoy 2 or 3.) 🙂

I doubled this recipe and put them in the freezer. I tried to make fresh, but had problems with filling running out onto baking sheet, and under-cooking. I had no run or doneness problems with the frozen pies. DO NOT over fill or under cook no matter how you prepare your pies to cook! Double makes approximately 18-20 pies. 

Strawberry hand pie made with Orcas Island strawberries

Mmmm....better make a double batch!

Single Recipe:

4 oz. cream cheese

1 stick butter, softened

¼ cup heavy cream

1 Tbsp sugar

¼ tsp salt

1 cup flour, plus more for dusting

1/3 cup strawberry jam

¾ cup chopped strawberries

1 egg, beaten

1 ½ Tbsp raw (turbinado) sugar

  1. In a food processor (or with a hand mixer) mix cream cheese, butter, cream, granulated sugar and salt until smooth. Add flour and mix until a sticky dough forms. Cover dough snugly in plastic wrap; chill until firm, 2 to 3 hours. You can keep over night.
  2. Preheat oven to 350 degrees. Working on a floured surface, roll out half the dough until very thin. Using a bowl or glass, cut out 4-1/2” circles.
  3. Drop about 2 tsp of jam onto one side of each circle and top with 1 Tbsp of strawberries. Brush outer edge of circle with egg, then fold over to make half moons. Press edges together firmly and seal with the tines of a fork. Place on a parchment paper lined sheet tray and cut 3 small slits in each top. Brush with egg, sprinkle with raw sugar and bake until golden brown, 30-35 minutes.

Got a favorite strawberry receipe? Please share it soon — I’ve got berries to use!!


Looking to enjoy the simple life on beautiful Orcas Island?
Contact T Williams Realty  – we’ll help you find your way home.

3 Comments

Filed under Recipes